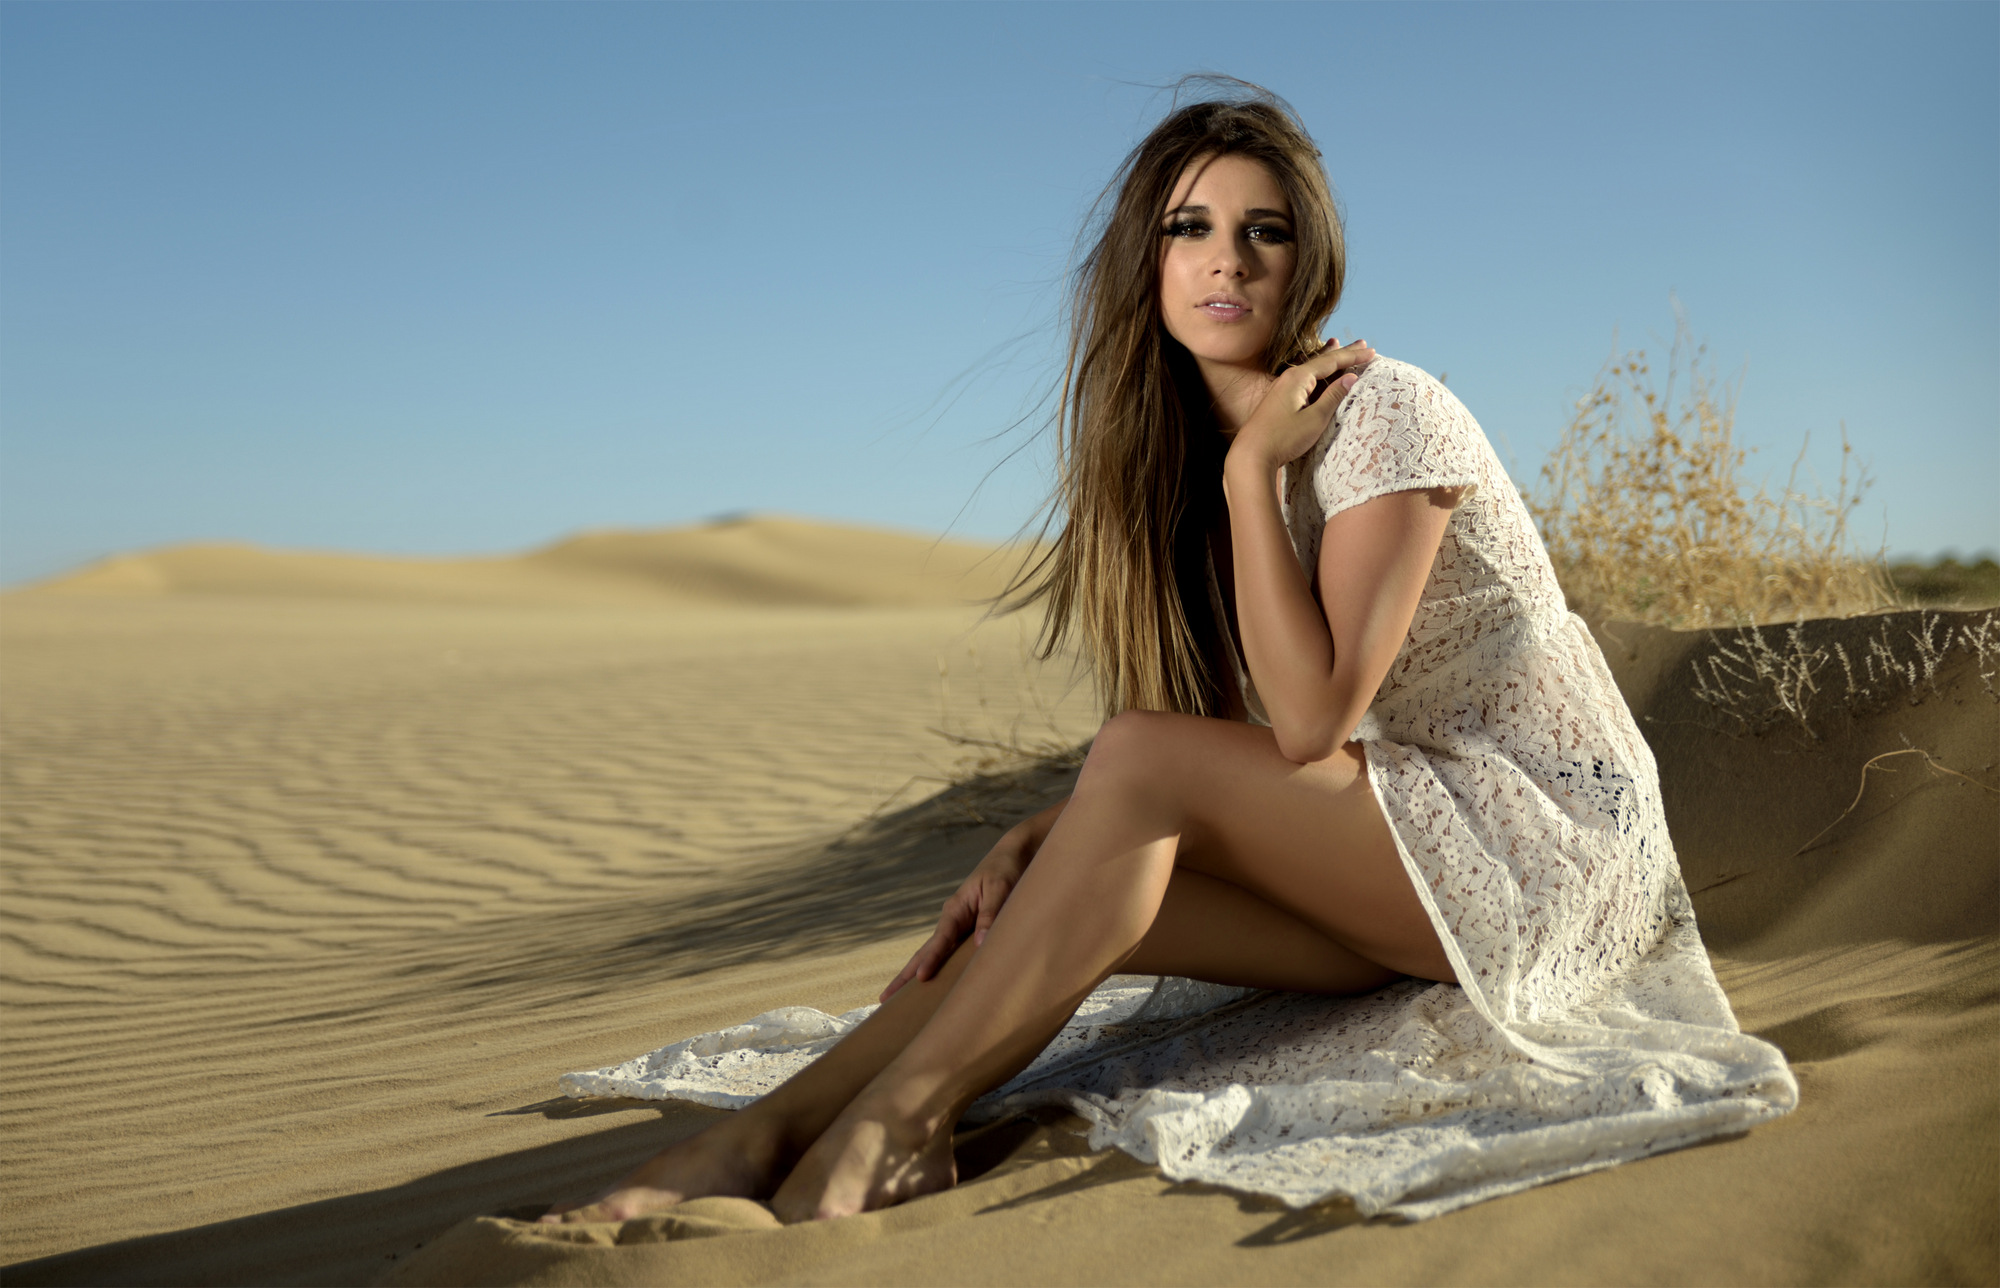
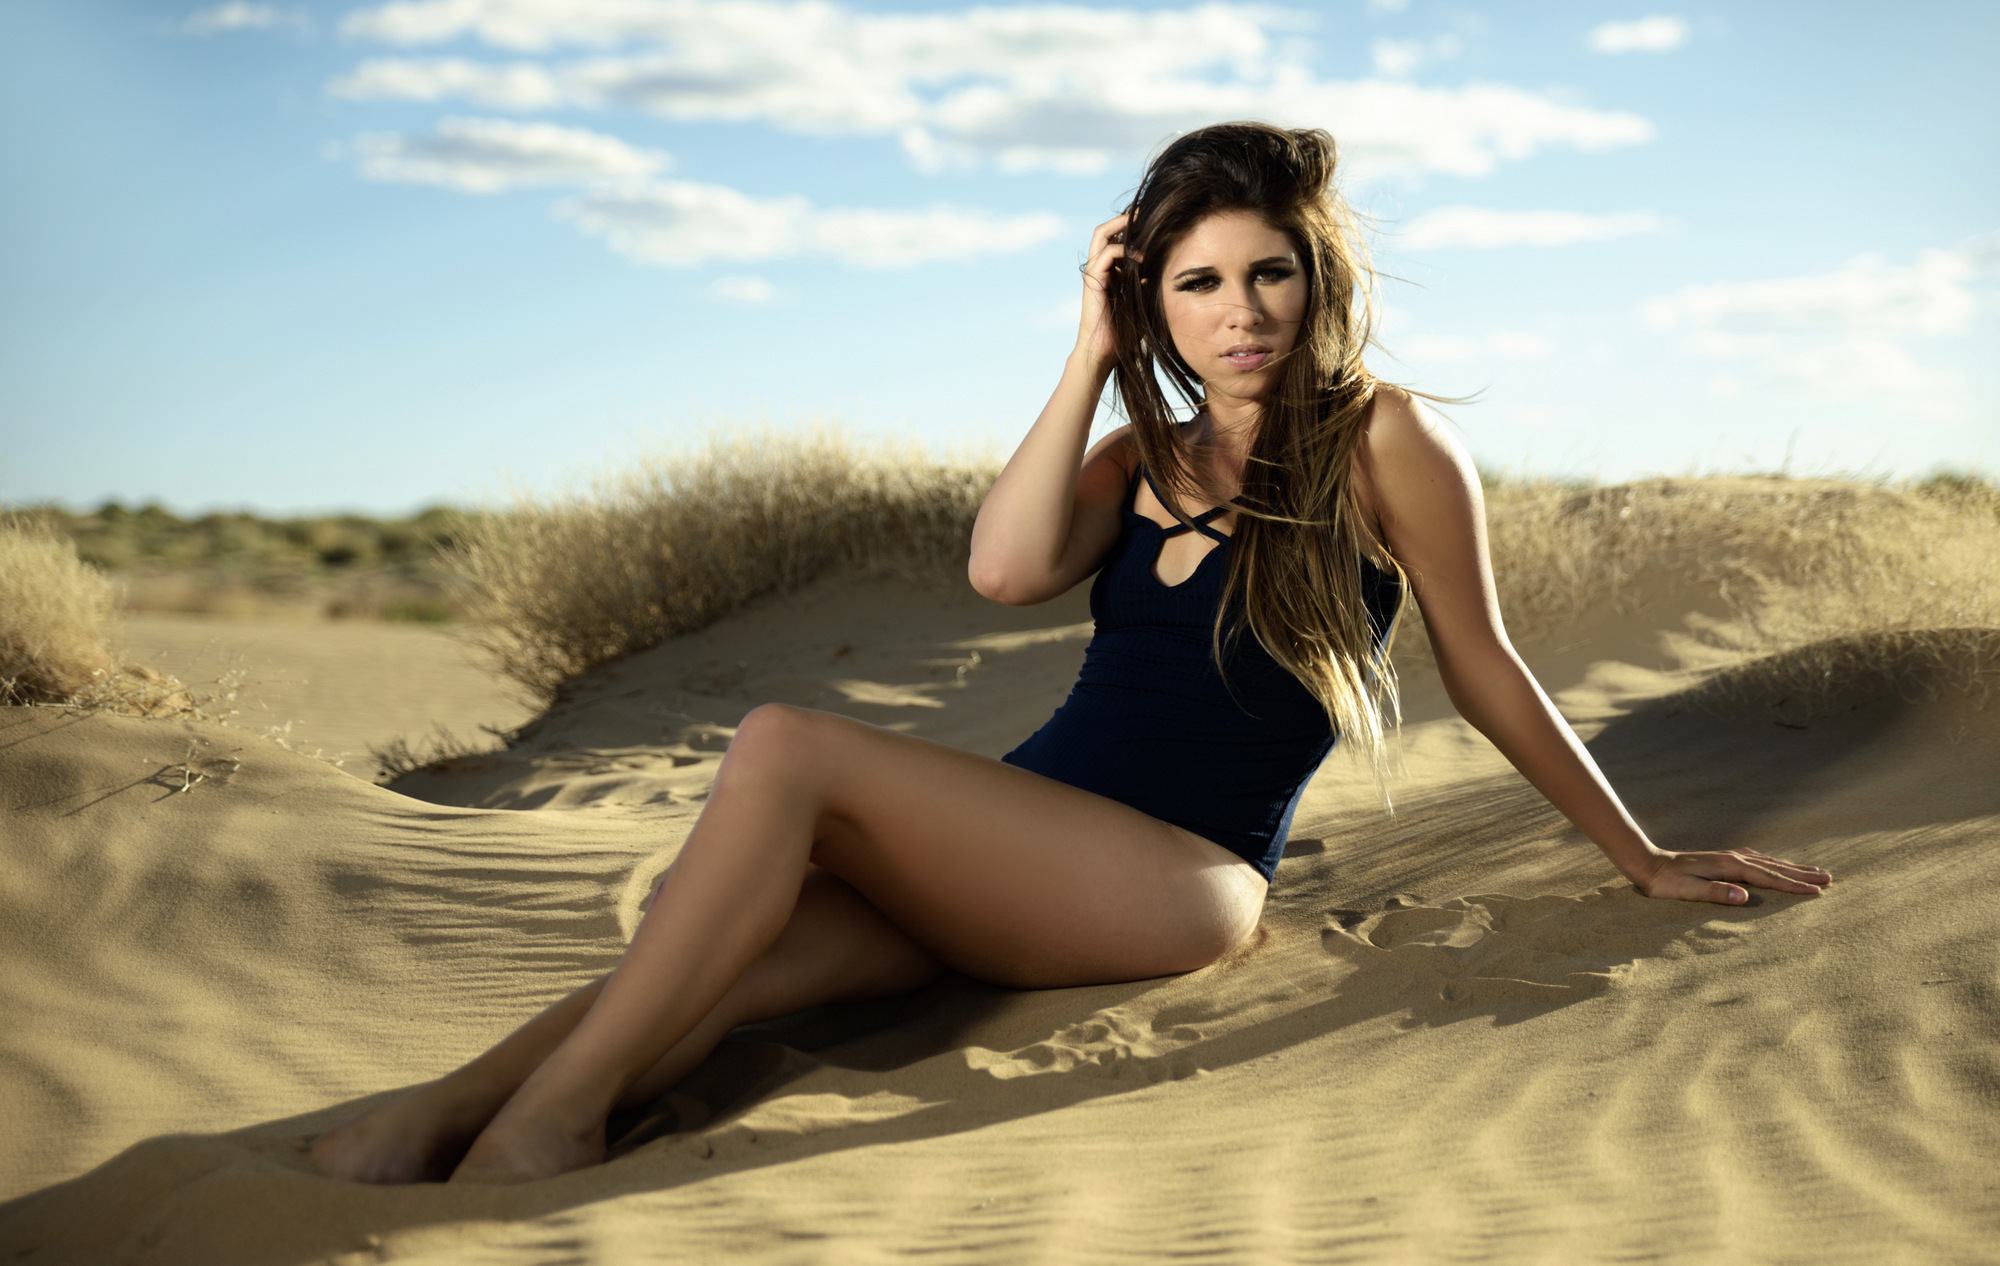
Met up with a friend of mine to grab a boho look in the middle of the New Mexico high desert.
Model: ScoutLauraLeta
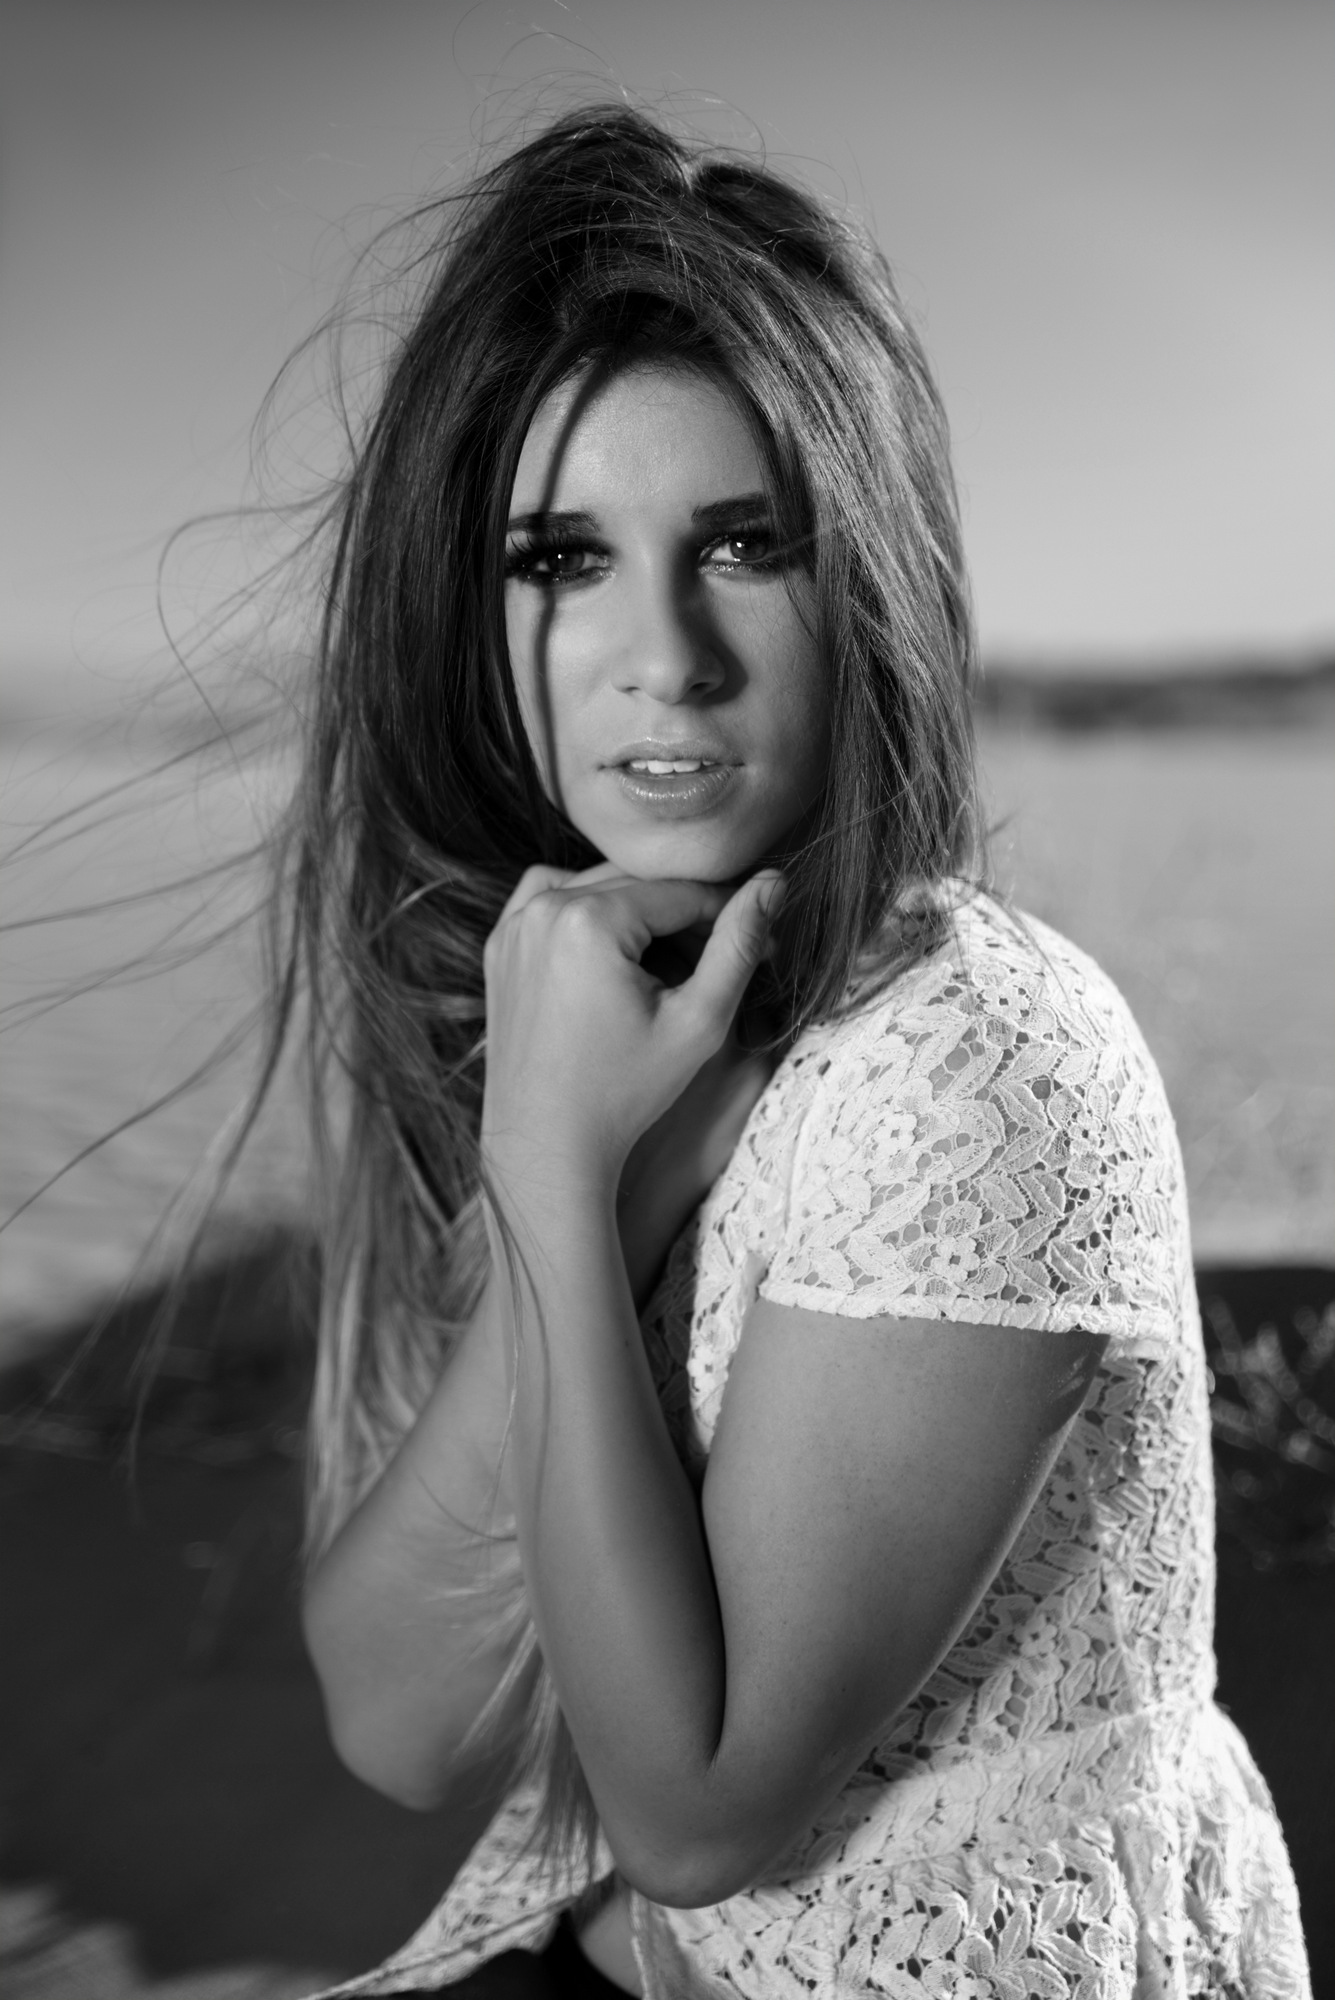
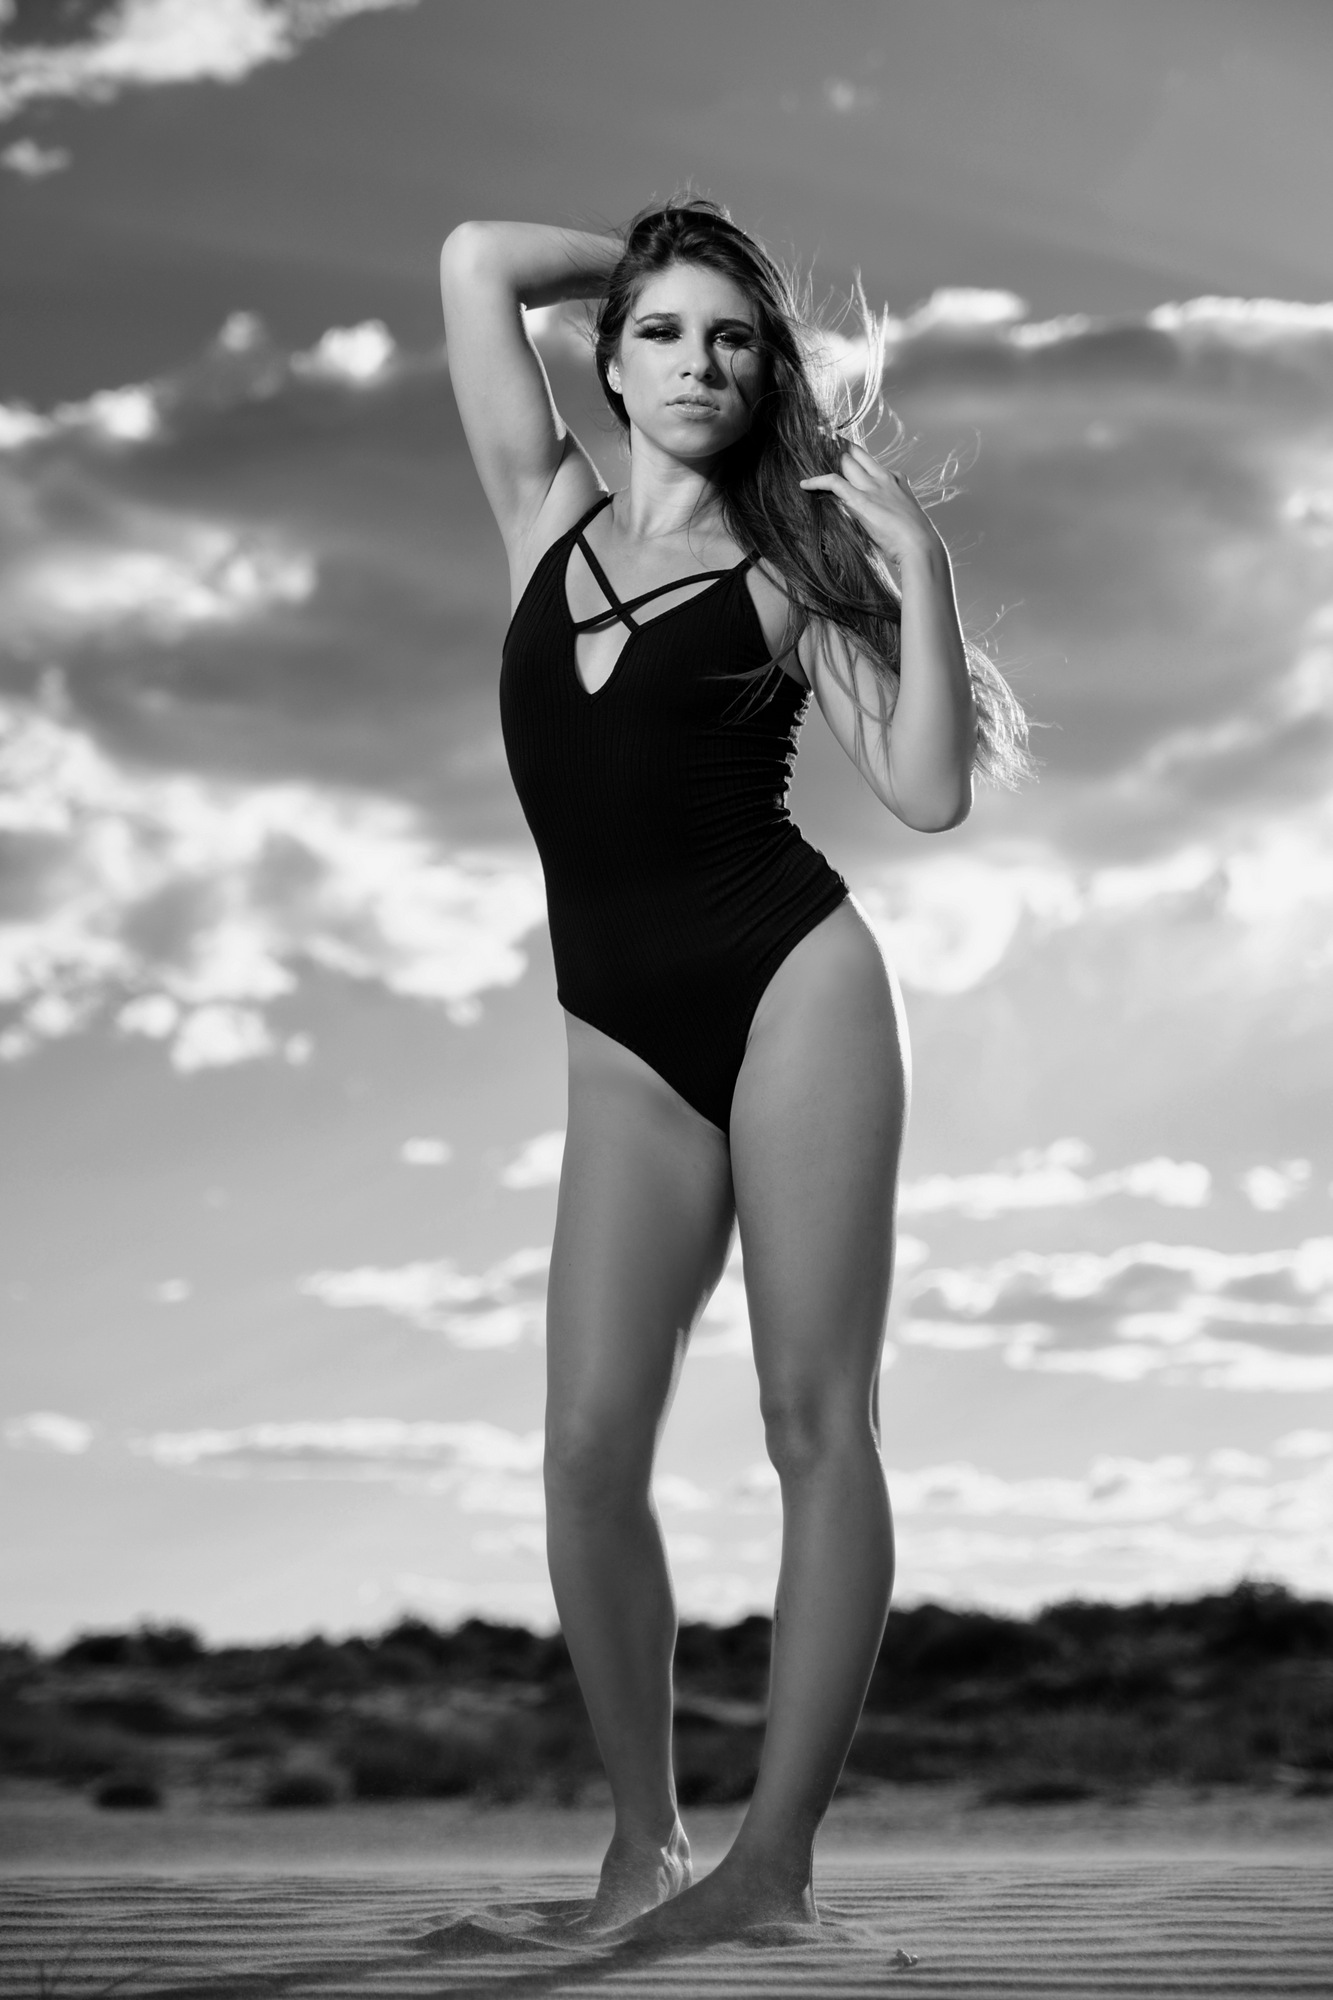
Met up with a friend of mine to grab a boho look in the middle of the New Mexico high desert.
Model: ScoutLauraLeta
The Perseids Meteor shower is here and will peak on the early morning of Aug 13th, 2015. What is it? Every year from around the third week of July until the third week of August the Earth crosses the orbital path of the Comet Swift-Tuttle. As debris from the comet hits the Earths atmosphere we see meteors. Pretty cool huh?
Anyway, lets get into shooting the meteors and what I do to capture them.
Location/Where to shoot?
Get out of the city and away from lights! Head out somewhere East and a bit North of any noisy city light. The city light will obscure some or most of the meteors and you don’t want any light noise in your shots as you will be shooting to the North, South, and East. For more info on finding a dark place to shoot, browse to: http://www.jshine.net/astronomy/dark_sky/
The meteors originate from the radiant of the Constellation Perseus and travel through the entire night sky. I use two cameras with ultra wide 14mm lenses and orient them landscape mode. I position one directly high Northeast and the other high Southeast. You can expect to see 50 to 100 meteors and hour.

The above was taken on manual (M mode) at f/2.8, ISO2000, 13 seconds. I shot it RAW so I applied some light and contrast in Photoshop.
Essential Equipment
If you want to photograph the Meteor shower you will need the following:
A camera (DSLR) capable of high ISO capabilities – The best choice will be a full frame DSLR like a Canon 1D/5DMKIII/MKII/6D, a Nikon D4/D3s/D700/D600/D800/D4, etc, and other brands of full frame cameras. Full frame sensor cameras are the best choice for capturing the shower because of their excellent high ISO performance. But the show would be easily captured as well with a crop sensor (APS-C size) like that of a Nikon D3100/3200/D5100/D5200/D7000/D7100/D90/D300(S), etc, or a Canon T2/T3/T4/T5/40D/50D/60D/7D, etc. As far as other cameras such as point n shoots or mirrorless (Like the Sony A7 series or any of the recent Fuji’s) are concerned, if they have the option to shoot in manual and set the exposure, aperture, and ISO, they should be able to grab something awesome.
A fast wide angle lens – Because of the dark sky, a fast (f/2.8 or faster) aperture lens would be preferable. The wider the view, the better. I’ll be using a 14mm lens. A wide zoom is fine too, but with most of those the fastest aperture is f/3.5 so you will have to compensate with longer exposures and/or higher ISO. You will also want to set your auto focus to OFF and then manually set the lens to the infinity focus setting. I use electrical tape to secure my focus ring so it doesn’t move if I accidentally touch it during the night.
A tripod – A good sturdy tripod is essential as you don’t want the camera moving during a long exposure. You will end up with nothing useful if you try shooting handheld.
A wired or wireless remote – Some photographers prefer to use a wired intervalometer/remote. This device allows you program and setup an automated continuous cycle of 30 second exposures. This is really handy if you don’t want to stand by your camera for hours hitting the shutter button over and over every 30 seconds. Some of the newer Nikons and Canons (and others) have built in intervalometers. Most DSLR’s have the option to use a IR (wireless) Remote and you might be able to pick one up at a local camera retailer for $20 dollars. However, if you don’t have any of the above, its really not that much work to setup a chair by your camera and just hit the shutter button every 30 seconds. 😉 To lighten my load when I’m out shooting the Milky Way or meteors, I dont carry a remote of any type. I just hit the shutter. If the tripod is sturdy, its fine.
Large Capacity Memory Card – You might end up shooting for a couple of hours or more. So you will want a large SD Card or CF card to store hundreds of photos. I shoot in RAW mode, so I use 64 gigabytes of memory.
Battery – Don’t forget to charge your batteries and maybe bring an extra because you might be shooting for hours. You can always pick up extras for most cameras at a local camera retailer.
How to shoot and settings
These are my settings and what I’ll be using. I cant speak to how your particular brand of camera settings are completed with regard to the below.
1. Get your cam on the tripod and lock it to your view (Northeastern sky, etc). Once you set your view, leave your camera and tripod in place. A lot of pro photographers stack their captures (10-15 at a time) and rotate each photo in Photoshop to match the stars as they move. If you see a photo with 12, 15 or more meteors, this is a stack and not a single shot. You just wont see 12 or more meteors in 30 seconds. David Kingham has an EXCELLENT video on how to stack photos: http://www.youtube.com/watch?v=u7JVwSX1iAg
2. Set your camera to manual (M) mode.
3. On the morning of Aug 13 there will be no moon, so start out with a setting of 30 seconds exposure time (Shutter speed).
4. Set your lens to its fastest aperture – Mine is f/2.8.
5. If using a zoom lens, set it to its widest point. 18mm, etc.
6. Turn off autofocus and set the lens to the infinity mark. Trick: If you dont know where infinity is, (DURING THE DAY) go outside and focus on something hundreds of feet away. Now, turn off autofocus and THEN very carefully tape (electrical tape, etc) your focus ring in place on your lens so it doesn’t get bumped/moved at night. You will not be able to autofocus at night.
7. Set your ISO. I’ll start out at ISO1600. I’ll take a few test shots and look at the exposure to see if its light enough. If a bit dark, I’ll bump my ISO to 2000 and keep going higher if needed. Ultimately I want to see stars and a bit of the landscape in my shot.
8. TURN OFF long exposure noise reduction (NR) in your camera. Why? If you have this turned on after a 30 second exposure, the camera will take an additional 30 seconds to apply the NR after EACH shot and you might miss a meteor. You can apply NR in post process.
About ISO
Every camera is different and you will need to experiment. Take a few photos and look at the result on your cameras LCD screen. Too Dark? Increase the ISO. Too light or over exposed? Lower the ISO or lower the shutter time to 20 seconds, 15 seconds, etc. If your fastest aperture is F/3.5 or F/4, etc., you will have to compensate with a higher ISO setting or keep the shutter open longer. For the really bright comets, ISO 200 or 400 will work just fine. For the barely visible comets, ISO 2000 or higher will be needed.
Finally. If you don’t have a camera or want to go through all of the above – just grab some chairs, your loved ones and go just sit and stare at the sky. Hopefully the weather will cooperate and we’ll have a clear sky to look at. Have fun.
Via Petapixel

DxOMark published its sensor test scores for the 50.6-megapixel Canon 5DS and 5DS R DSLRs today, and the news is both good and bad for Canon shooters. On the good side, the cameras scored the highest scores (87 and 86, respectively) ever achieved by Canon sensors. On the other hand, they still lag behind the Nikon D810 and Sony a7R (97 and 95, respectively) in overall quality.
Here’s the score breakdown comparison between the 5DS, D810, and a7S:

“Sitting outside the top 20 in the rankings, the headline scores for the EOS 5DS suggest that it’s far behind the best sensors we’ve tested,” DxOMark writes.
The D810 and a7S handily beat the 5DS and 5DS R in color depth, dynamic range (at low ISOs), and low-light ISO performance.
“With its massive resolution and best results in print, the EOS 5DS and 5DS R are great solutions for photographers shooting at low ISO sensitivities for large scale prints,” DxOMark says, but if dynamic range is more important to you than 50.6 megapixel photos, there are better alternatives out there.
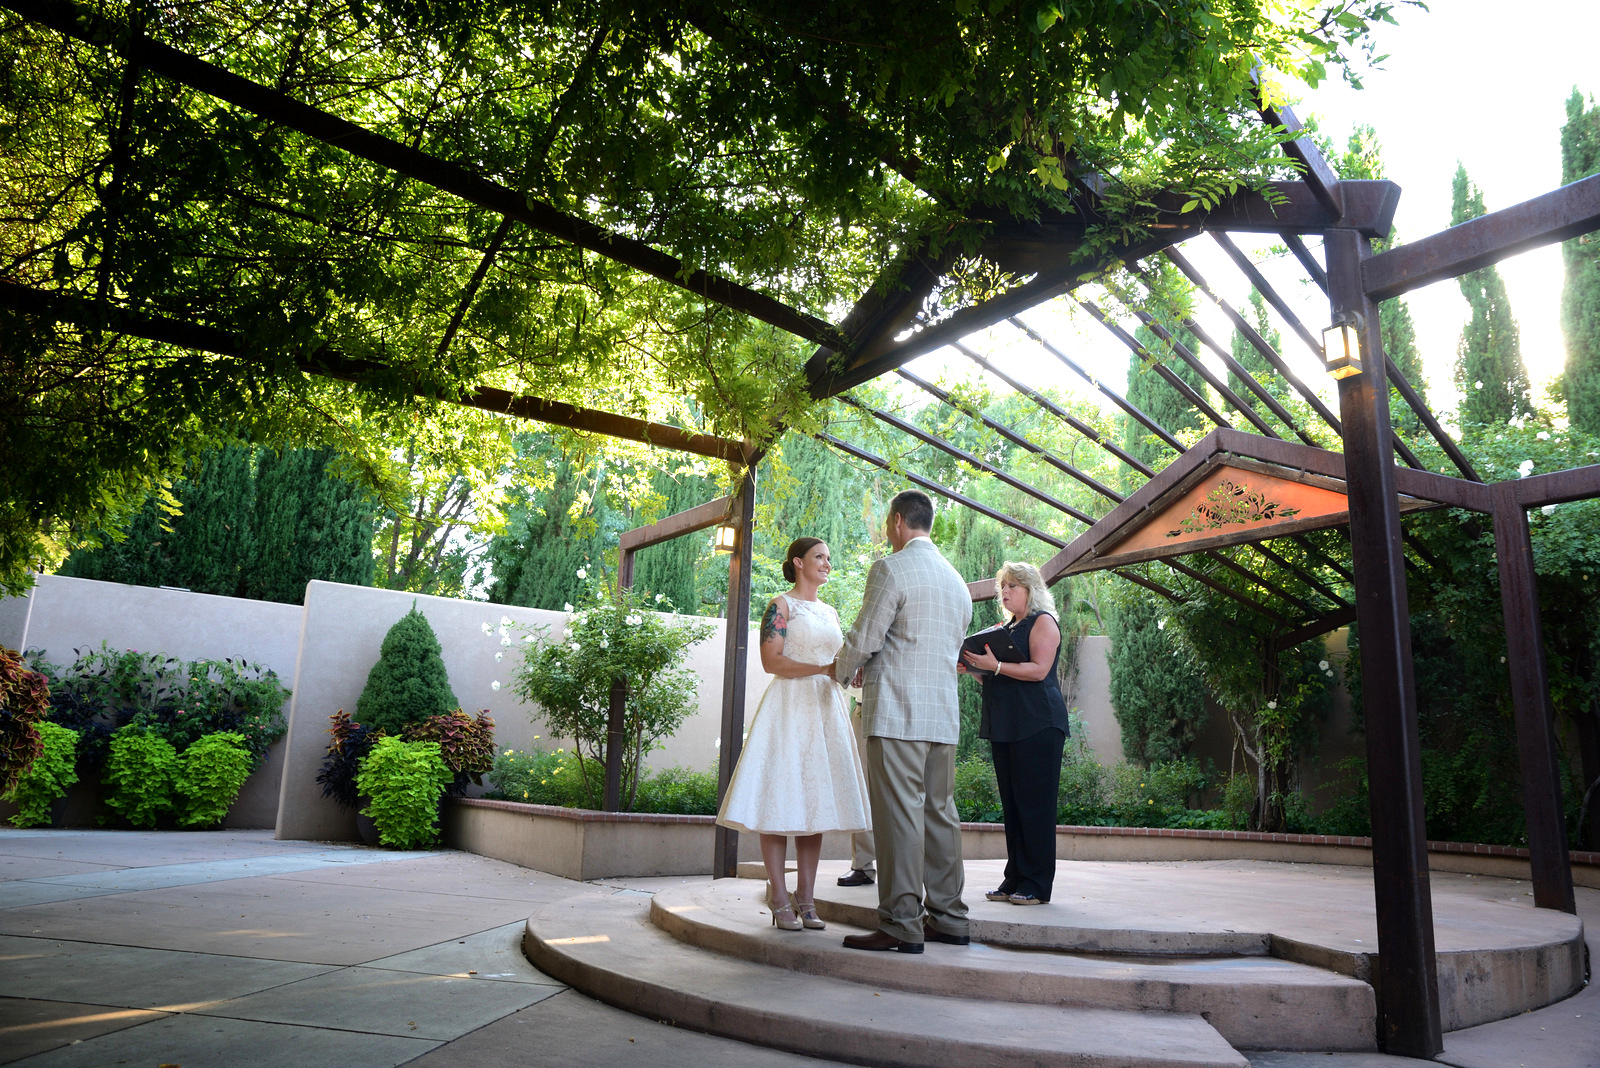
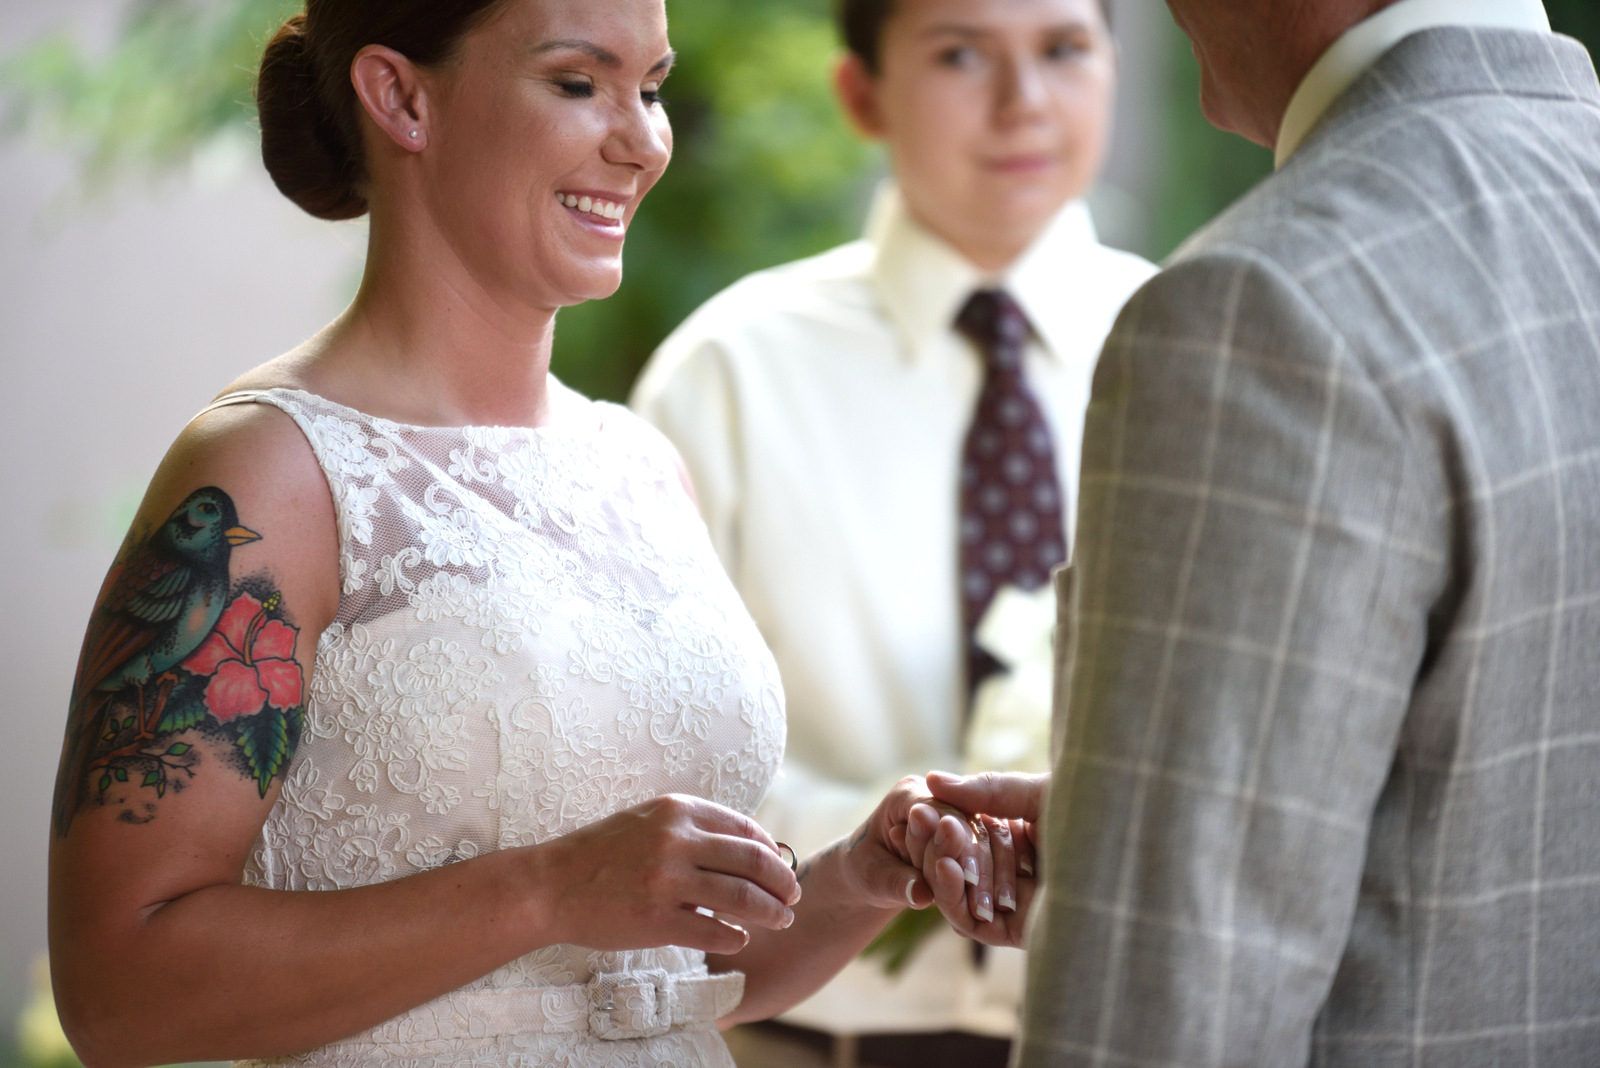
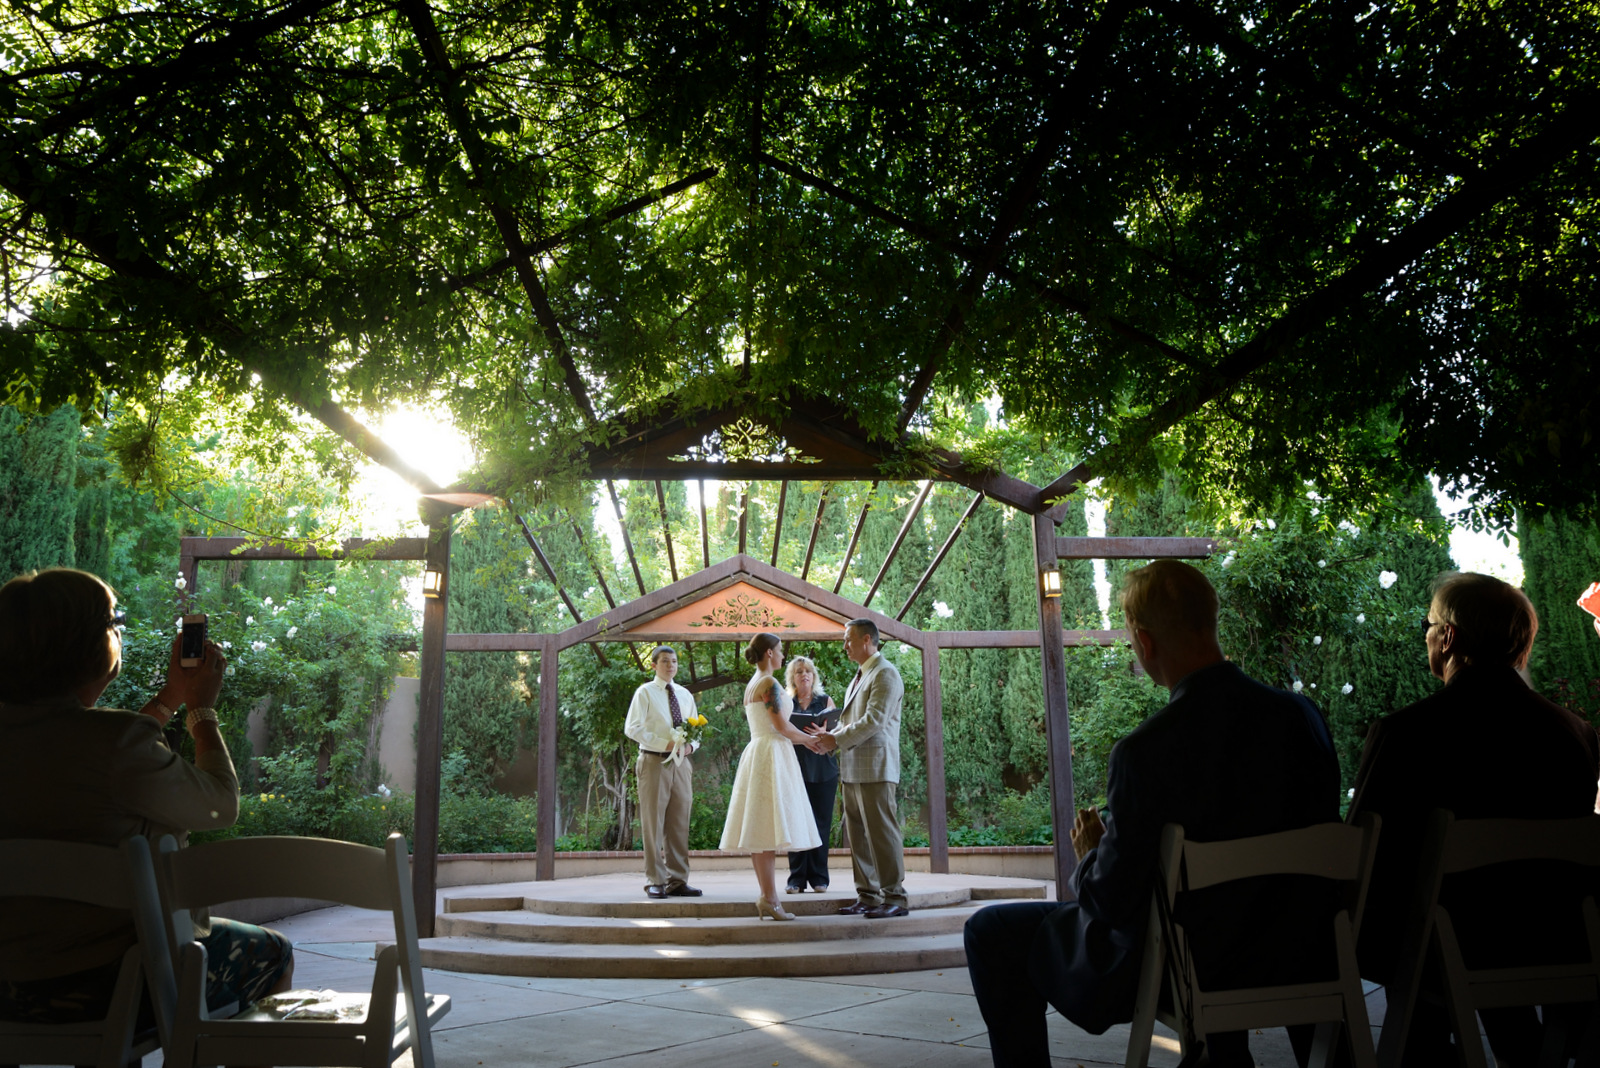
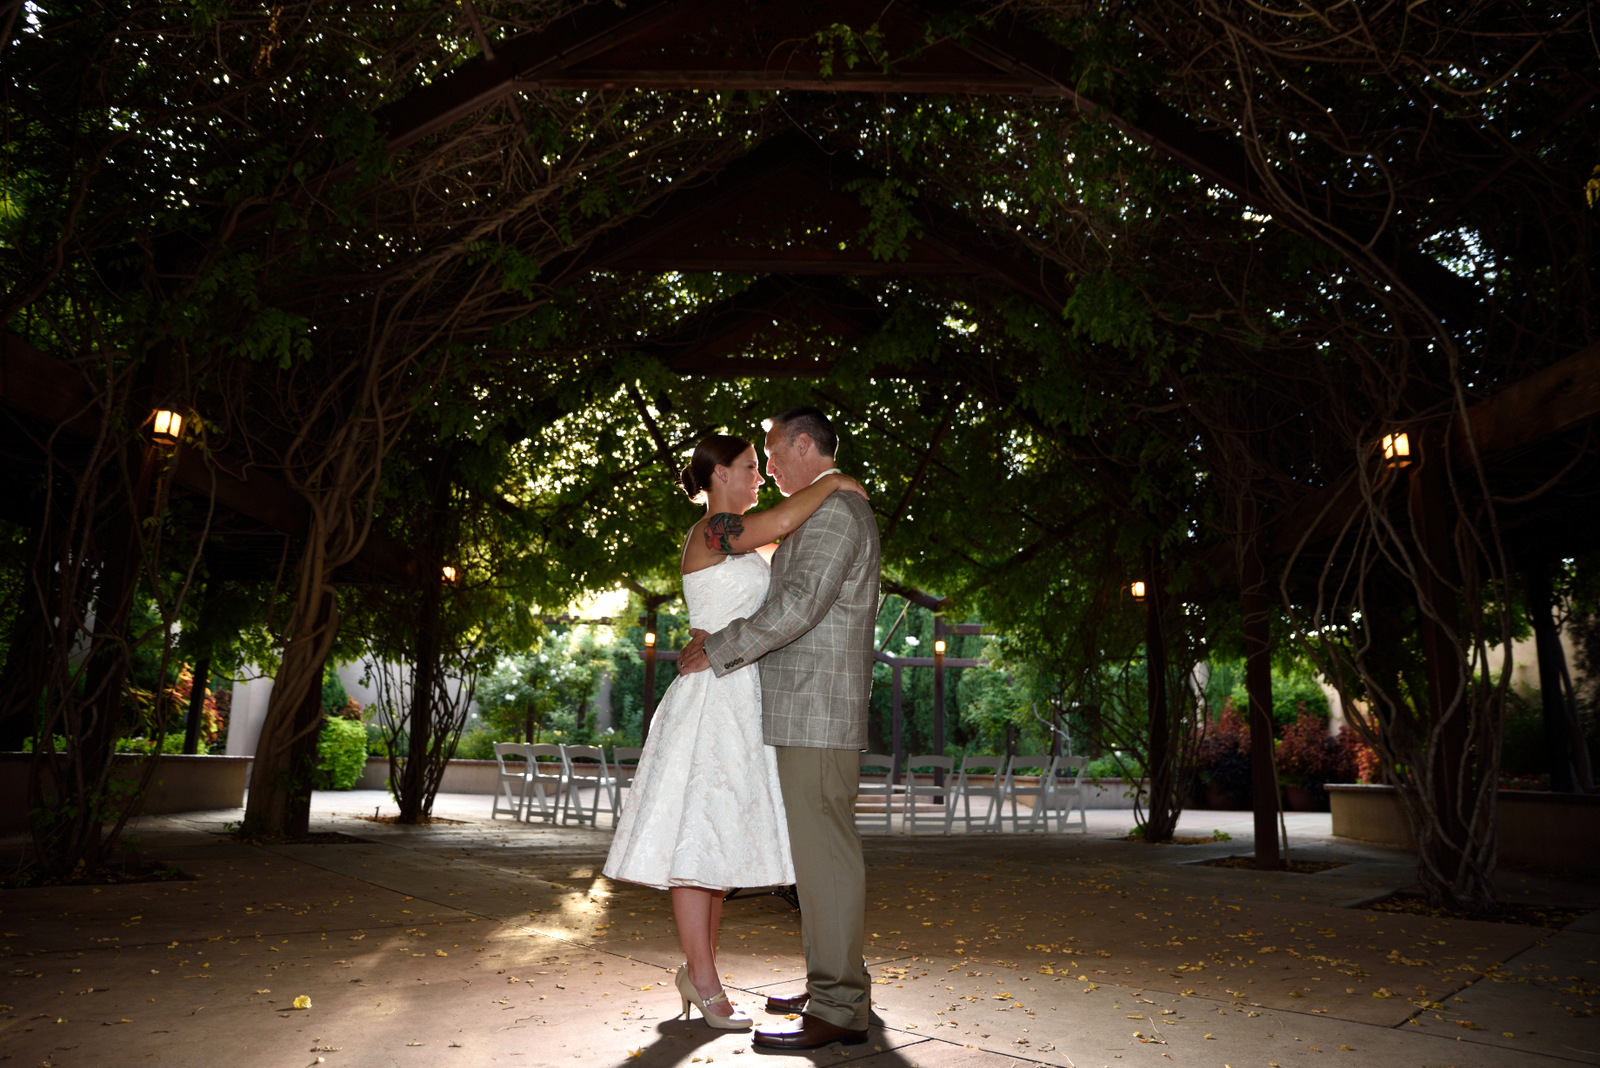
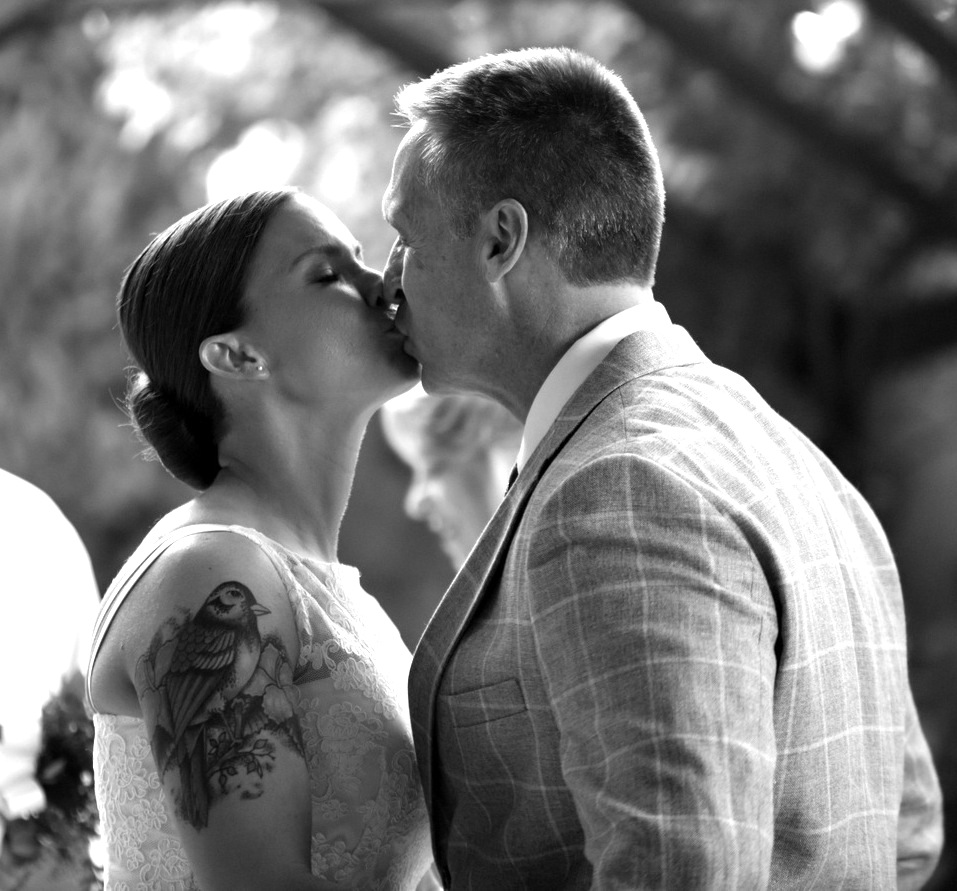
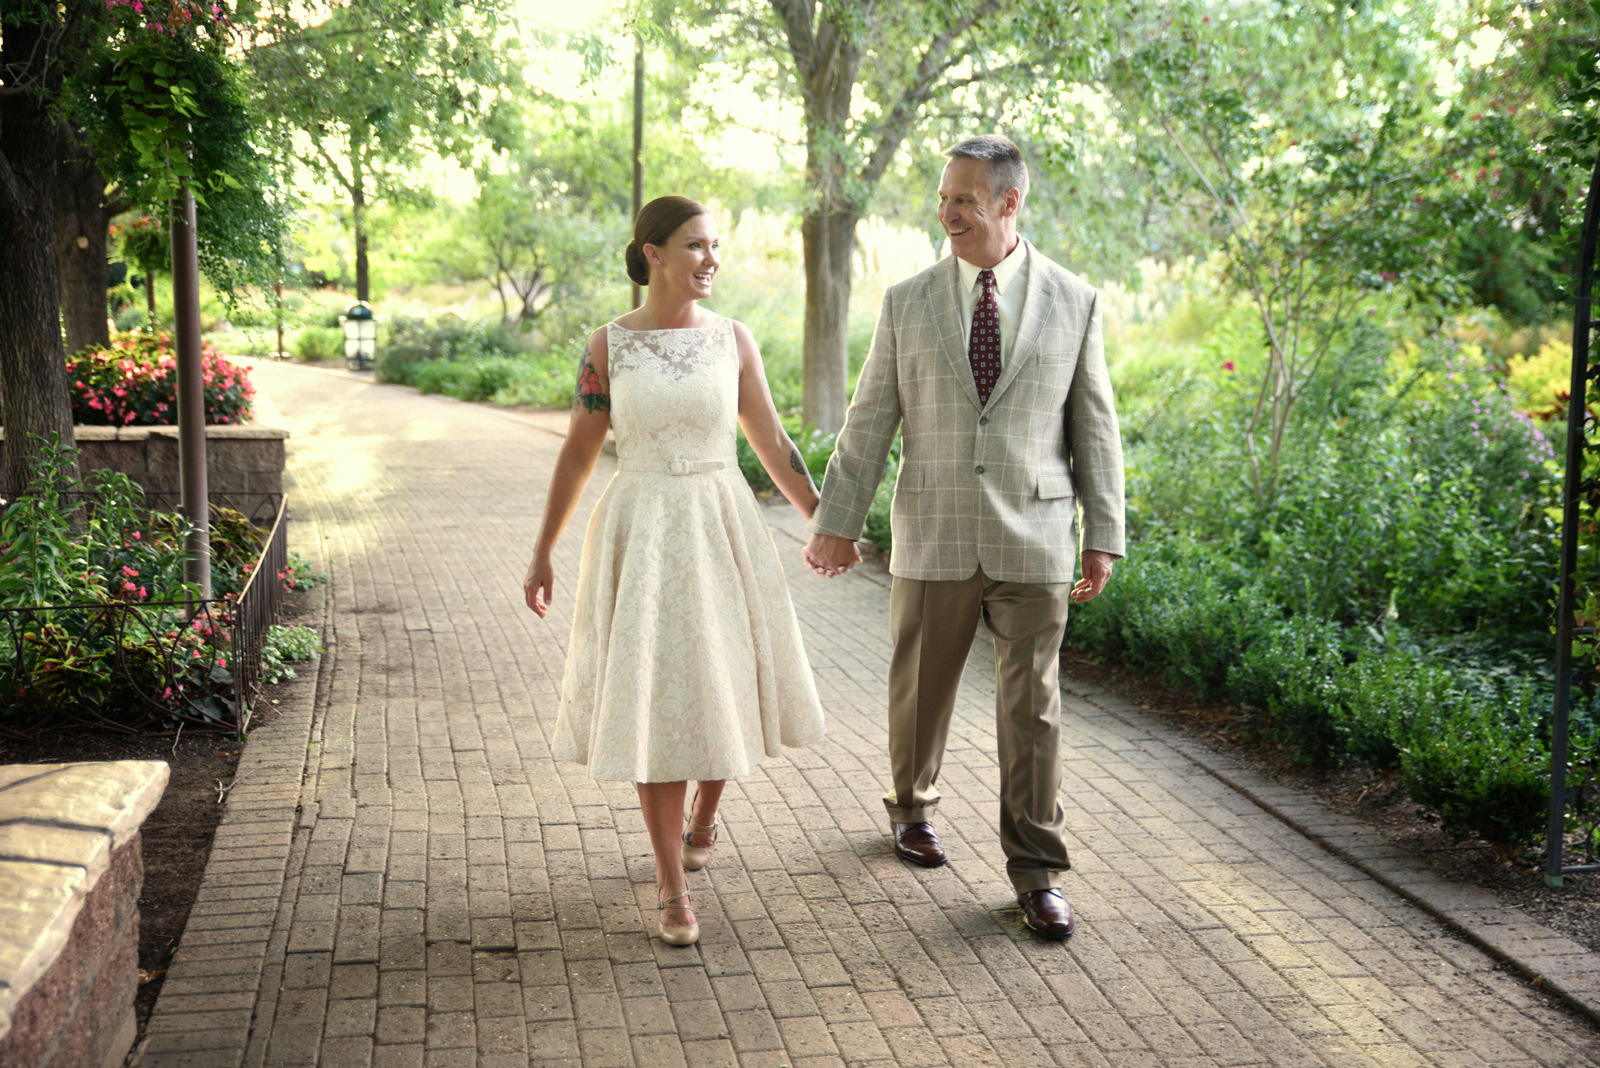
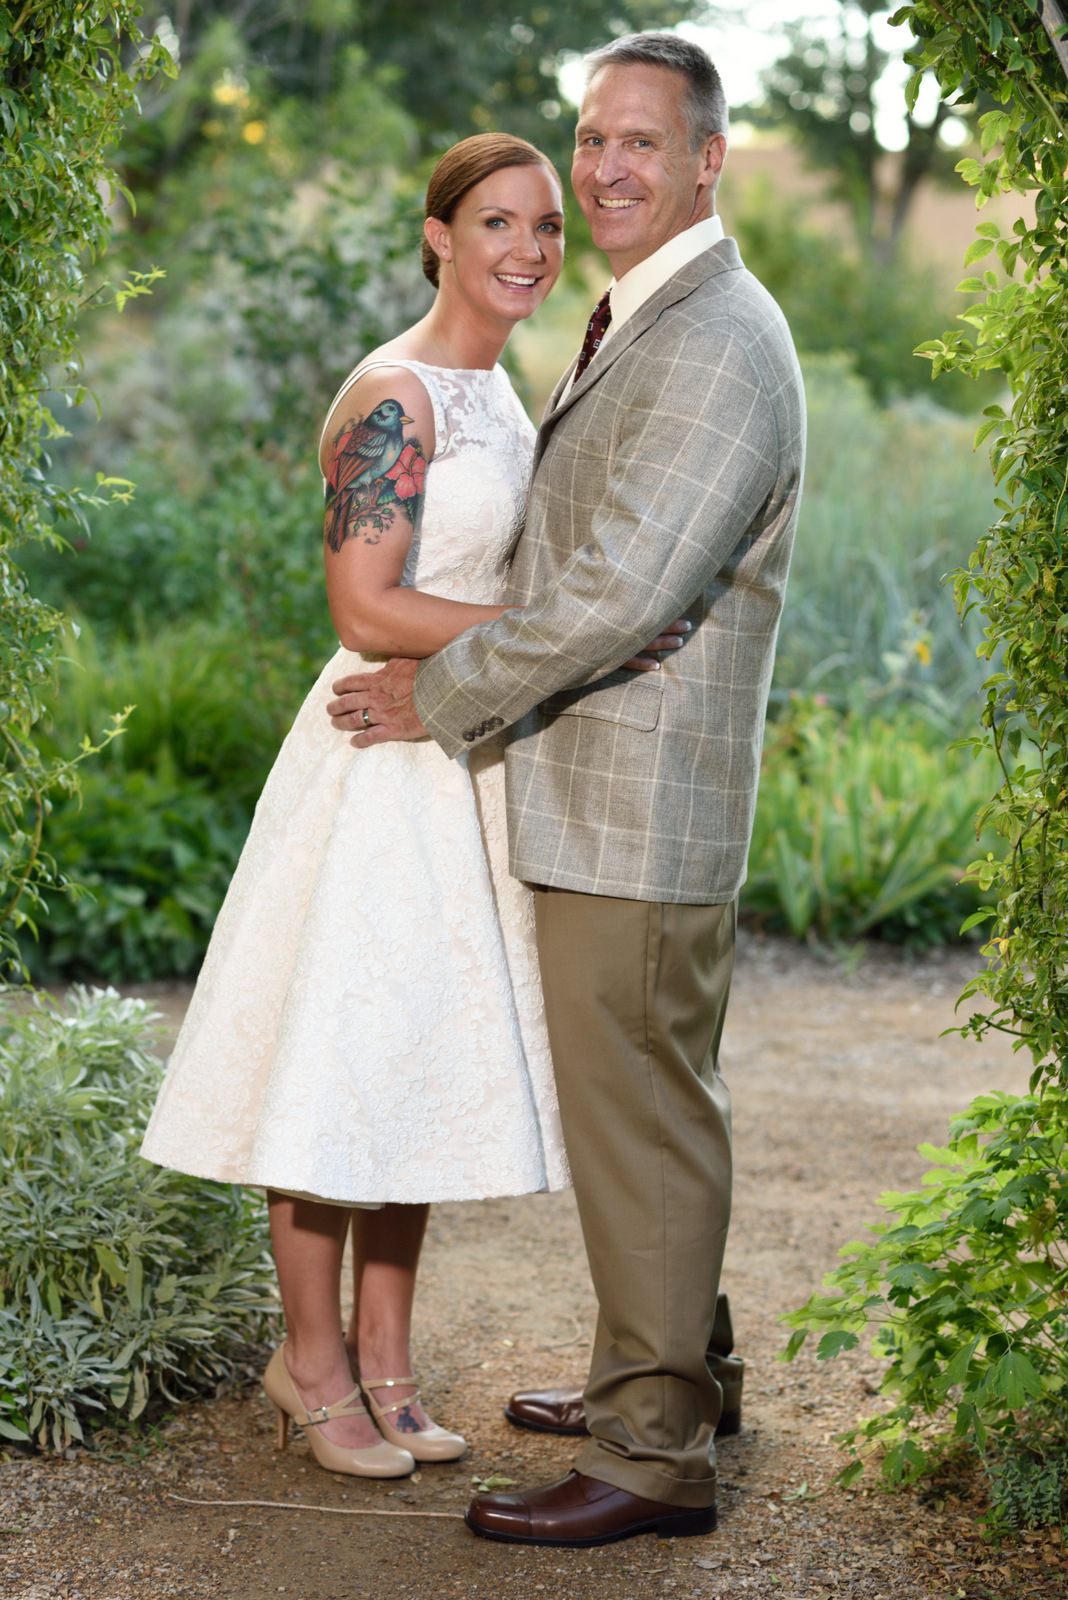
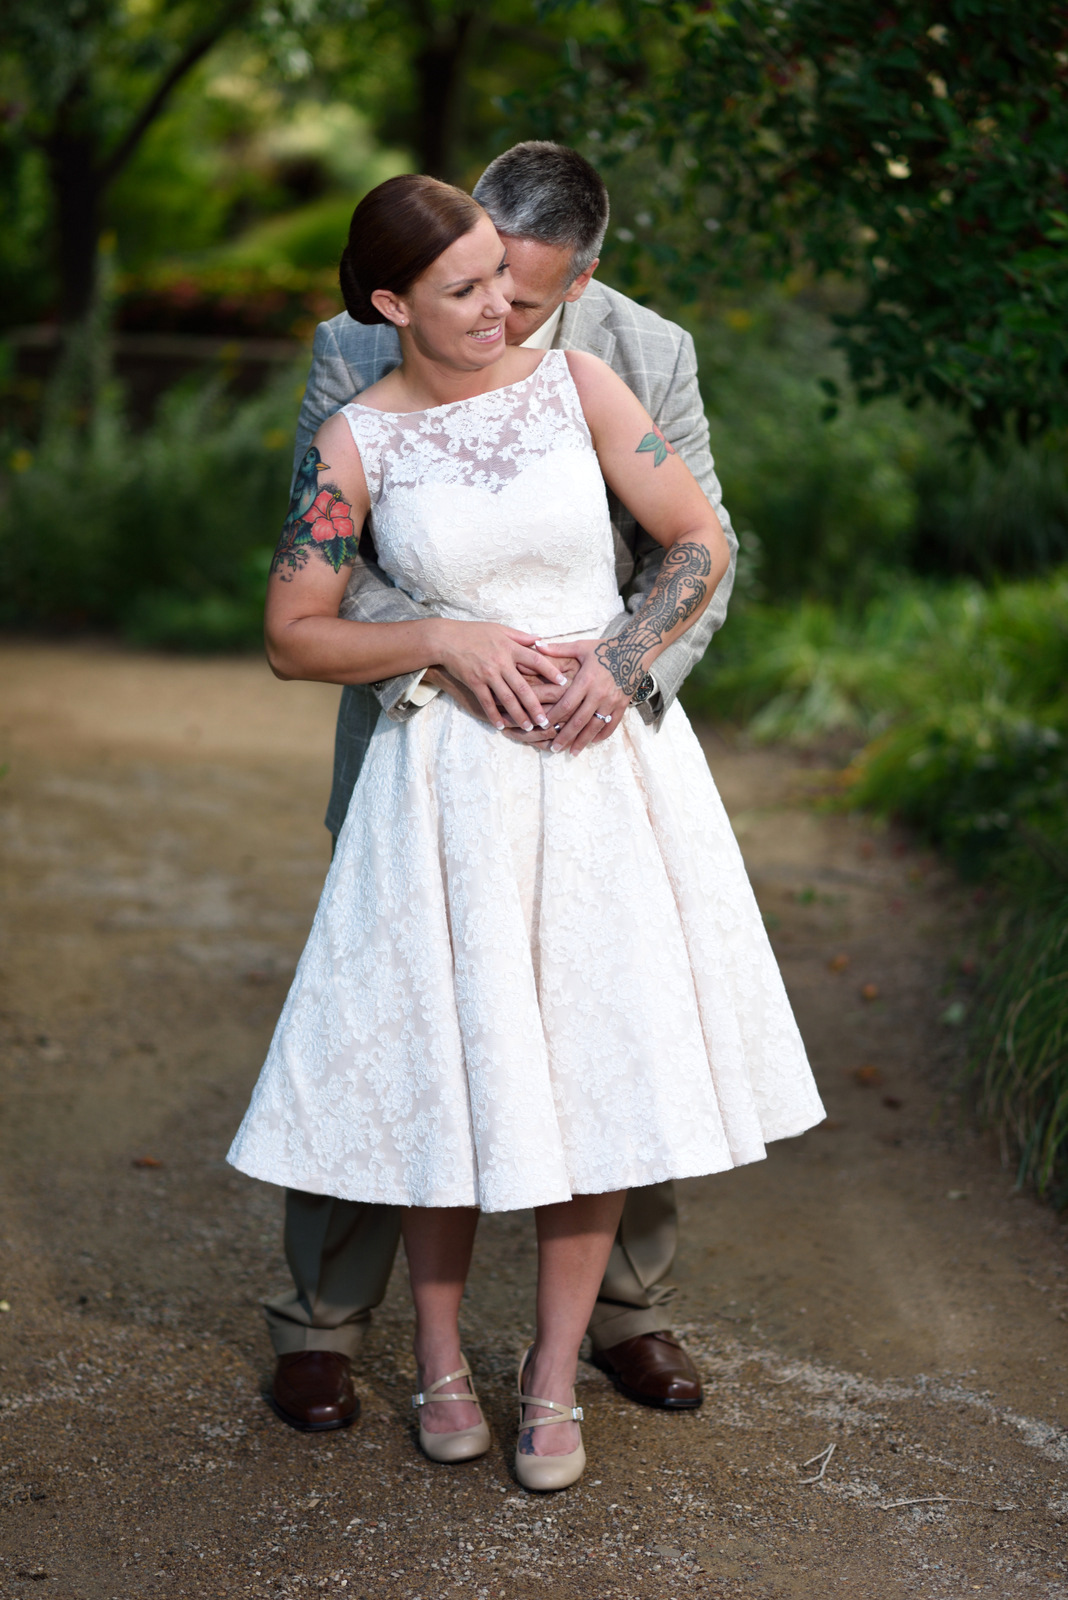
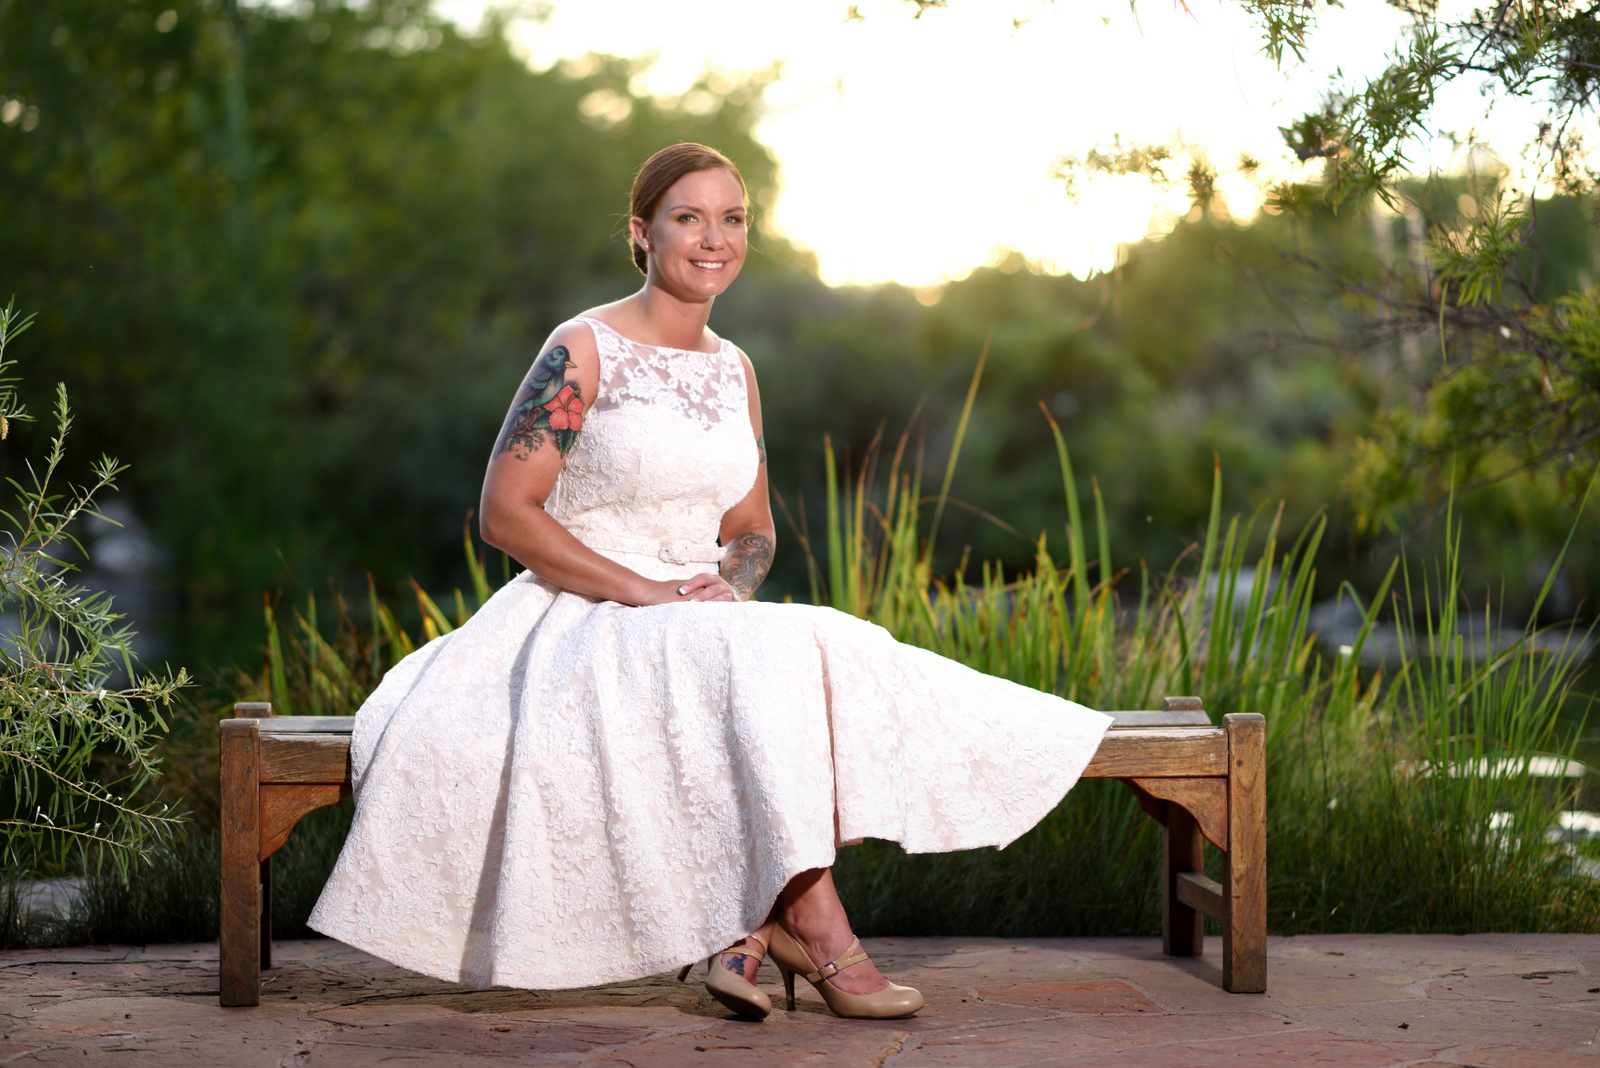
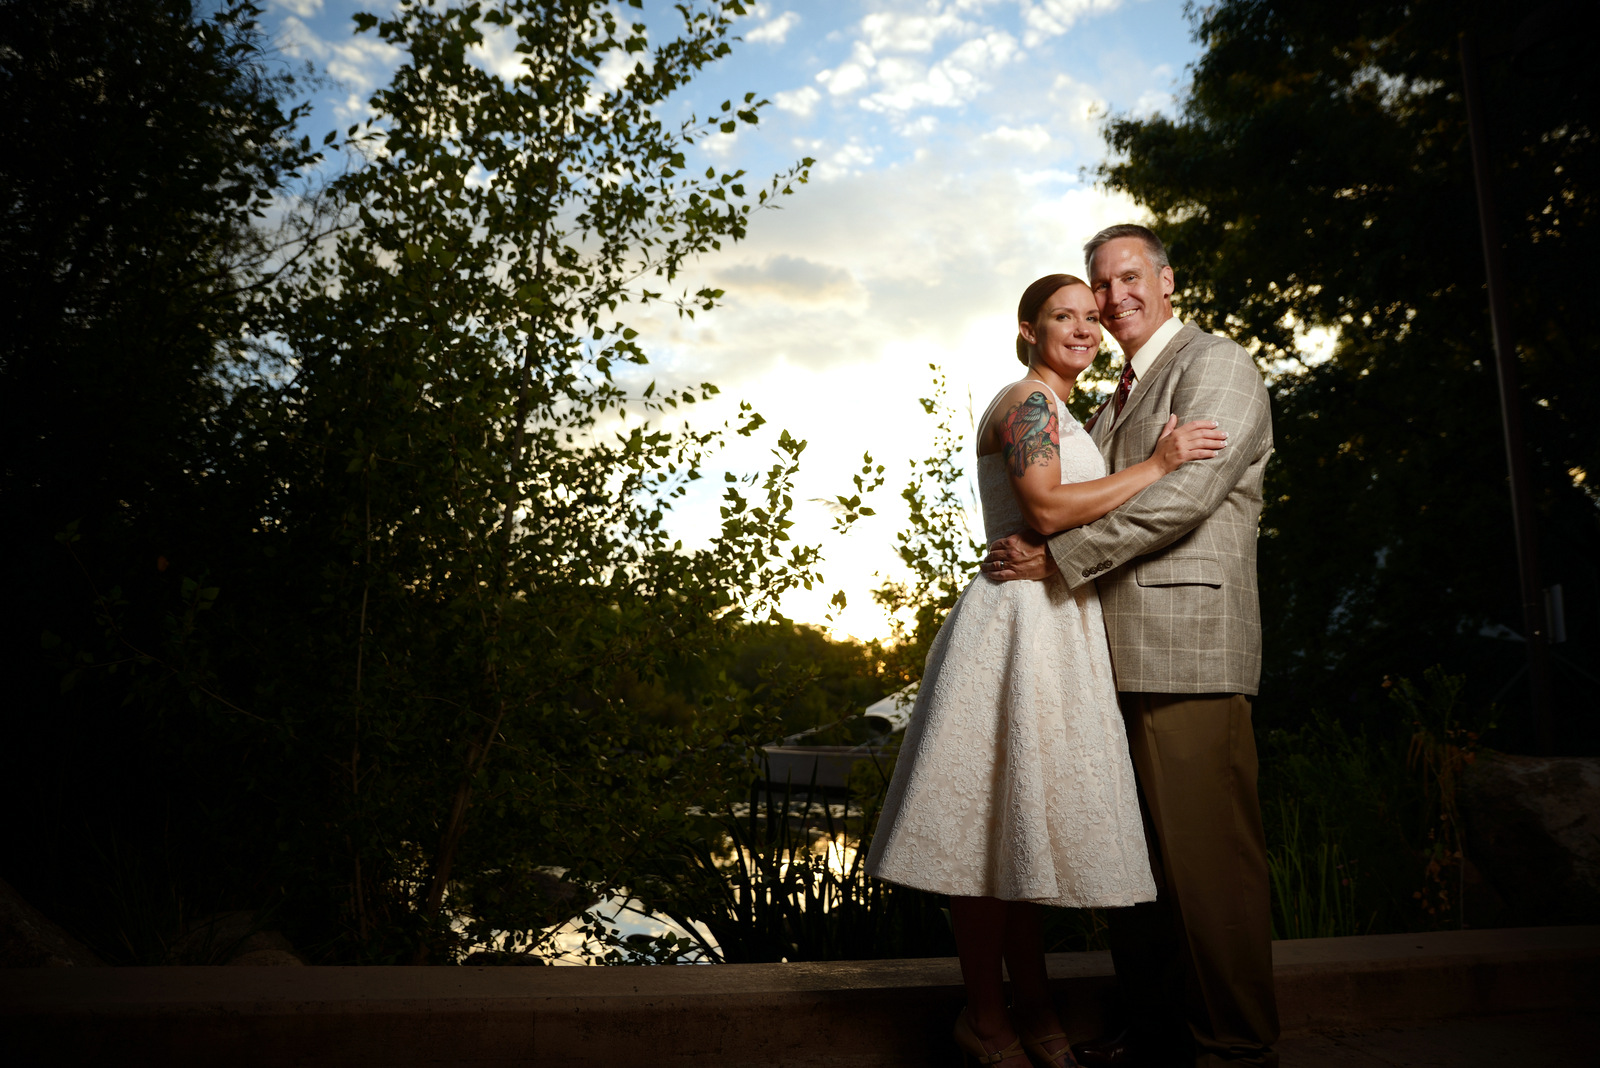
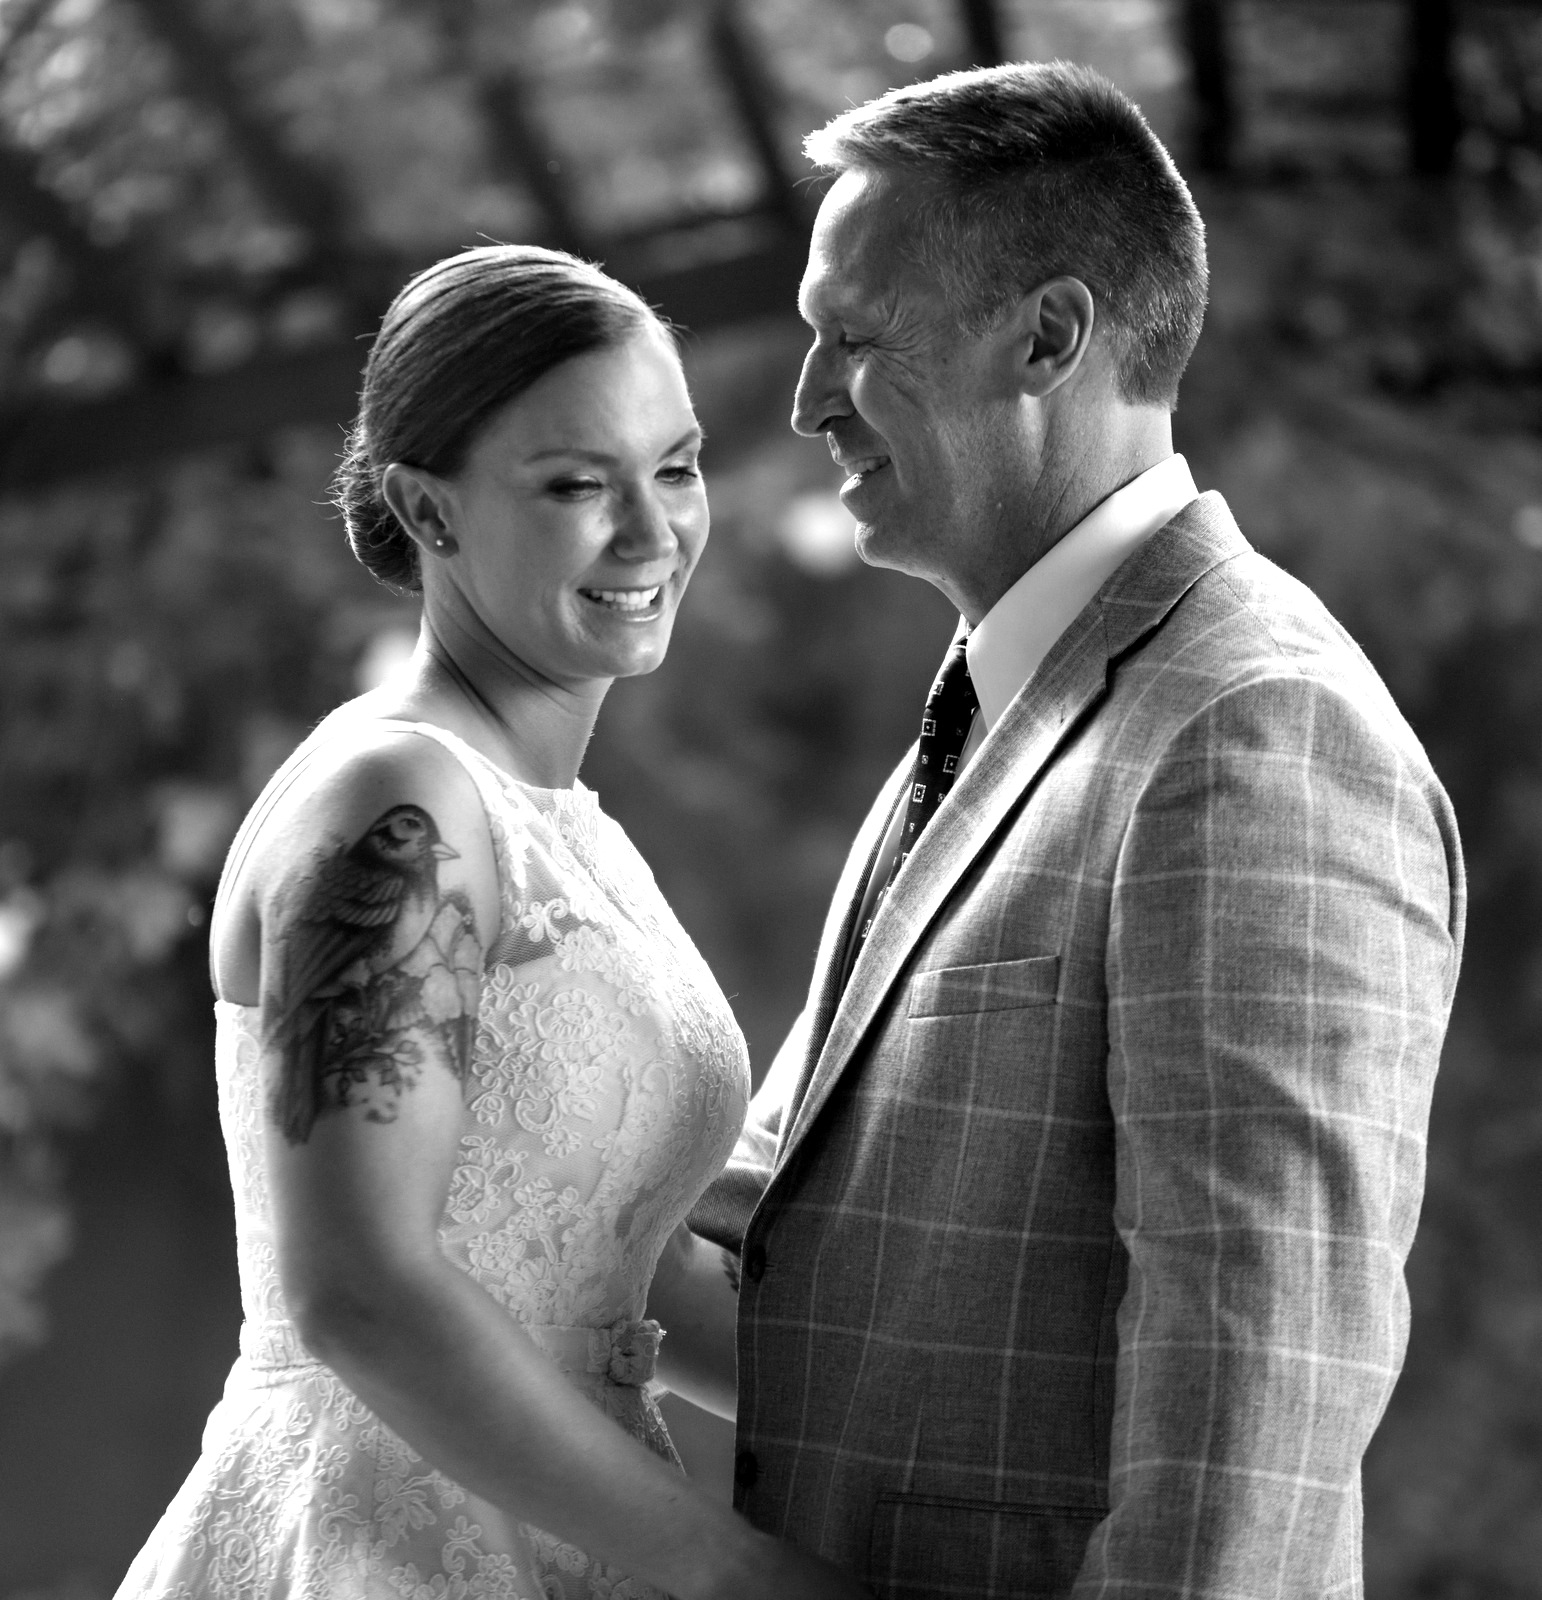
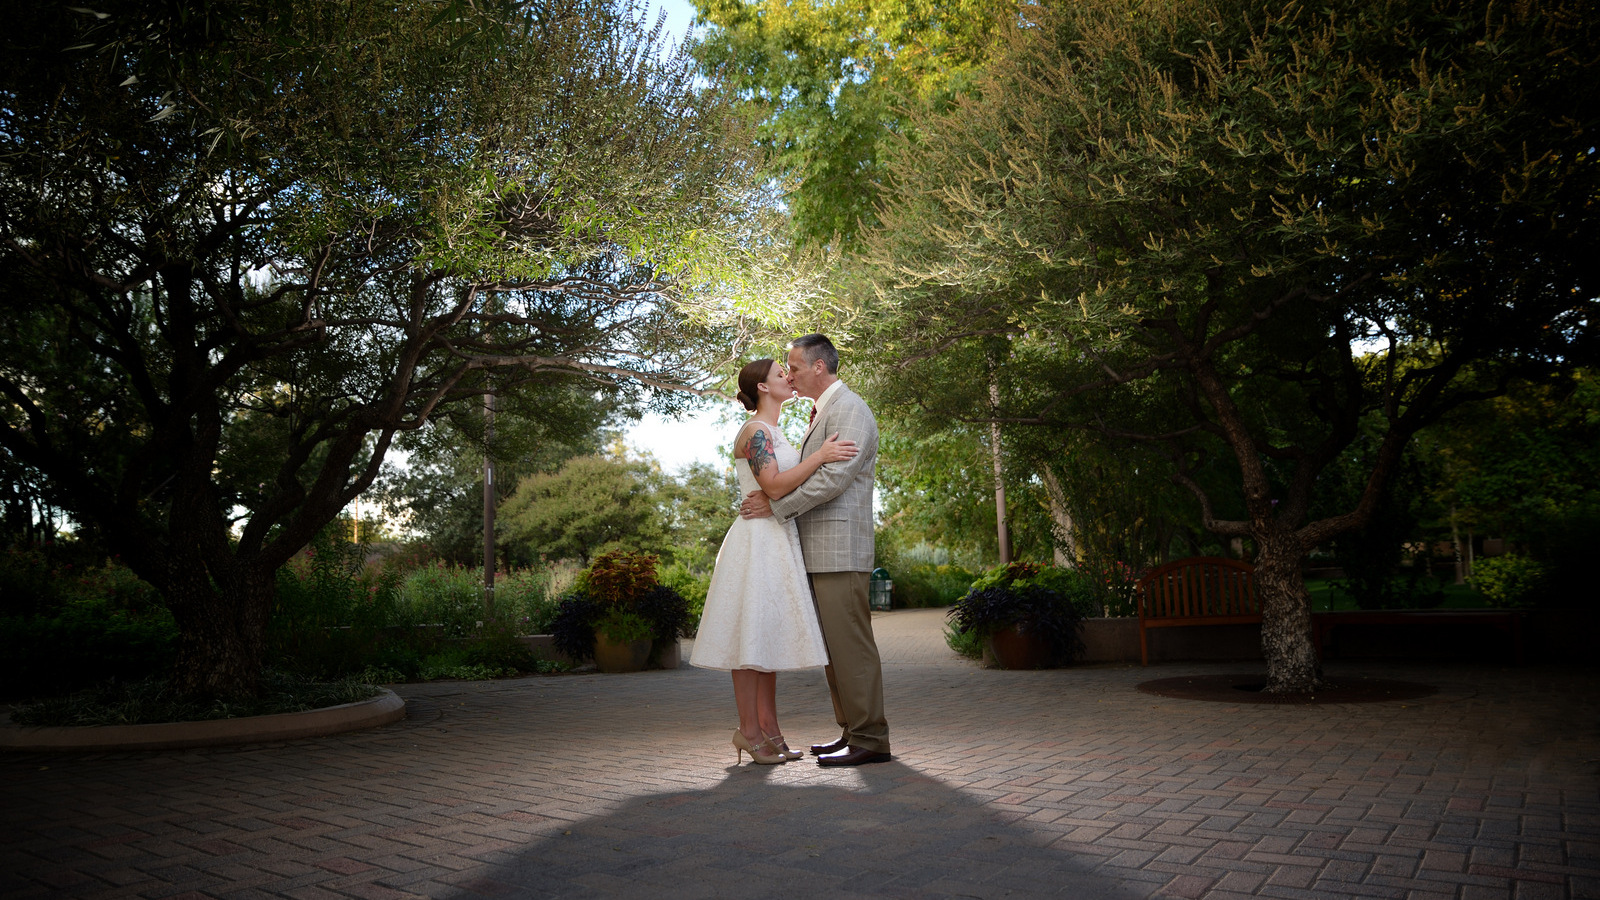
This was one of the shortest weddings I’ve ever photographed (about 1.5 hours) and was one of the most enjoyable. The wedding was held at Albuquerque’s beautiful Bio Park after hours. The guest list was small, and the ceremony was short, relaxed, and simple. The quiet and private environment made it easy to shoot and grab some photos of the Bride and Groom enjoying the moment and the excitement of their big day. 🙂


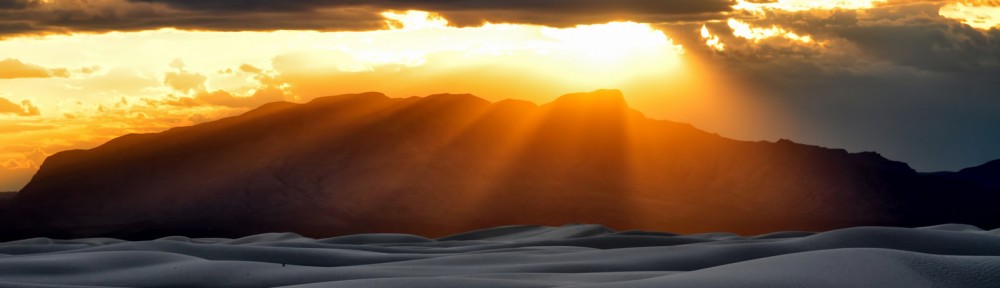
Some friends and I made another trip into the amazing Bisti or De-Na-Zin badlands in Northwest New Mexico. We backpacked in and spend the first night exploring the area. We had planned on taking more photos the second night but that was cancelled due to a good rain that stopped in making the entire place really wet and muddy. I’ll go back again soon. Aside from that, I put together my first time lapse and included it below. Its OK, but I’ll need to revisit my process in making the time lapse and joining the scenes, etc.
The area that includes the Bisti/De-Na-Zin Wilderness was once a riverine delta that lay just to the west of the shore of an ancient sea, the Western Interior Seaway, which covered much of New Mexico 70 million years ago. The motion of water through and around the ancient river built up layers of sediment. Swamps and the occasional pond bordering the stream left behind large buildups of organic material, in the form of what became beds of lignite. At some point, a volcano deposited a large amount of ash, and the river moved the ash from its original locations. As the water slowly receded, prehistoric animals survived on the lush foliage that grew along the many riverbanks. When the water disappeared it left behind a 1,400-foot (430 m) layer of jumbled sandstone, mudstone, shale, and coal that lay undisturbed for fifty million years. Sandstone layers were deposited above the ash and remains of the delta. The ancient sedimentary deposits were uplifted with the rest of the Colorado Plateau, starting about 25 million years ago. Six thousand years ago the last ice age receded, and the waters of the melting glaciers helped expose fossils and petrified wood, and eroded the rock into the hoodoos now visible. Source: http://en.wikipedia.org/wiki/Bisti/De-Na-Zin_Wilderness


Drool…. I just received my new time lapse equipment from Dynamic Perception. I’m excited to get out and grab some footage to share with you guys. I’m testing and becoming familiar with the equipment right now. Stay tuned! 🙂


Wanna make some great photos but don’t have or don’t want to spend a lot of money? A few days ago I posted photo of a Hummingbird on my Facebook page I took with a new Nikon D810 and a 85mm 1.8. I received a comment asking me “how much money do you spend on your equipment to get a shot like this?” Others comment from time to time that they’d love to get into photography but don’t have the money. So, I thought how close can I come to some of the shots I get with my Nikon D600 and the D810 with a really cheap used DSLR? Personal challenge begins.
Ebay has about 4500 Nikon D40’s and about 7000 Nikon 18-55’s listed. There are so many listed that the prices are really low. If you search a bit and you bid at the right time, you can get some really nice cheap equipment. I also started thinking about a good “do most everything” lens. A lens that could take some really nice portraits, macros, has some length on it, with really nice bokeh, fast (f/2.8), and cheap. I opted for the Tamron 90mm macro. I’m sure there are other choices that some would consider better, but I went with this to fit my needs. Because the Tamron is a full frame lens, it has an equivalent focal length on the Nikon D40 of 135mm. Shopping was completed with a used Yongnou Strobe and a few other items. Shopping list (all off e-bay):
Nikon D40 (included free 2 gig memory card): $109
Nikon 18-55 $59
Used Tamron 90mm Macro:$209
Used Yongnuo YN-560 flash: $59
Used tripod: $10
Cowboy Studio Triggers: $18
Used Nikon Remote: $2.30
Used Lightstand and Umbrella: $30
Photoshop: $10/Month
Total: $506.30
In contrast, my setup for the Nikon D810 is about $7000+ with lenses, strobes, and just what I normally shoot with. I specifically picked up all of the above items so I could compare some of my favorite types of photography: Macro, Portraits and Long Exposures. I also wanted to limited myself to two lenses for the D40. I shot all photos on Auto White Balance. I tried to use similar focal lengths where I could. Finally, I broke down the cost for each shot and included the shot details. Keep in mind this is not a direct side by side comparison of a Nikon D810 and a Nikon D40. I’m just interested in making really a few great photos with used, old equipment VS a new modern brand new DSLR. Lets get into it. If you want to see a bigger resolution, right click on the photo and select view.
Long Exposures – I adjusted color on the D40 to bring the blue out in the night sky. When I setup long exposures with the D810, the Samyang has a hard stop to infinity. So its easy to focus to infinity. The Nikon 18-55 does not. I had to focus on the Moon or something else far away and was amazed at that the Nikon D40 with the 18-55 did this so easily in the dark. After the D40 was focused to infinity, I set the auto focus switch on the side of the lens to off. Both shot on M mode or manual.
Left photo: Nikon D810, Samyang 14mm f/2.8: F/2.8, ISO200, 20 Seconds
Cam, Lens, Tripod, Photoshop Cost: $3810
Right Photo: Nikon D40, Nikon 18-55 f/3.5-5.6: f/3.5 ISO200, 20 Seconds
Cam, Lens, Tripod, Photoshop Cost: $190

Long Exposures – I added just a bit of noise reduction on the D40 photo in Photoshop. Otherwise the photos are pretty much straight out of the camera. Both shot on M mode or manual.
Left photo: Nikon D810, Samyang 14mm f/2.8: f/3.5, ISO400, 20 Seconds
Cam, Lens, Tripod, Photoshop Cost: $3810
Right Photo: Nikon D40, Nikon 18-55 f/3.5-5.6: f/3.5 ISO400, 20 Seconds
Cam, Lens, Tripod, Photoshop Cost: $190

Macros – These photos look virtually identical to me. I shot both on Aperture Priority at f/10 to increase the depth of field. I adjusted the saturation on the D40 photo a bit because I shot it on the vivid color setting and wanted it to match the color of the D810 a bit more. I also cropped both photos quite a bit to fill the frame with the flower. Of course the D810 did produce a lot more detail when zoomed in very close. However, the D40 photo clarity and detail is pretty impressive.
Left photo: Nikon D810, Tamron f/2.8: f/10, ISO200, 1/500th of a second.
Cam, Lens, Tripod, Photoshop Cost: $3789
Right Photo: Nikon D40, Tamron f/2.8: f/10 ISO200, 1/640th of a second.
Cam, Lens, Tripod, Photoshop Cost: $338

Portrait #1 – I used an Alien Bee B800 (maybe 1/16th power) with the 8″ reflector on a light stand and Pixel King wireless triggers on the D810. I used the Yongnuo YN-560 flash (maybe 1/4th or 1/2 power) with the white shoot through umbrella and the Cowboy Studio wireless triggers on the D40. On the D40 photo I reduced the saturation and adjusted light. On the D810 photo I adjusted contrast and light. I cropped both photos to fill the frame with the model. Both shot on M mode or manual. I shot the D810 photo at 200mm and the D40 at 90mm – 135mm equivalent.
Left photo: Nikon D810, Sigma 70-200 f/2.8: f/2.8, ISO100, 1/160th of a sec
Cam, Lens, umbrella, strobe and wireless triggers, Photoshop Cost:$ 5210
Right Photo: Nikon D40, Tamron 90mm f/2.8: f/3.2 ISO200, 1/400th of a sec
Cam, Lens, umbrella, strobe and wireless triggers, Photoshop Cost:$ 445

Portraits – Natural Light – I brought both photos into Photoshop and adjusted light, contrast and warmth.
Left photo: Nikon D40, Tamron 90mm f/2.8: f/2.8, ISO200, 1/100th of a sec
Cam, Lens, Photoshop Cost:$ 328
Right Photo: Nikon D810, Nikon 85mm f/1.8: f/1.8, ISO400, 1/800th of a sec
Cam, Lens, Photoshop Cost:$ 3860

Portraits – Natural Light – I brought both photos into Photoshop and adjusted light, contrast and warmth.
Left photo: Nikon D810, Nikon 85mm f/1.8: f/1.8, ISO400, 1/800th of a sec
Cam, Lens, Photoshop Cost:$ 3860
Right Photo: Nikon D40, Tamron 90mm f/2.8: f/2.8, ISO200, 1/100th of a sec
Cam, Lens, Photoshop Cost:$ 328

Landscape/Lightning – I brought both photos into Photoshop, adjusted contrast, reduced noise and adjusted color. But not much – very little. Both are shot with the same focal length with respect to the sensor size. I pre-focused to infinity and turned off auto focus. I shot both at f/22 to slow the shutter which gives me a better chance at capturing the lightning. Both cams were on a tripod and I just kept hitting the shutter button. I took about 75 photos before both cams captured the same bolt.
Left photo: Nikon D810, Tamron 24-70 /2.8: f/22 ISO200 1/10th of a sec
Cam, Lens, Tripod, Photoshop Cost:$ 3910
Right Photo: Nikon D40, Nikon 18-55 f/3.5-5.6: f/22 ISO200 1/15th of a sec
Cam, Lens, Tripod, Photoshop Cost:$ 190

The Hummingbird shot – The only editing I did was some noise reduction on the D40 shot using Photoshop. I shot the D40 photo with a bit more daylight then with the D810 photo.
Left photo: Nikon D810, Nikon 85mm f/1.8: Manual f/6.3, ISO800, 1/250th of a sec
Two strobes, wireless triggers, Cam, Lens, Tripod, remote, Photoshop Cost:$ 4690.00
Right Photo: Nikon D40, Tamron 90mm f/2.8: Manual f/7.1 ISO200, 1/500th of a sec
One strobe, wireless triggers, Cam, Lens, Tripod, remote, Photoshop Cost:$ 423.30

That’s it! What do you think? Is this a commentary on “the camera doesn’t matter?” No, not really. The take away is you can make some amazing photos in most any situation without spending a lot of money – if you stay at ISO400 or below. The D40 becomes really noisy at ISO800 and above. So its not really good for handheld low light photography. Finally, after all this shooting, editing, and looking and photos from both cams I realized its not about the money or equipment, its about getting out. It takes a lot of time to hike, drive setup, etc to take photos. I think that’s where the challenge is. Just getting out and/or finding the time. Hope you guys enjoyed.
Hi
I receive lots of messages here and there about shooting the Milky Way (MW) and what my settings are and how I do it. Keep in mind that this is MY shooting style. Other photographers may shoot differently. So…. here ya go.
Location/Where to shoot/When to shoot?
First, get out of the city and away from lights! This is essential. You just cant see or photo the Milky Way near so much light noise. Second, It really depends on the time of year because the MW “rises” and is visible at different spots in the Eastern, Southern and Western sky. Heading out somewhere South and East of any noisy city light is best. You can shoot North (looking south) of any city light, you just have to be hundreds of miles away. Depending on the size, city light noise can be visible in your shot even at 150 to 200 miles (and maybe more) away. I live in the southwest and its pretty easy to get south of the city I live in to grab my shots. Also, shoot when there is little or no Moon. The Moon is so bright and depending on where its at in the sky it can wash out your view of the MW. For more info on finding a dark place to shoot, browse to: http://www.jshine.net/astronomy/dark_sky/ or http://www.darksky.org/night-sky-conservation/36-ida/night-sky-conservation/91-darksky-finder-a-destinations
Another helpful resource/program is Stellarium. This free program will allow you to see where the MW and the Moon is and when both will “rise” by time and location. http://www.stellarium.org/
The best time to shoot the Milky Way is in the summer months (If you’re in North America). Why? The Earth is in a position to see most of the MW. And when it “rises” and you can see it arch from South to North in the Eastern sky (early Summer). I always quote rise because the MW doesn’t really rise, it comes into view as the Earth makes it daily/monthly/yearly rotation around the sun. But you knew this – Right? 😉

Essential Equipment
A camera (DSLR) capable of high ISO capabilities
The best choice will be a full frame DSLR like a Canon 1D/5DMKIII/MKII/6D, a Nikon D4/D3s/D700/D600/D800/D4, etc, and other brands of full frame cameras. Full frame sensor cameras are the best choice for capturing the MW because of their stellar high ISO performance. But the MW would be easily captured as well with a crop sensor (APS-C size) like that of a Nikon D3100/3200/D5100/D5200/D7000/D7100/D90/D300(S), etc, or a Canon T2/T3/T4/T5/40D/50D/60D/7D, etc. As far as other cameras such as point n shoots or mirrorless are concerned, if they have the option to shoot in manual and set the exposure, aperture, and ISO, they should be able to grab something useable. But to be honest, I’m not sure as I don’t own one or used one.
A fast wide angle lens
Because the sky will be so dark, a fast (f/2.8 or faster) aperture lens would be preferable. The wider the view, the better because you will want to grab the biggest part of the sky possible – including the landscape to give the photo perspective. I use a Samyang 14mm f/2.8 lens. A wide zoom lens is fine too and with most of those the fastest aperture is f/3.5. You will also want to set your auto focus to OFF and then manually set the lens to the infinity focus setting. I use electrical tape to secure my focus ring so it doesn’t move if I accidentally touch it during the night.
A tripod
A good sturdy tripod is essential as you don’t want the camera moving during a long exposure. You will end up with nothing useful if you try shooting handheld.
A wired or wireless remote – Optional
When I’m out at night, I sometimes shoot startrails and/or timelapses. Some photographers prefer to use a wired intervalometer/remote. This device allows you program and setup an automated continuous cycle of 30 second exposures. This is really handy if you don’t want to stand by your camera for hours hitting the shutter button over and over every 30 seconds. Some of the newer Nikons and Canons (and others) have built in intervalometers. Most DSLR’s have the option to use a IR (wireless) Remote and you might be able to pick one up at a local camera retailer for $20 dollars. However, if you don’t have any of the above, its really not that much work to setup a chair by your camera and just hit the shutter button every 30 seconds. 😉 To lighten my load when I’m out shooting the Milky Way, I dont carry a remote of any type. I just hit the shutter. If the tripod is sturdy, its fine.
Example wired timer for Nikon: Amazon
Battery/Memory Card
Get a large memory card. Don’t forget to charge your batteries and maybe bring an extra because you might be shooting for hours. You can always pick up extras for most cameras at a local camera retailer.

How to shoot and settings
These are my settings and what I use. I cant speak to how your particular brand of camera settings are completed with regard to the below.
1. Get your cam on the tripod and lock it to your view (Eastern, Southern sky, etc).
2. Set your camera to manual (M) mode.
3. Set a 30 second exposure time (Shutter Speed). Why 30 seconds? If you shoot any longer you will start to end up with star trails. You will need to experiment here a bit. Occasionally I’ll shoot at slower speeds such as 15 seconds depending on the night sky, surrounding light, etc.
4. Set your lens to its fastest aperture – Mine is f/2.8. If you are using a lens with aperture of something slower than f/2.8 (I.E. f/3.5, F/4) you might have to shoot a bit longer. If this is the case most cameras have a Bulb mode. The shutter will stay open as long as you have your finger on the shutter button or you can use a wired remote. See “A wired or wireless remote” above.
5. If using a zoom lens, set it to its widest point. 18mm, etc. For APS-C size or crop sensor cameras my favorite lens is the Tokina 11-16 f/2.8.
6. Turn off auto focus and set the lens/camera to manual focus and then focus to the infinity mark.
7. Set your ISO to what you want to shoot at. On my Nikon D600, I usually shoot at ISO5000 (Yes 5000).
8. I TURN OFF long exposure noise reduction (NR) in my camera. Why? If you have this turned on, after a 30 second exposure, the camera will take an additional 30 seconds to apply the NR after EACH shot. If I’m out shooting the stars/MW I leave this off so I can quickly switch from shooting the MW to shooting startrails. If I leave NR on, I’ll end up with gaps in my startrail stack when I post process. You can apply NR in post process.
9. If you have the ability (photoshop or similar), shoot in and edit in RAW and not JPG. There is so much image quality you can pull out of a RAW file then a JPG when editing.

About ISO
Every camera is different and you will need to experiment. Because the sky will is so dark, my suggestions for full frame cameras are ISO5000 at 30 seconds and with an aperture of F/2.8. For crop sensors (APS-C size) a setting of ISO3200 or ISO4000 should yield some useful photos. Again, I suggest you experiment, take a few photos and look at the result on your cameras LCD screen. Too Dark? Increase the ISO. Too light or over exposed? Lower the ISO. In addition to the ISO setting, consider shooting longer or slower. I usually start off with a 30 second and adjust ISO and shutter speed to get what I want. If your fastest aperture is F/3.5 or F/4, etc., you will have to compensate with a higher ISO setting or maybe a longer shutter speed (See Bulb above). See your cameras manual for more info.
About Noise Reduction
Shooting at high ISO always results in noisy photos. Earlier I mentioned I shoot with no noise reduction because I like to reduce noise in post process using photoshop or photoshop plugins. If you dont have that ability to edit RAW files, are shooting in JPG and are just shooting the MW, turn the in camera noise reduction on.
Again. This is how I shoot. Other photographers have their way of shooting too. But this is the nice thing about photography, its an art form and you (and I) can shoot any way we wish.
Finally, if you don’t have a camera or don’t want to go through all of the above, just grab some chairs, your loved ones, and go sit and stare at the sky in a quiet remote place. There is so much to enjoy just looking straight up, deep thinking and enjoying the serenity. 🙂

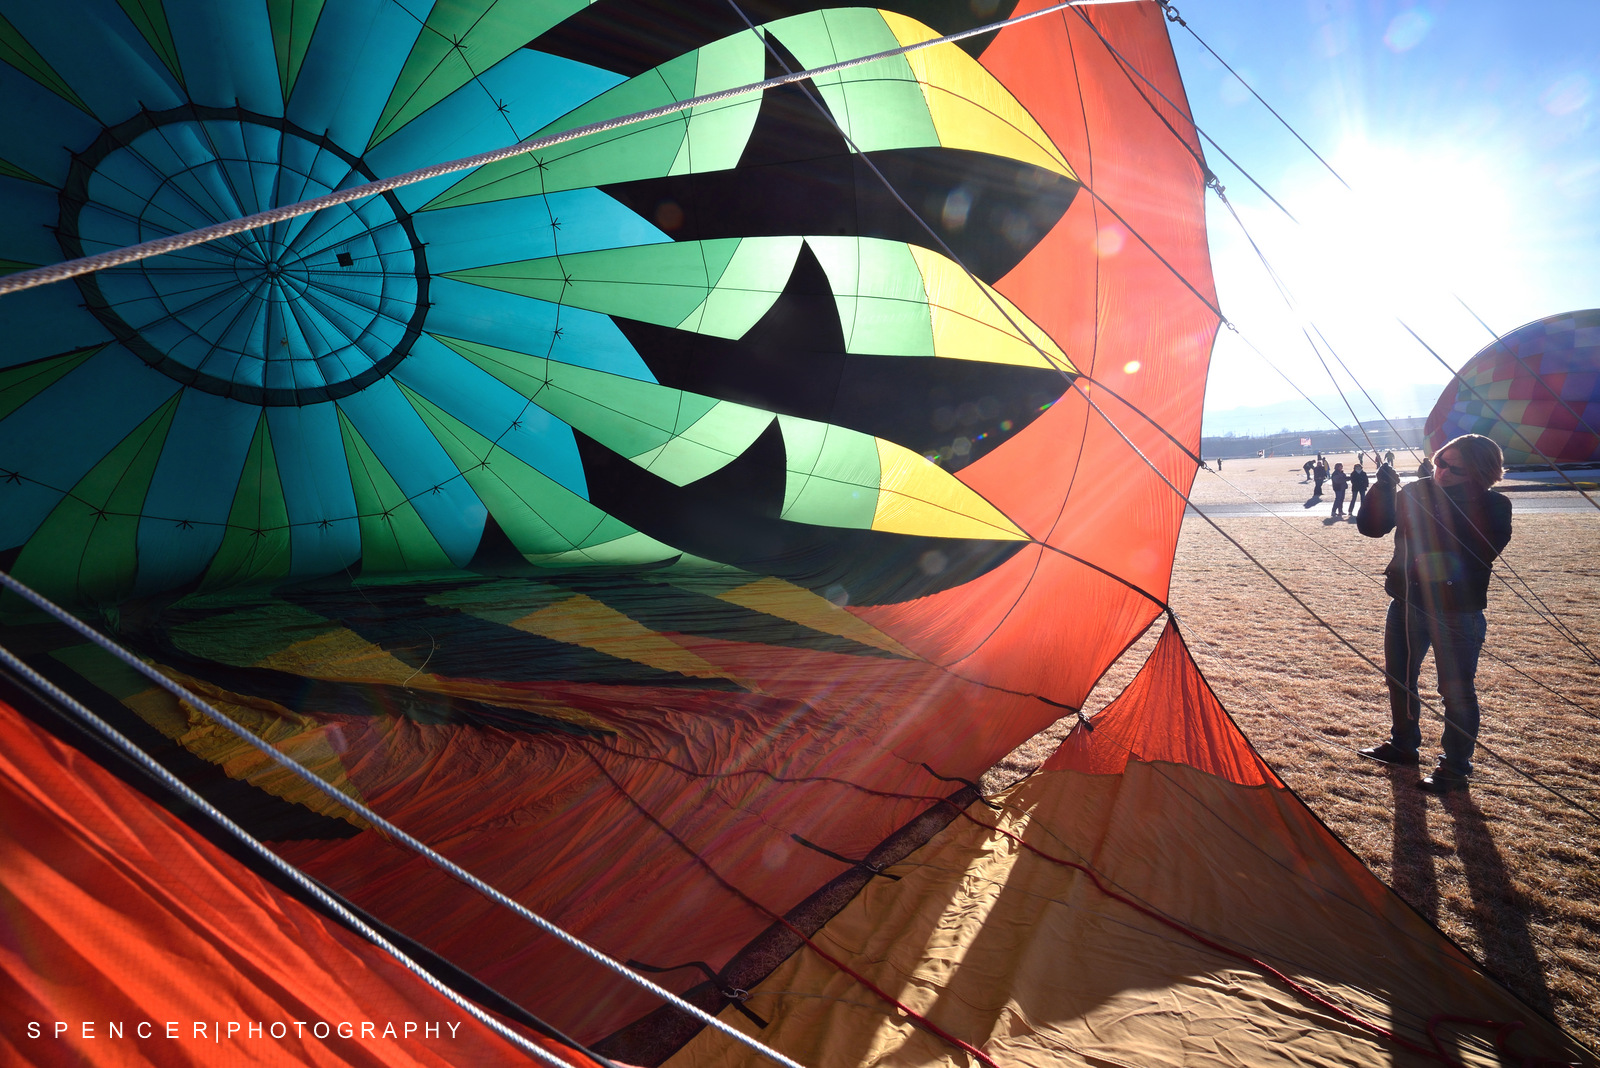
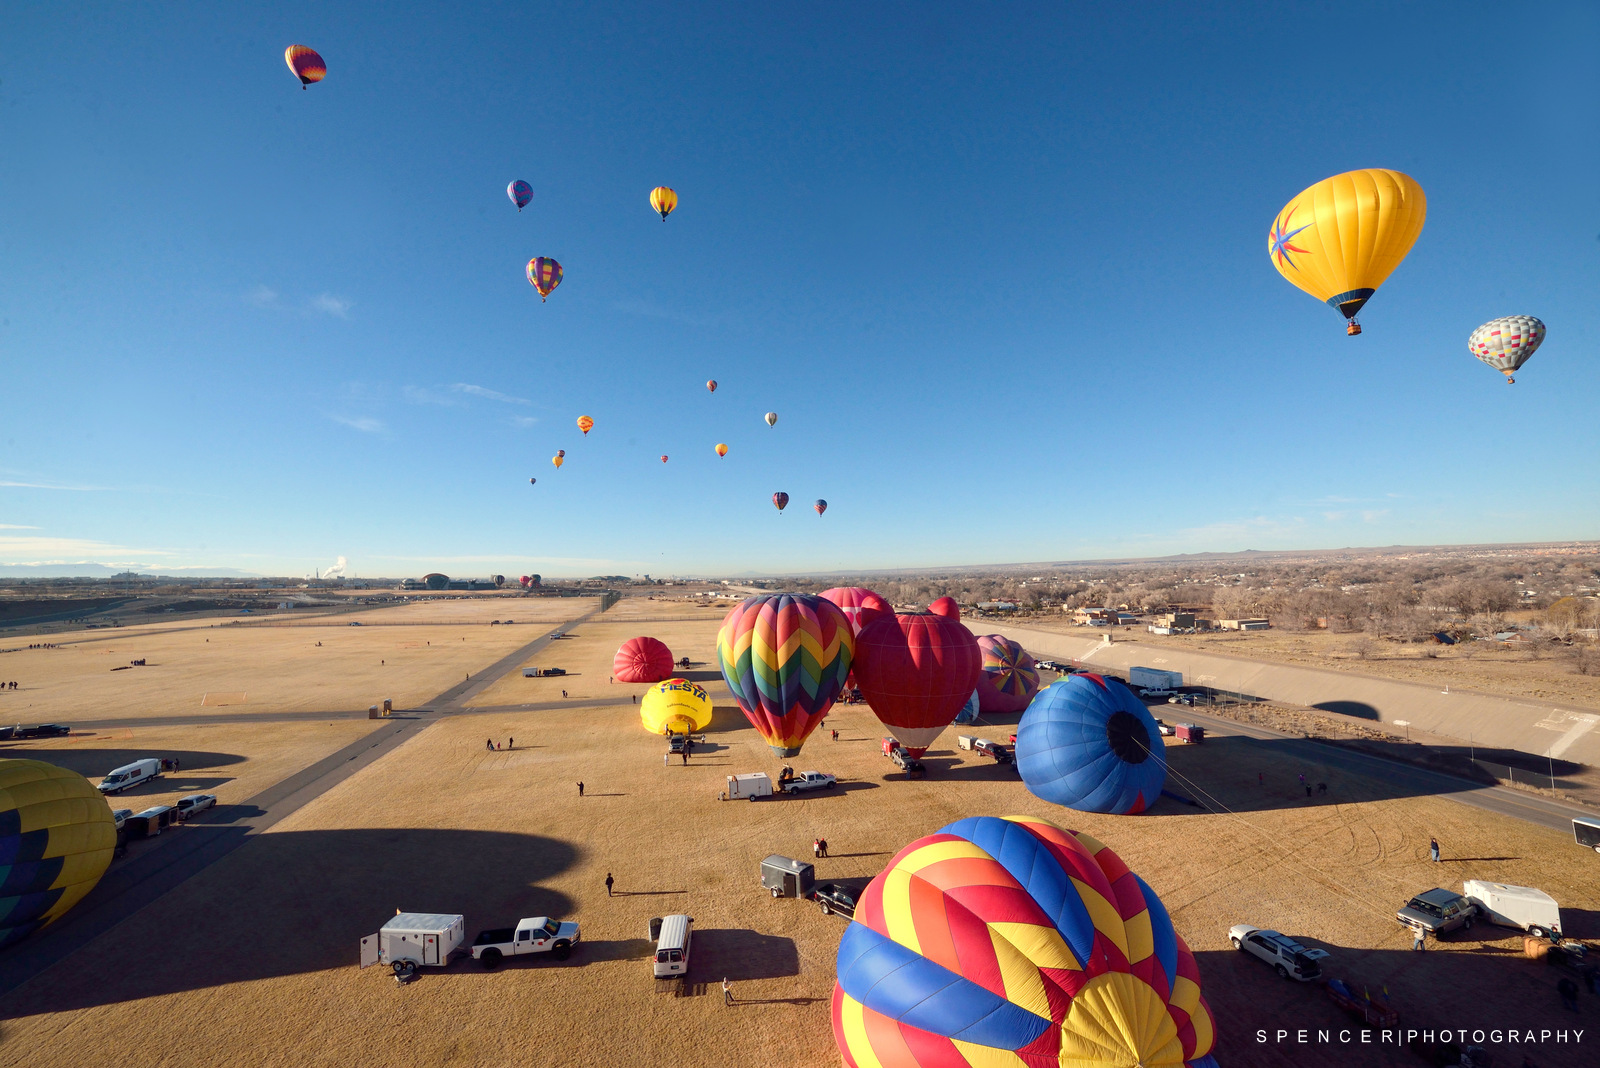
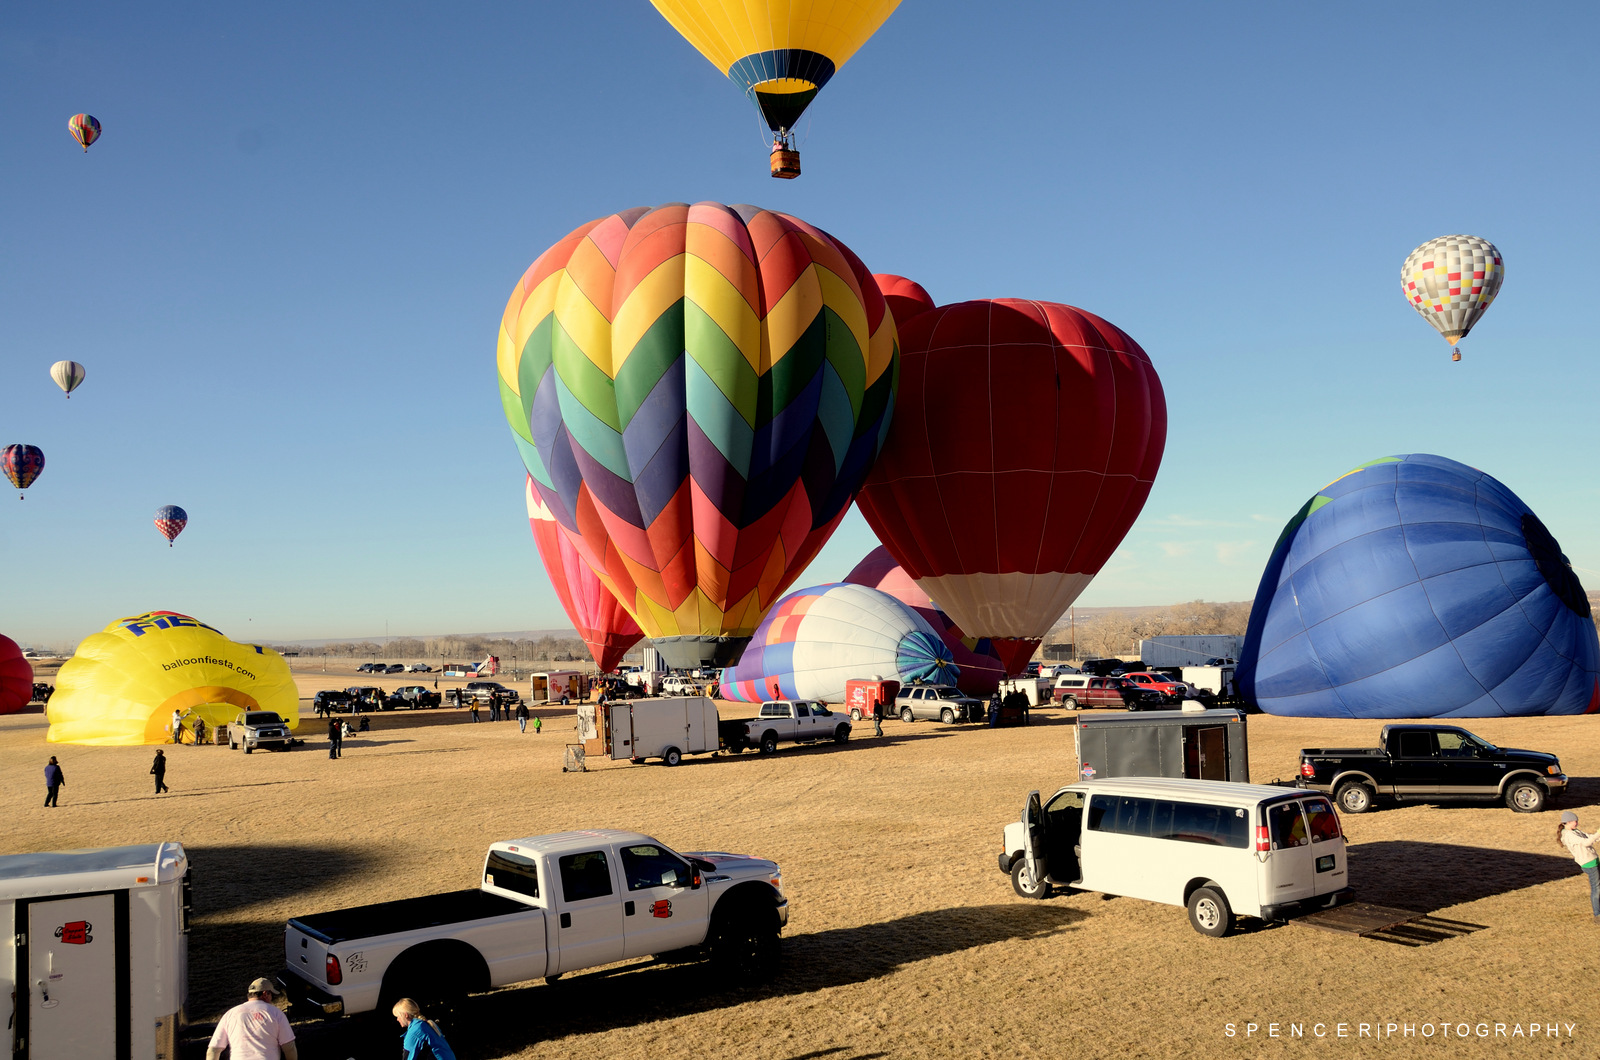
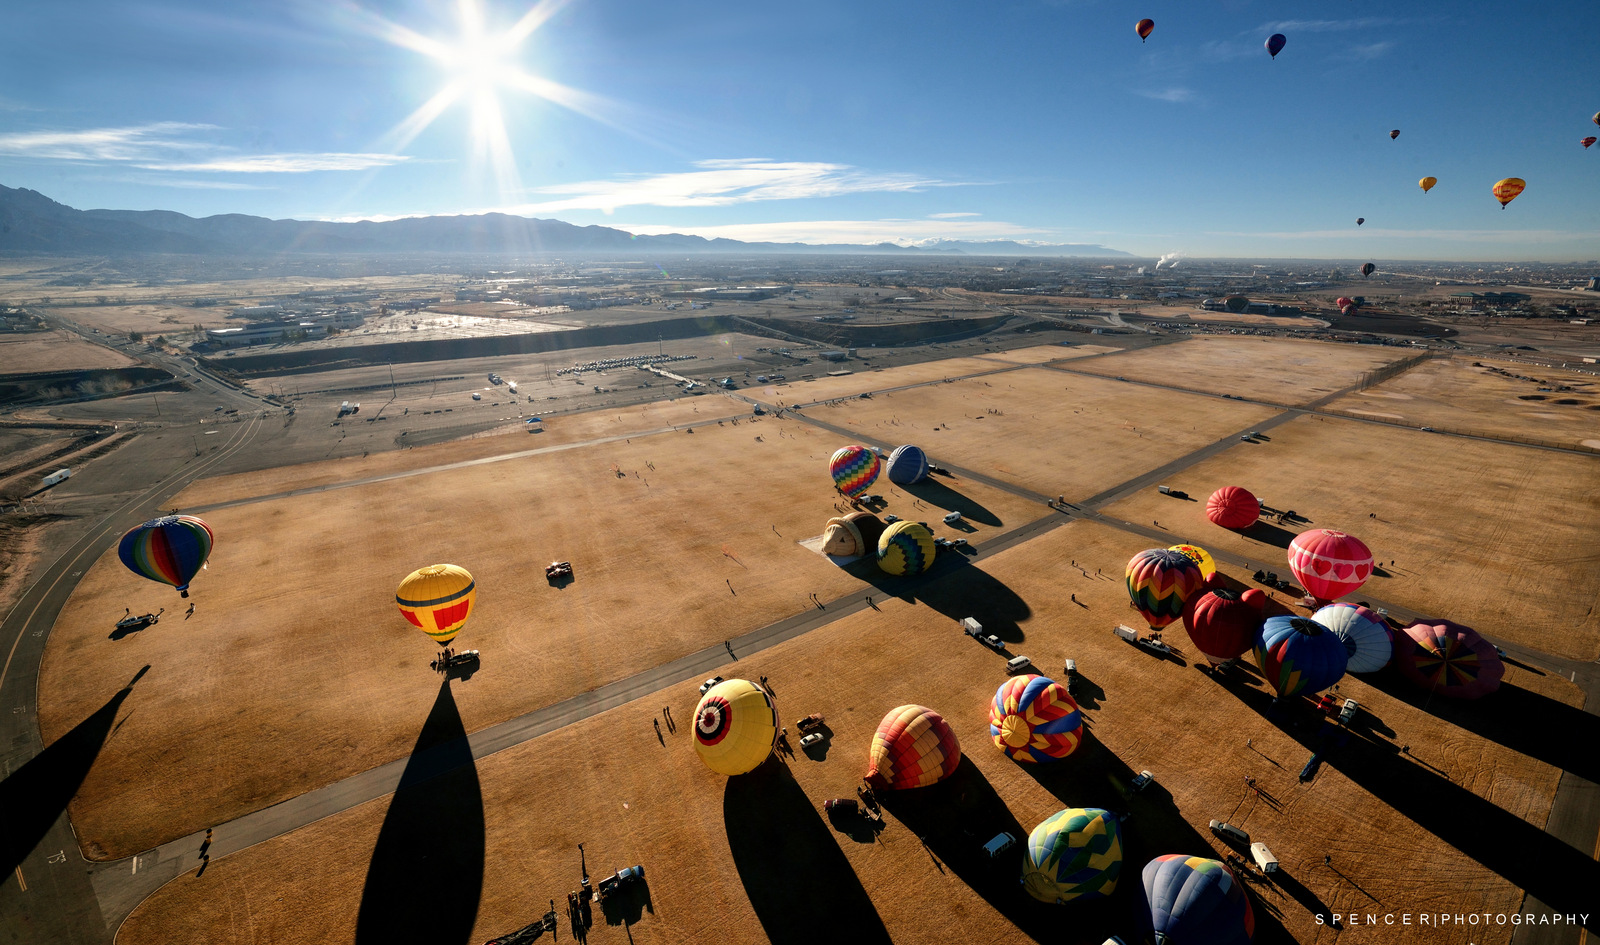
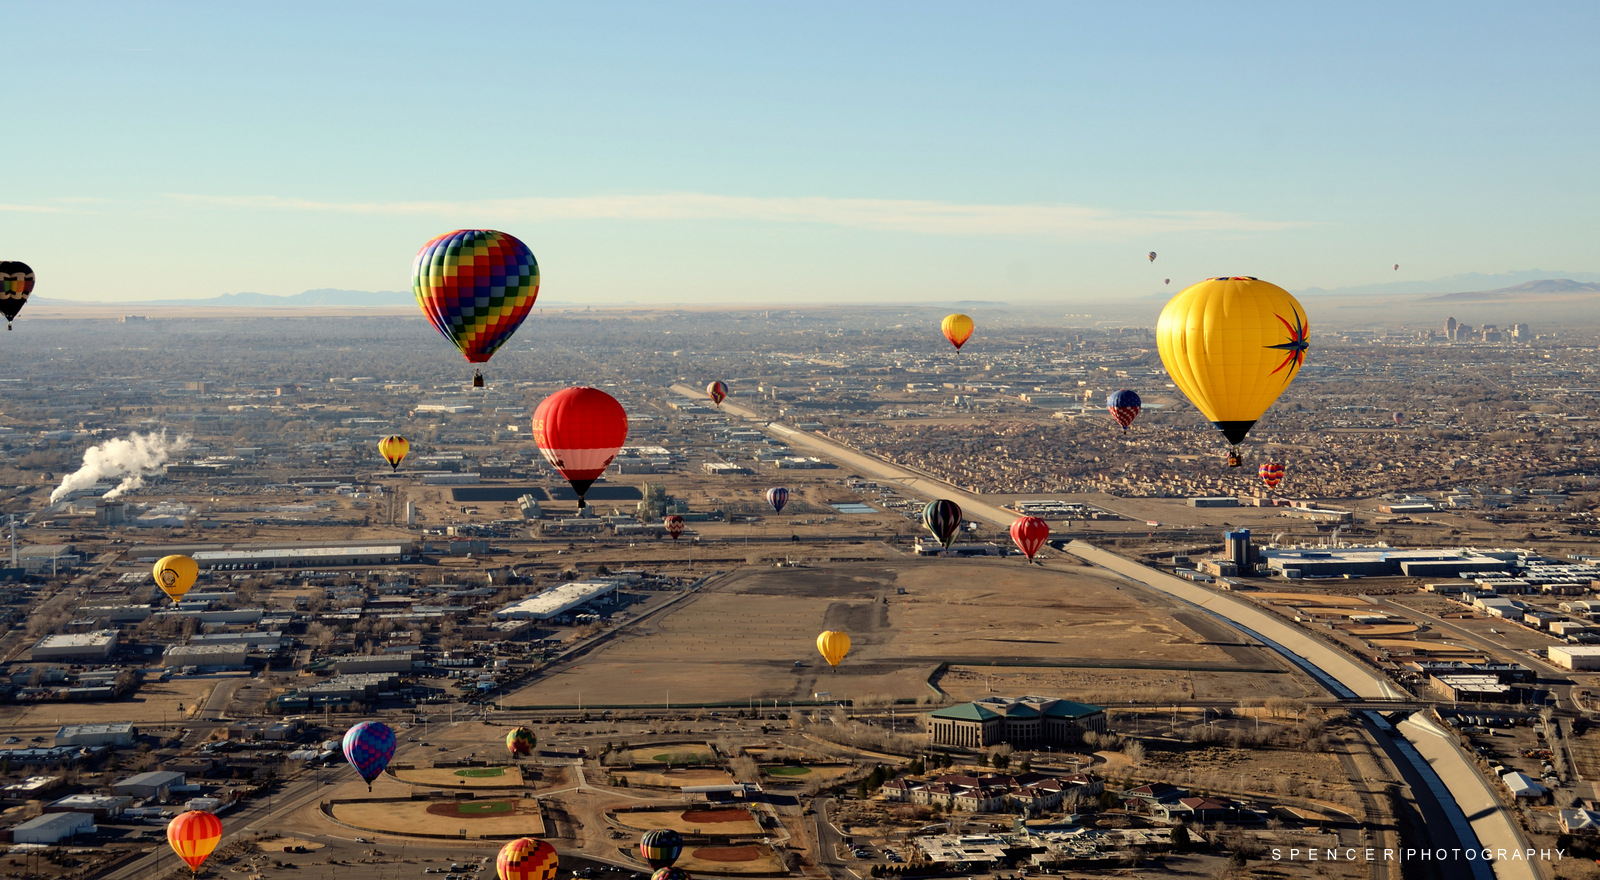
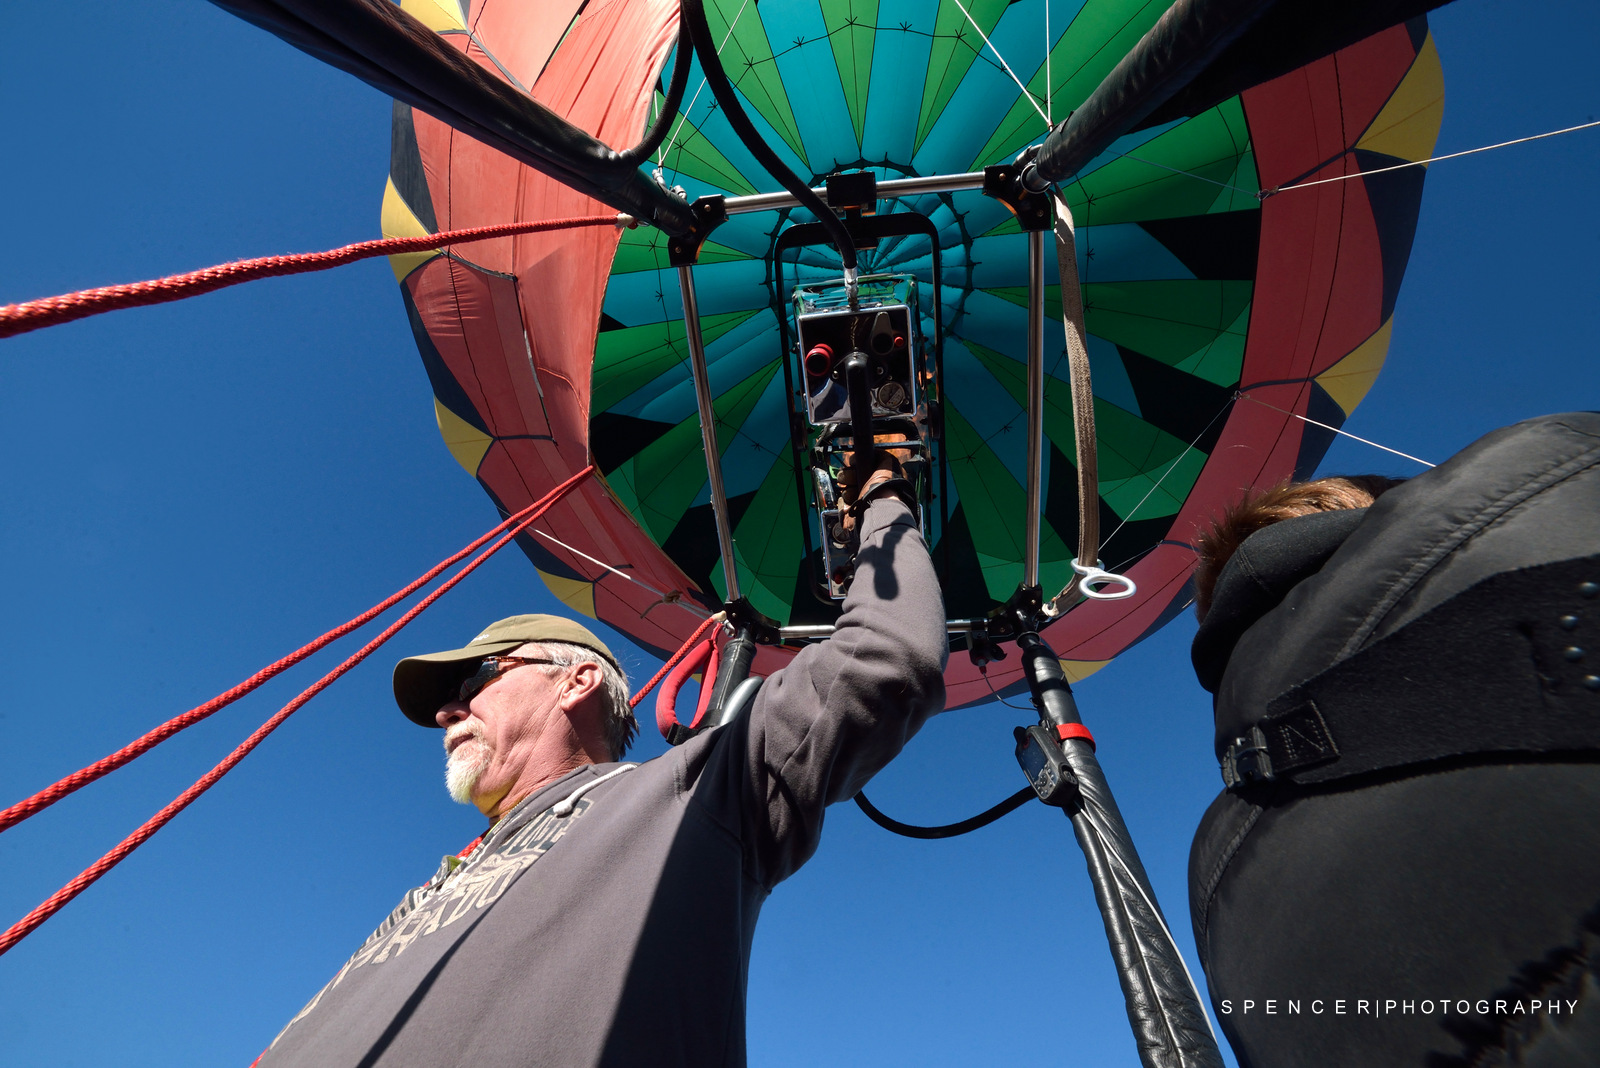
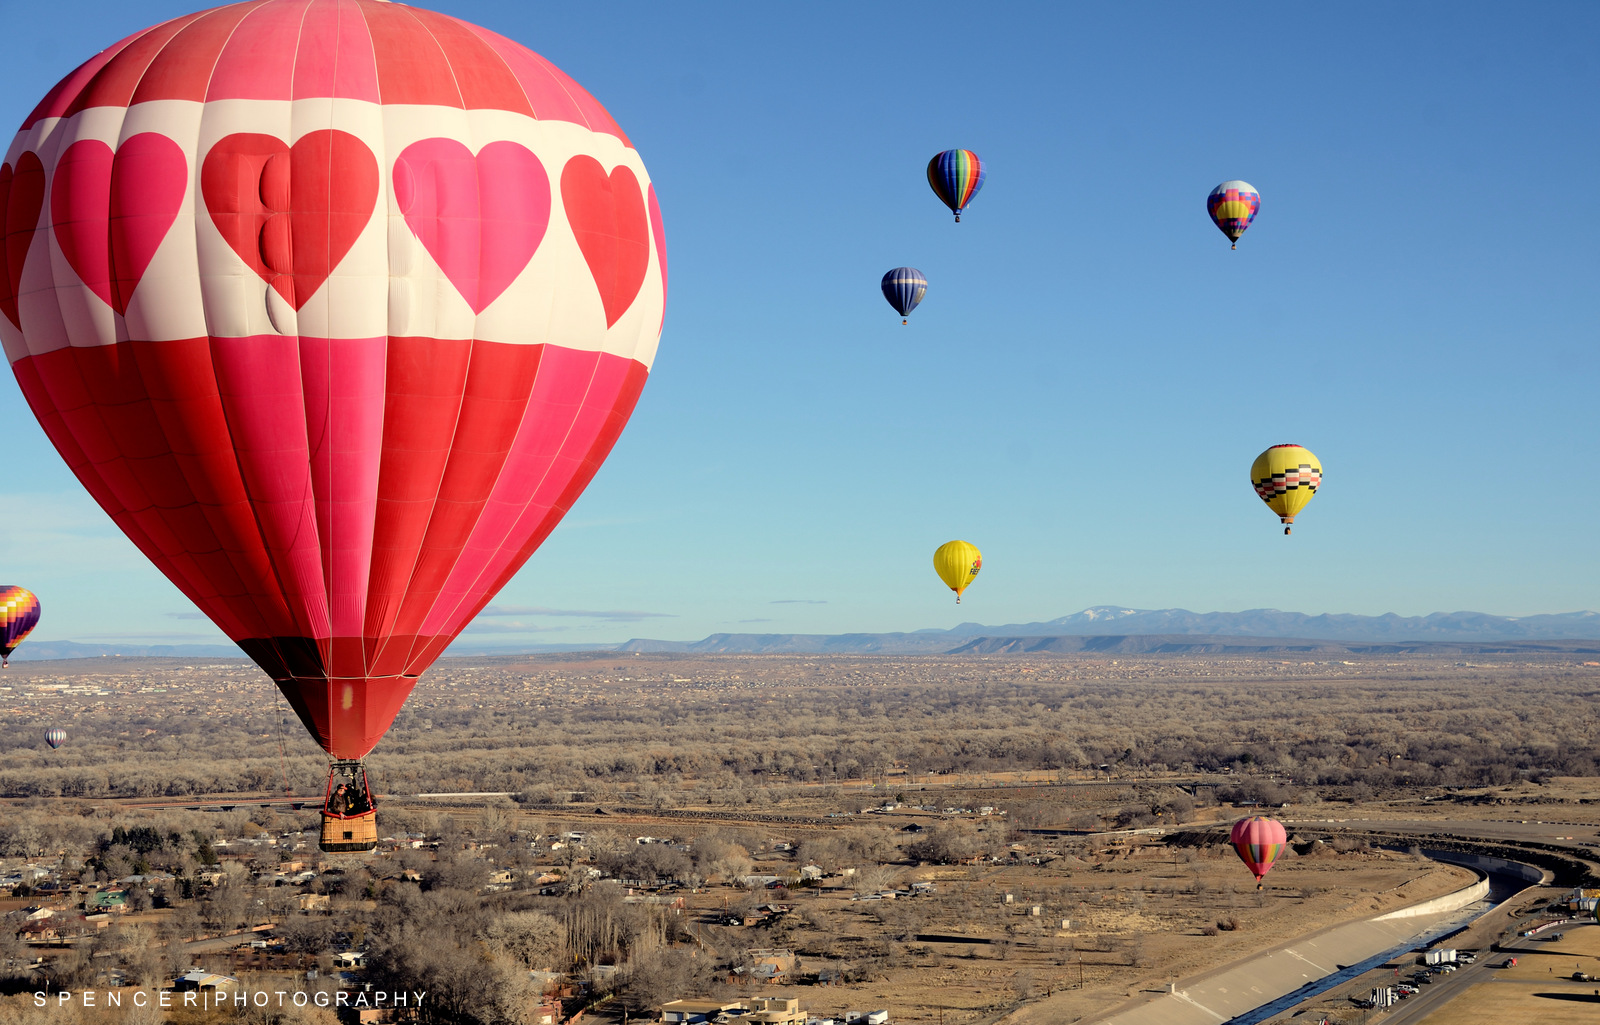
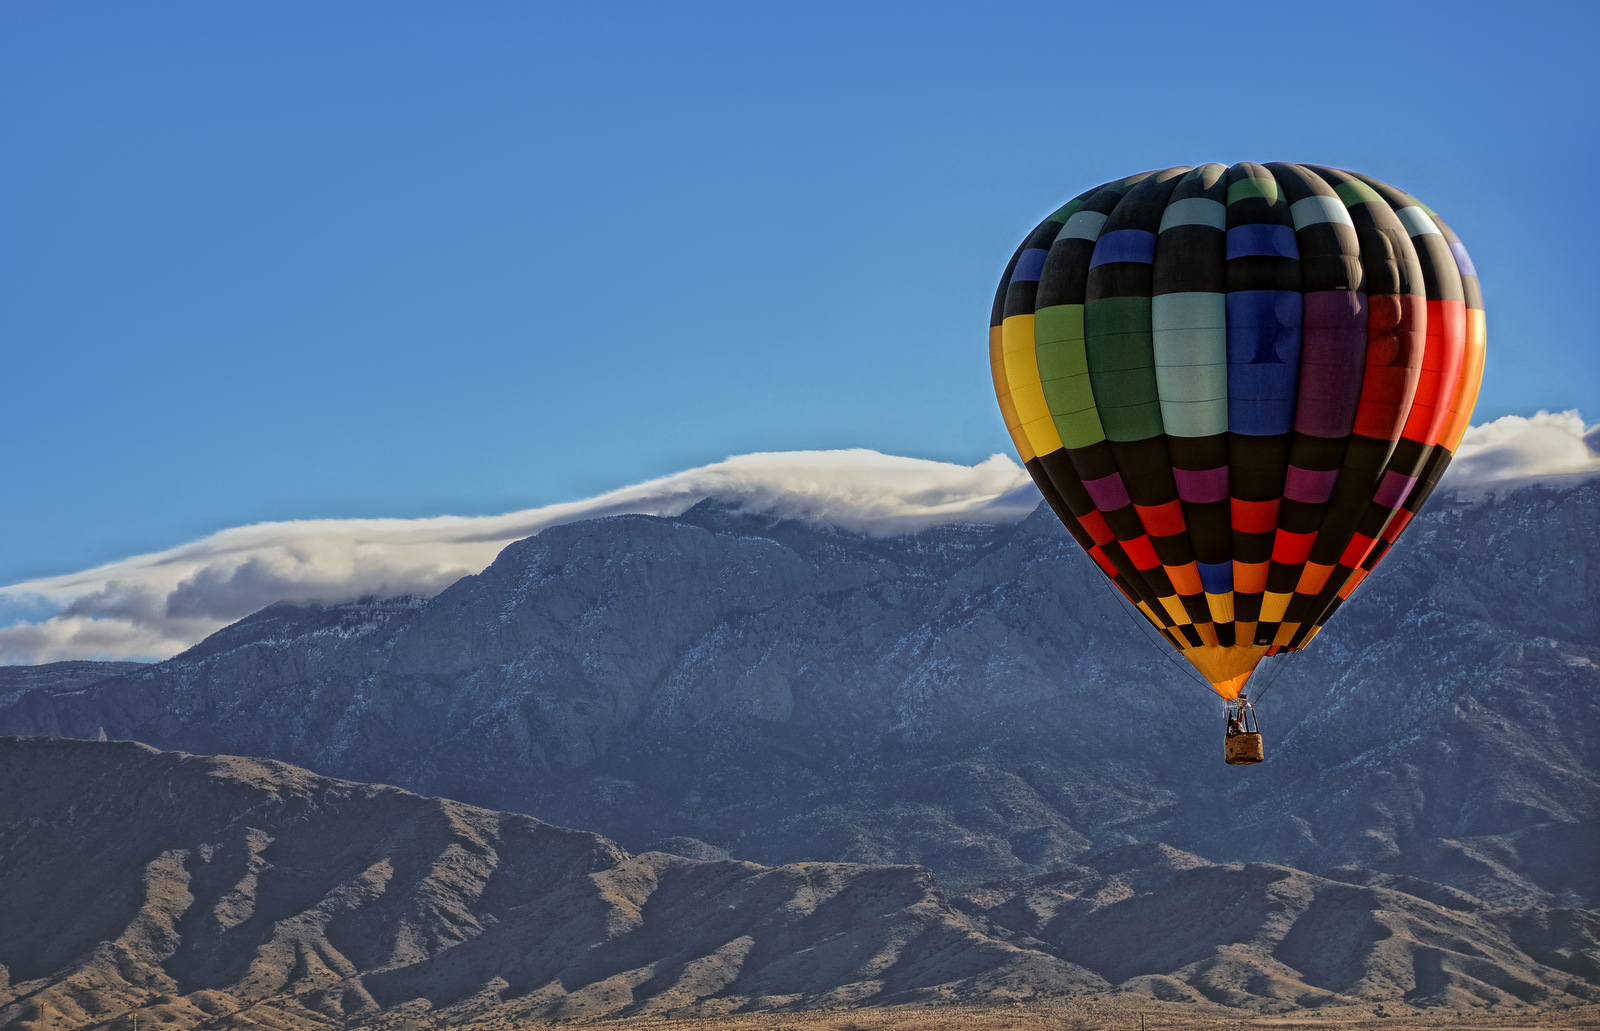
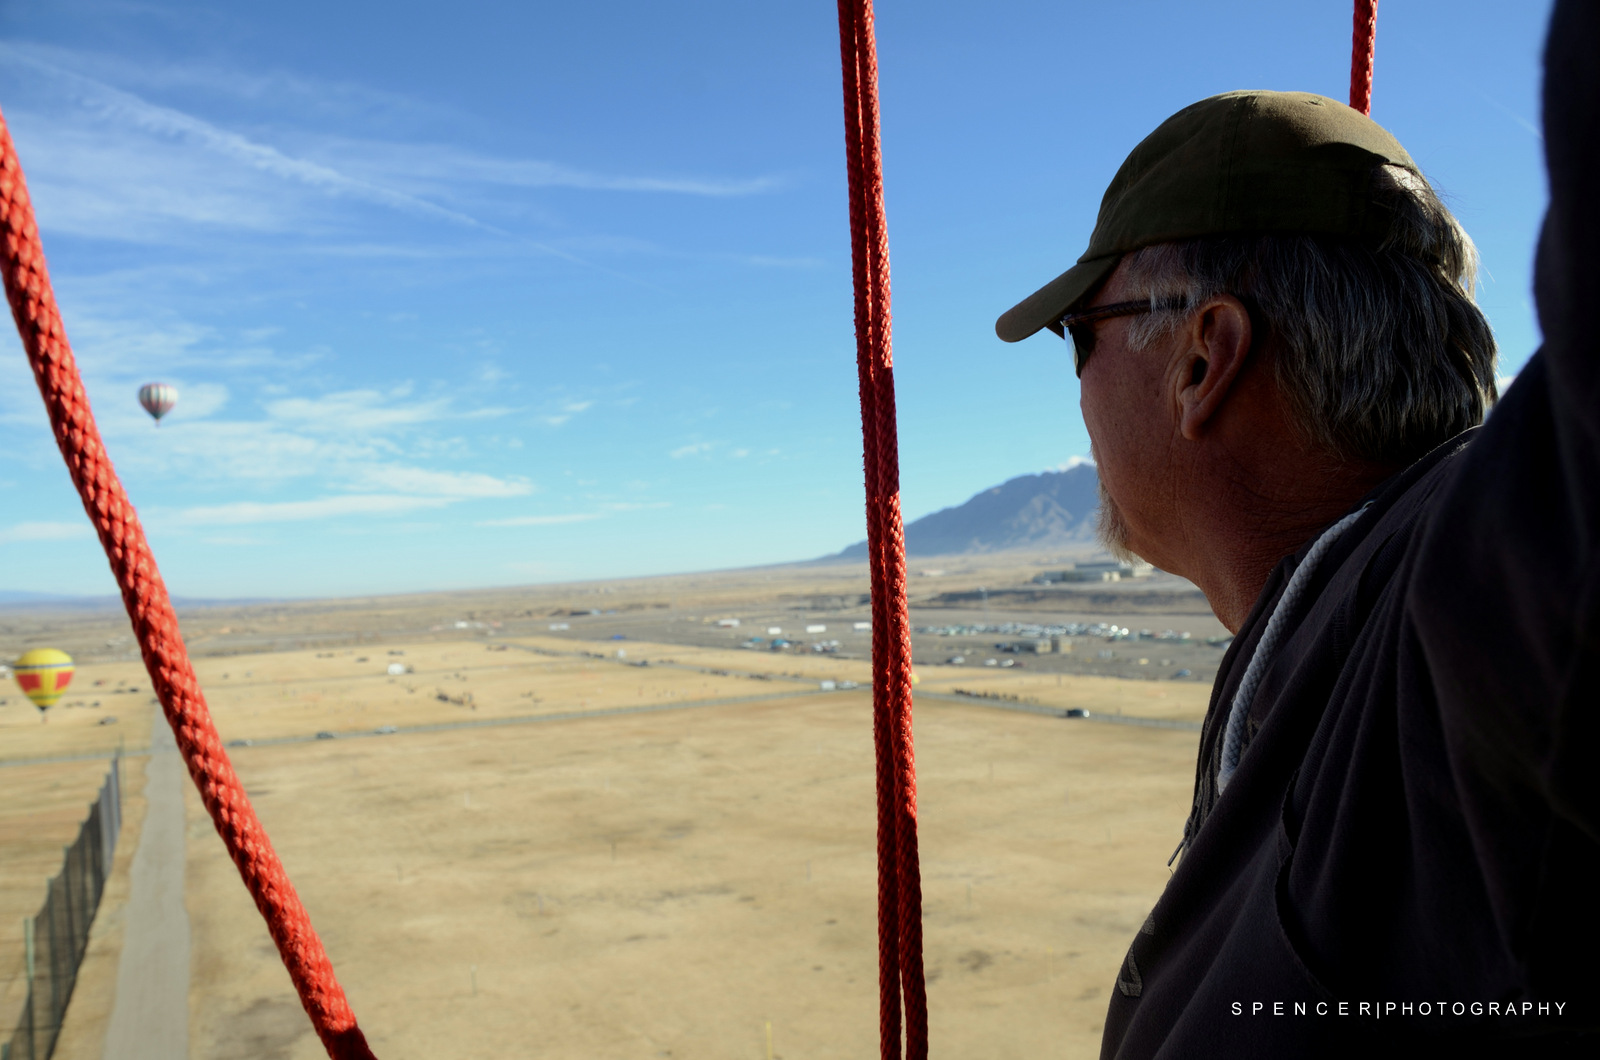
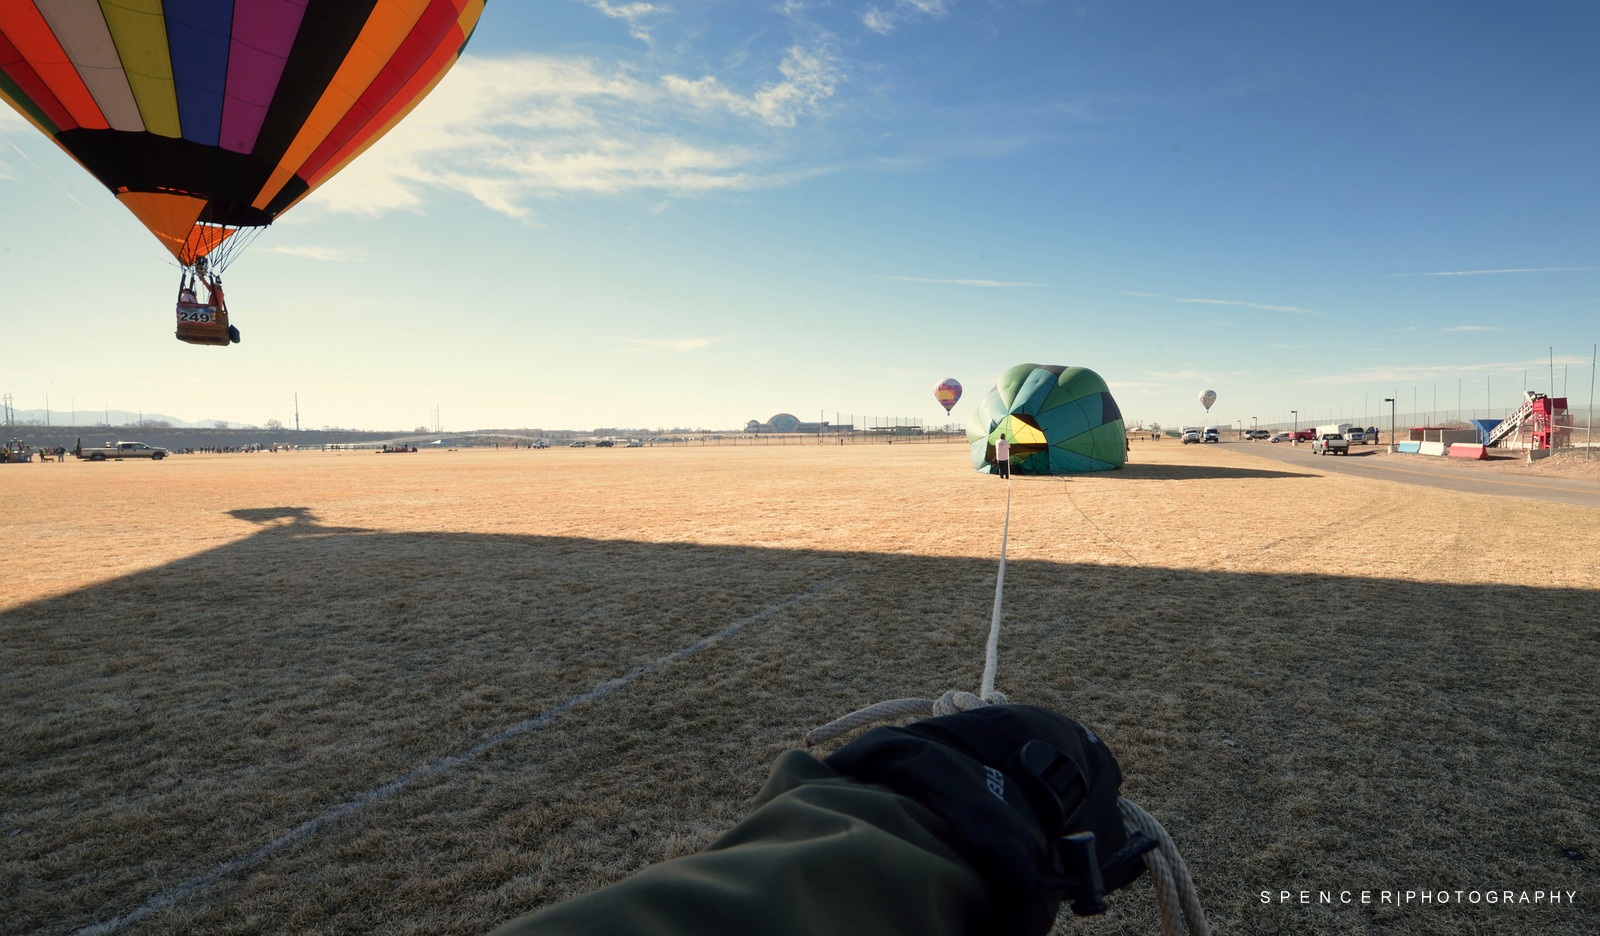
Albuquerque is the home and birthplace of hot air ballooning and October is the month for the biggest Hot Air Balloon event in the world. However, when February rolls around, a smaller event called the Friends and Lovers Balloon Rally is held and this year about 100 balloons participated. This rally is put together by the Albuquerque Aerostat Ascension Association (AAAA). The event has Valentine’s Day theme and is open to the public but is really produced to raise money for charity and to recognize the hard work that the balloon crew members/volunteers do for the sport. Many thanks to Mike (The Pilot) for the ride. More reading:
http://www.hotairballooning.org/
http://www.visitalbuquerque.org/
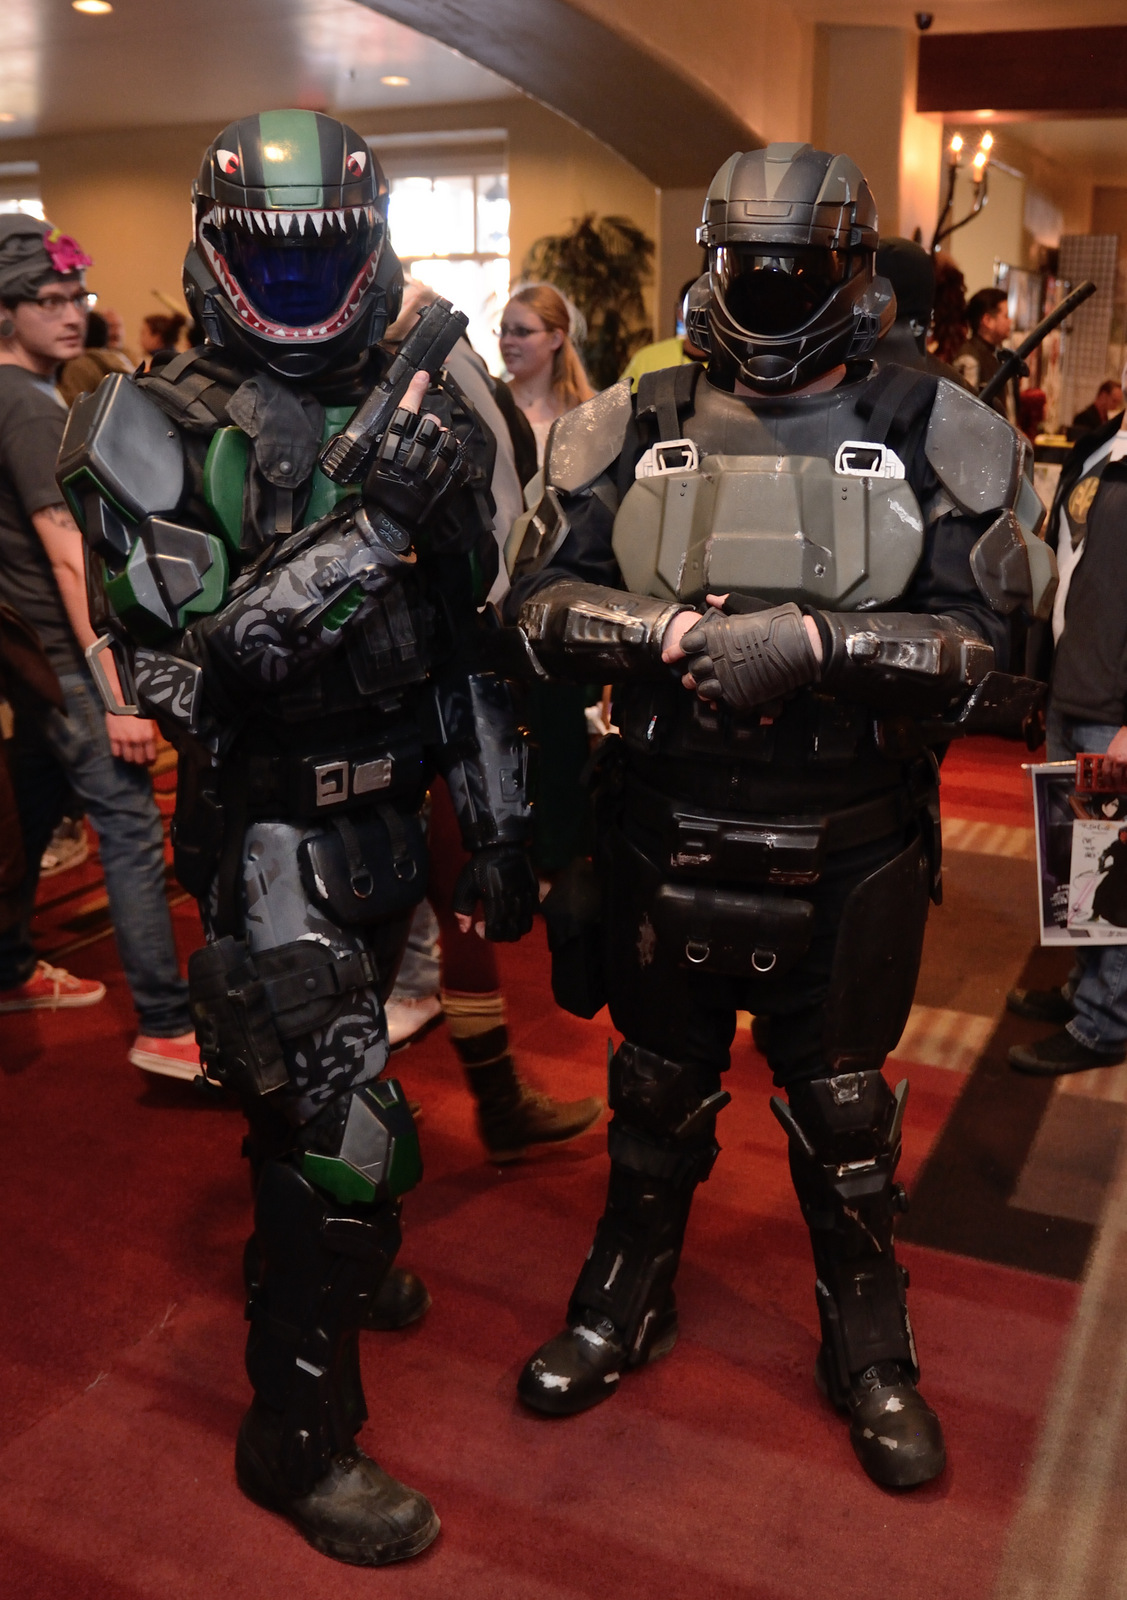
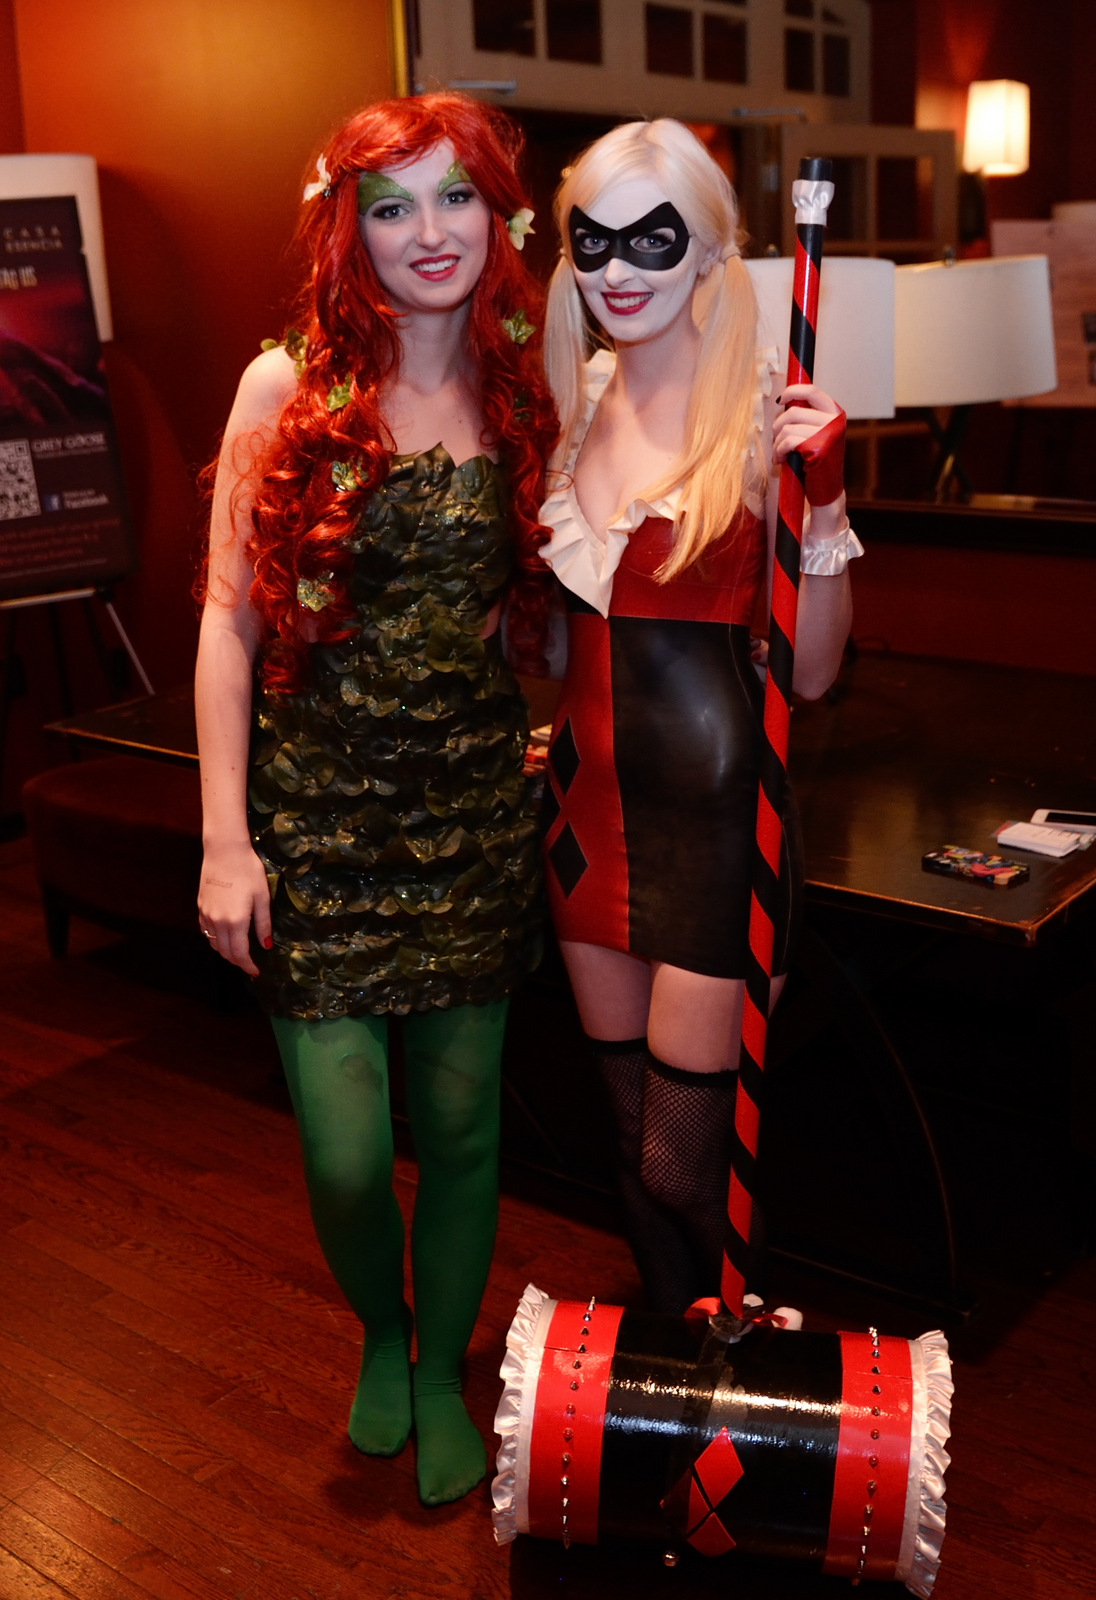
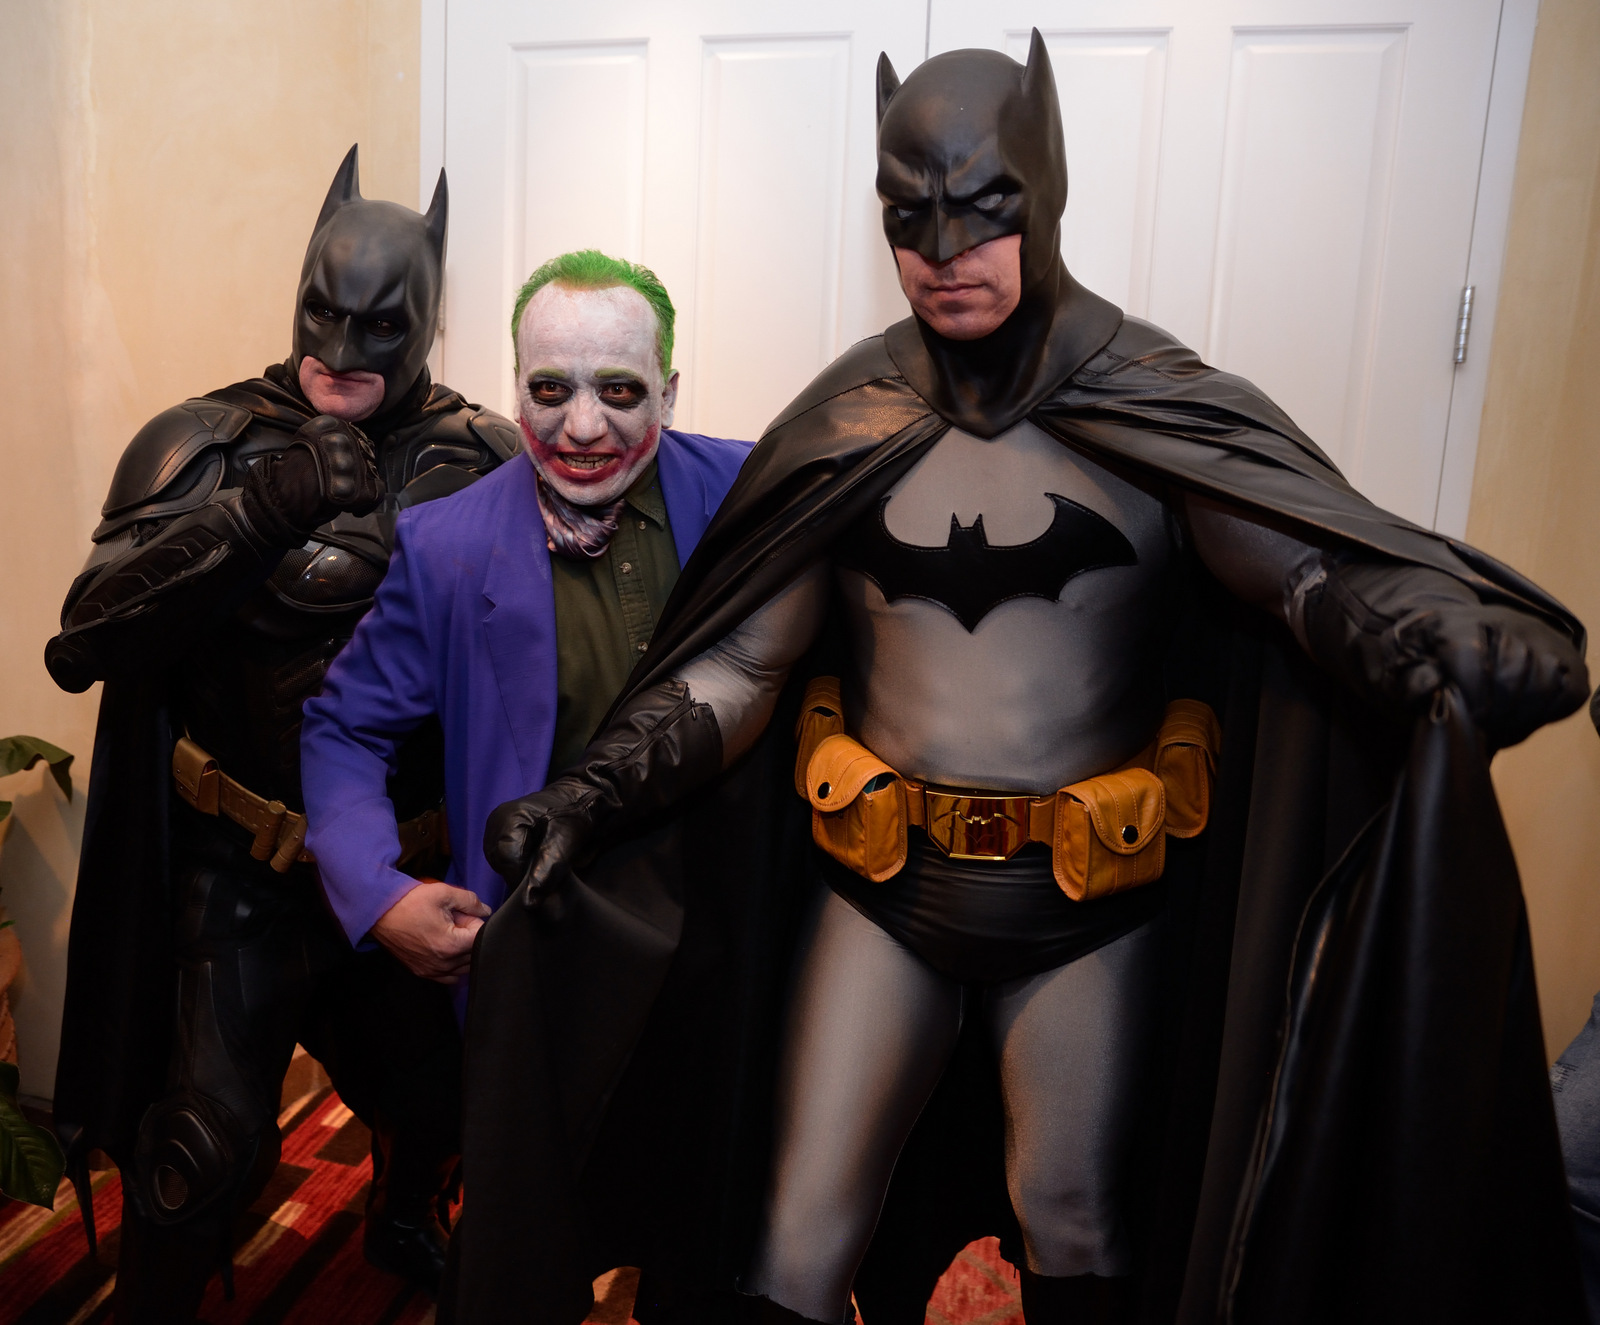
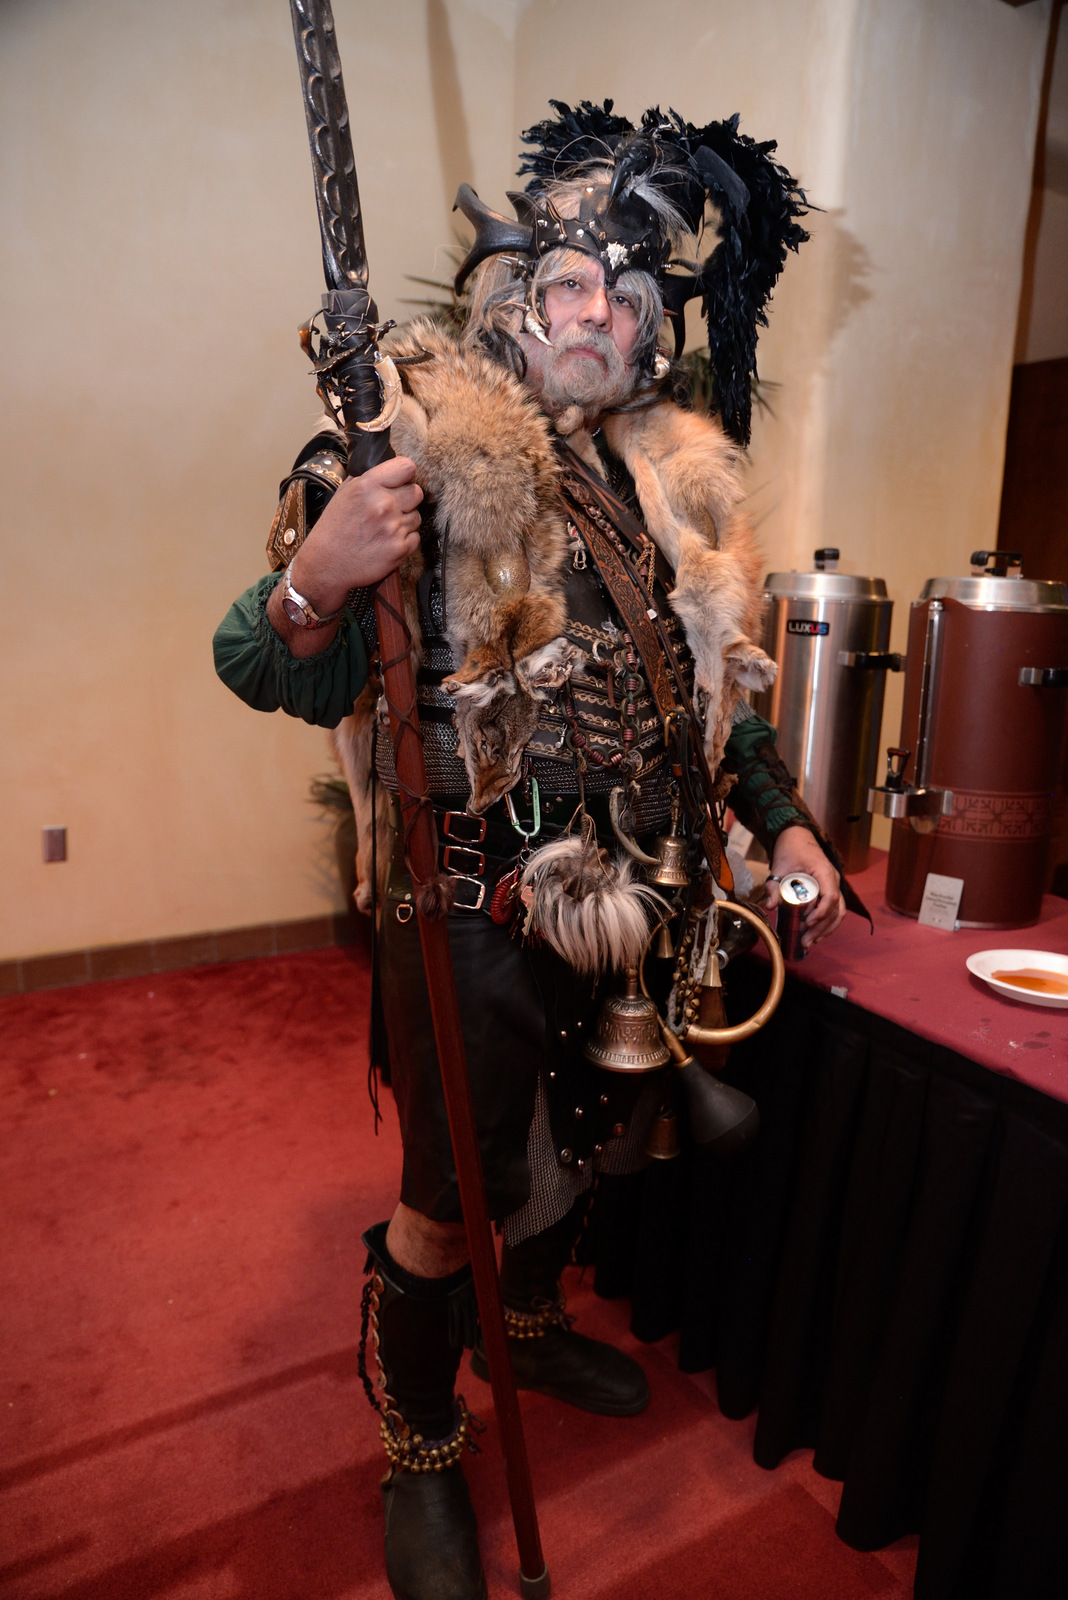
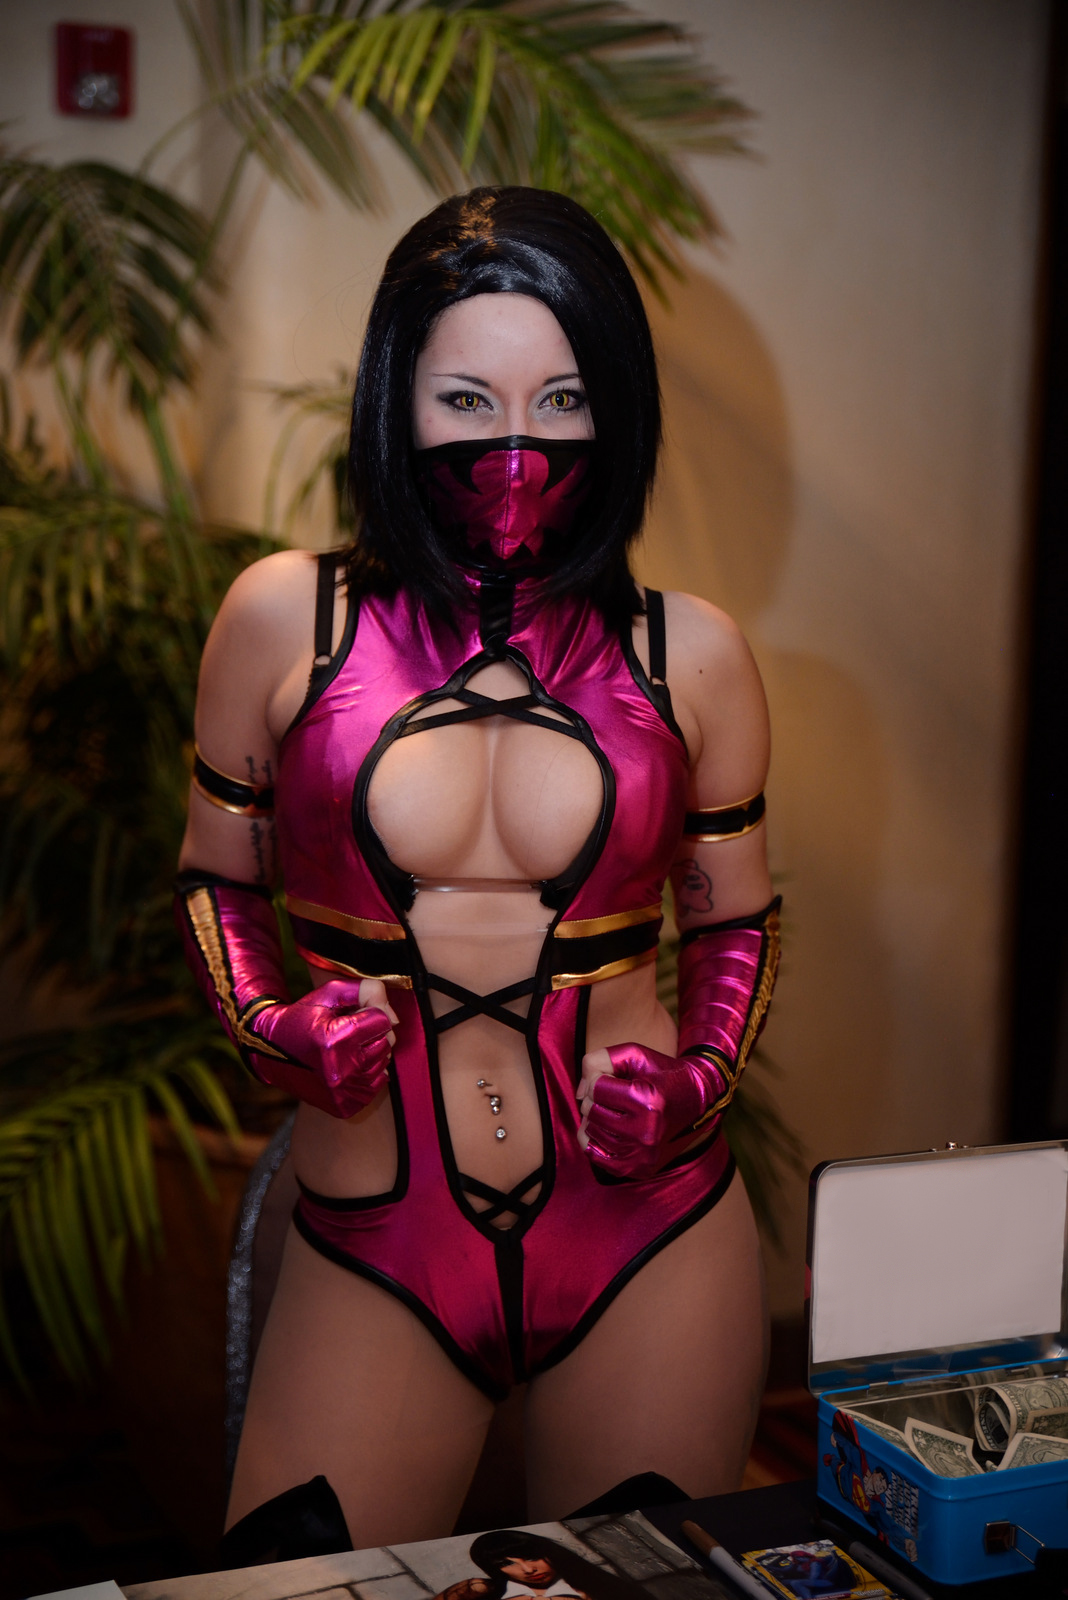
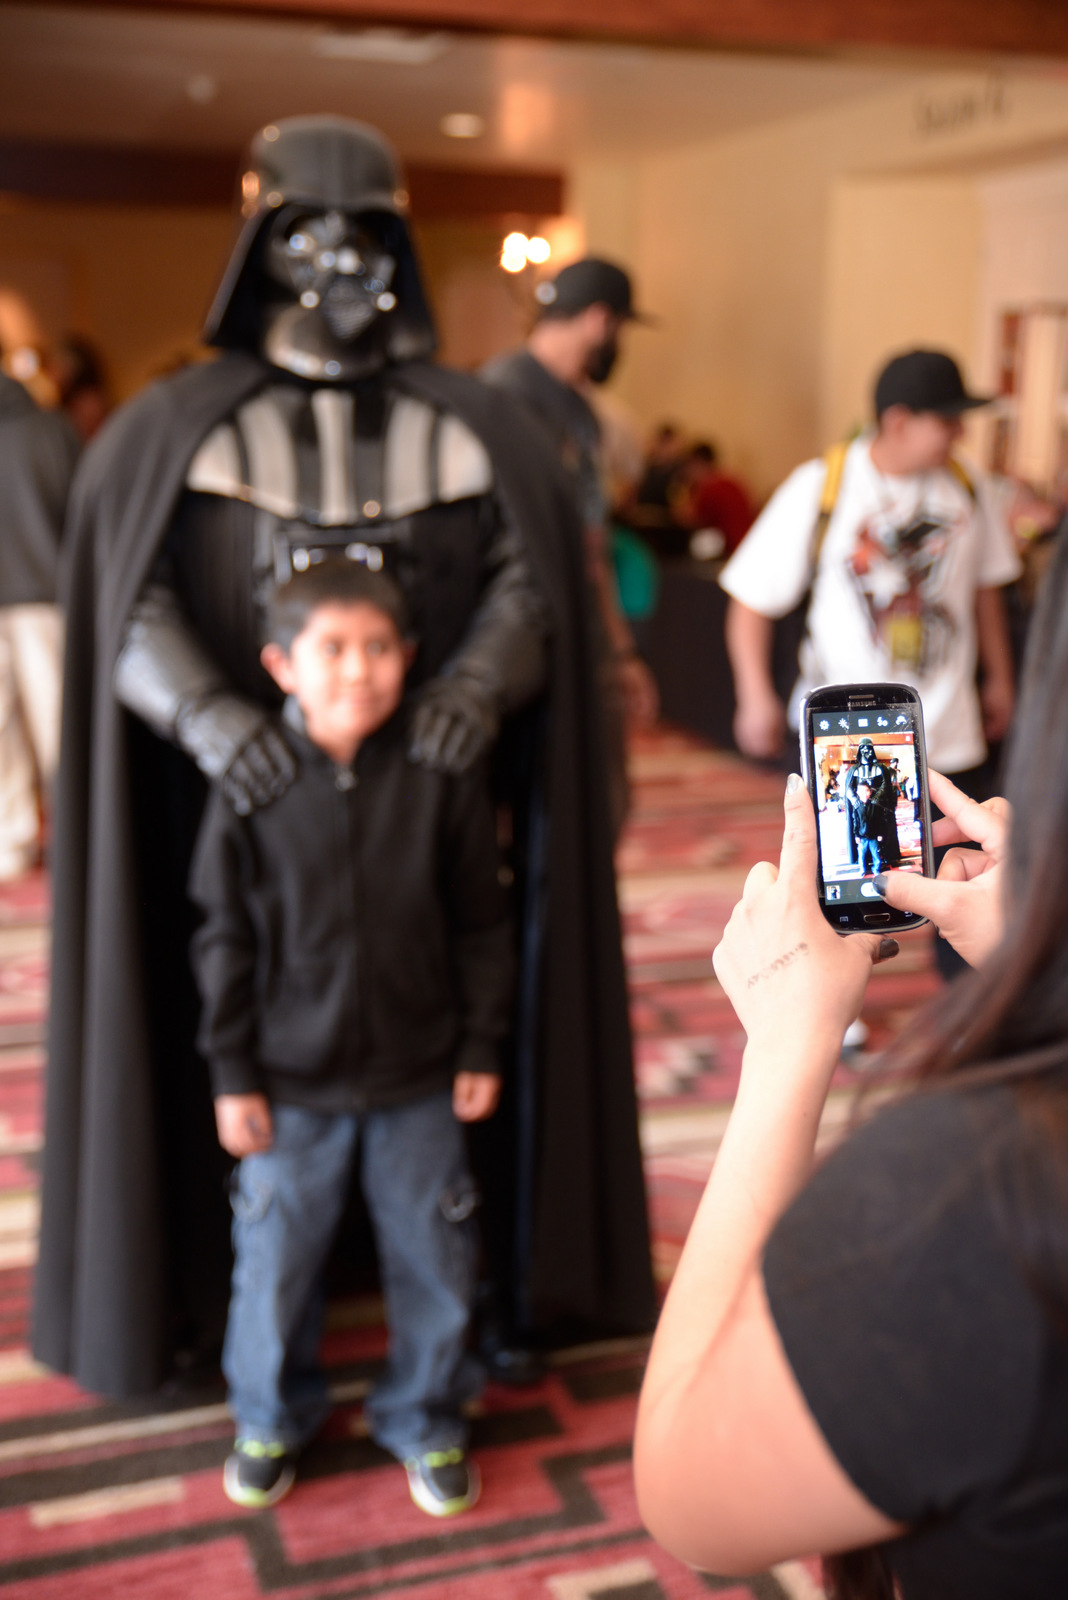
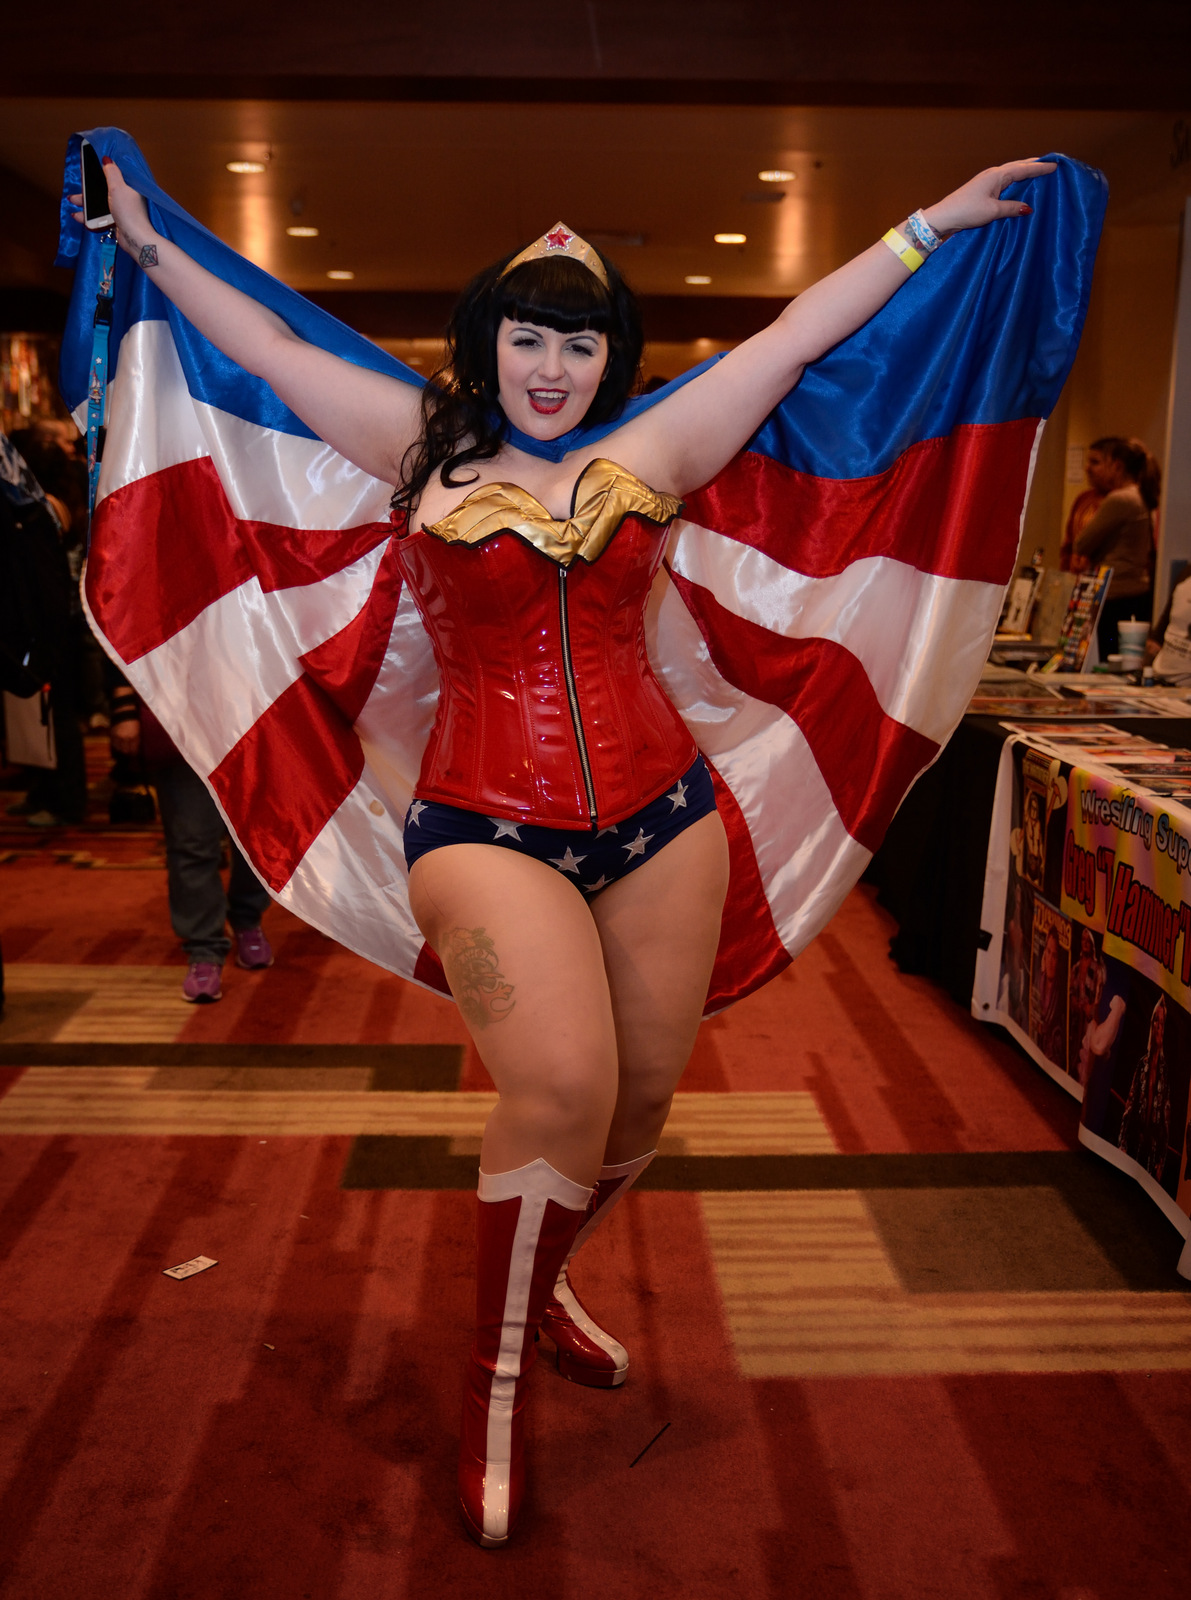
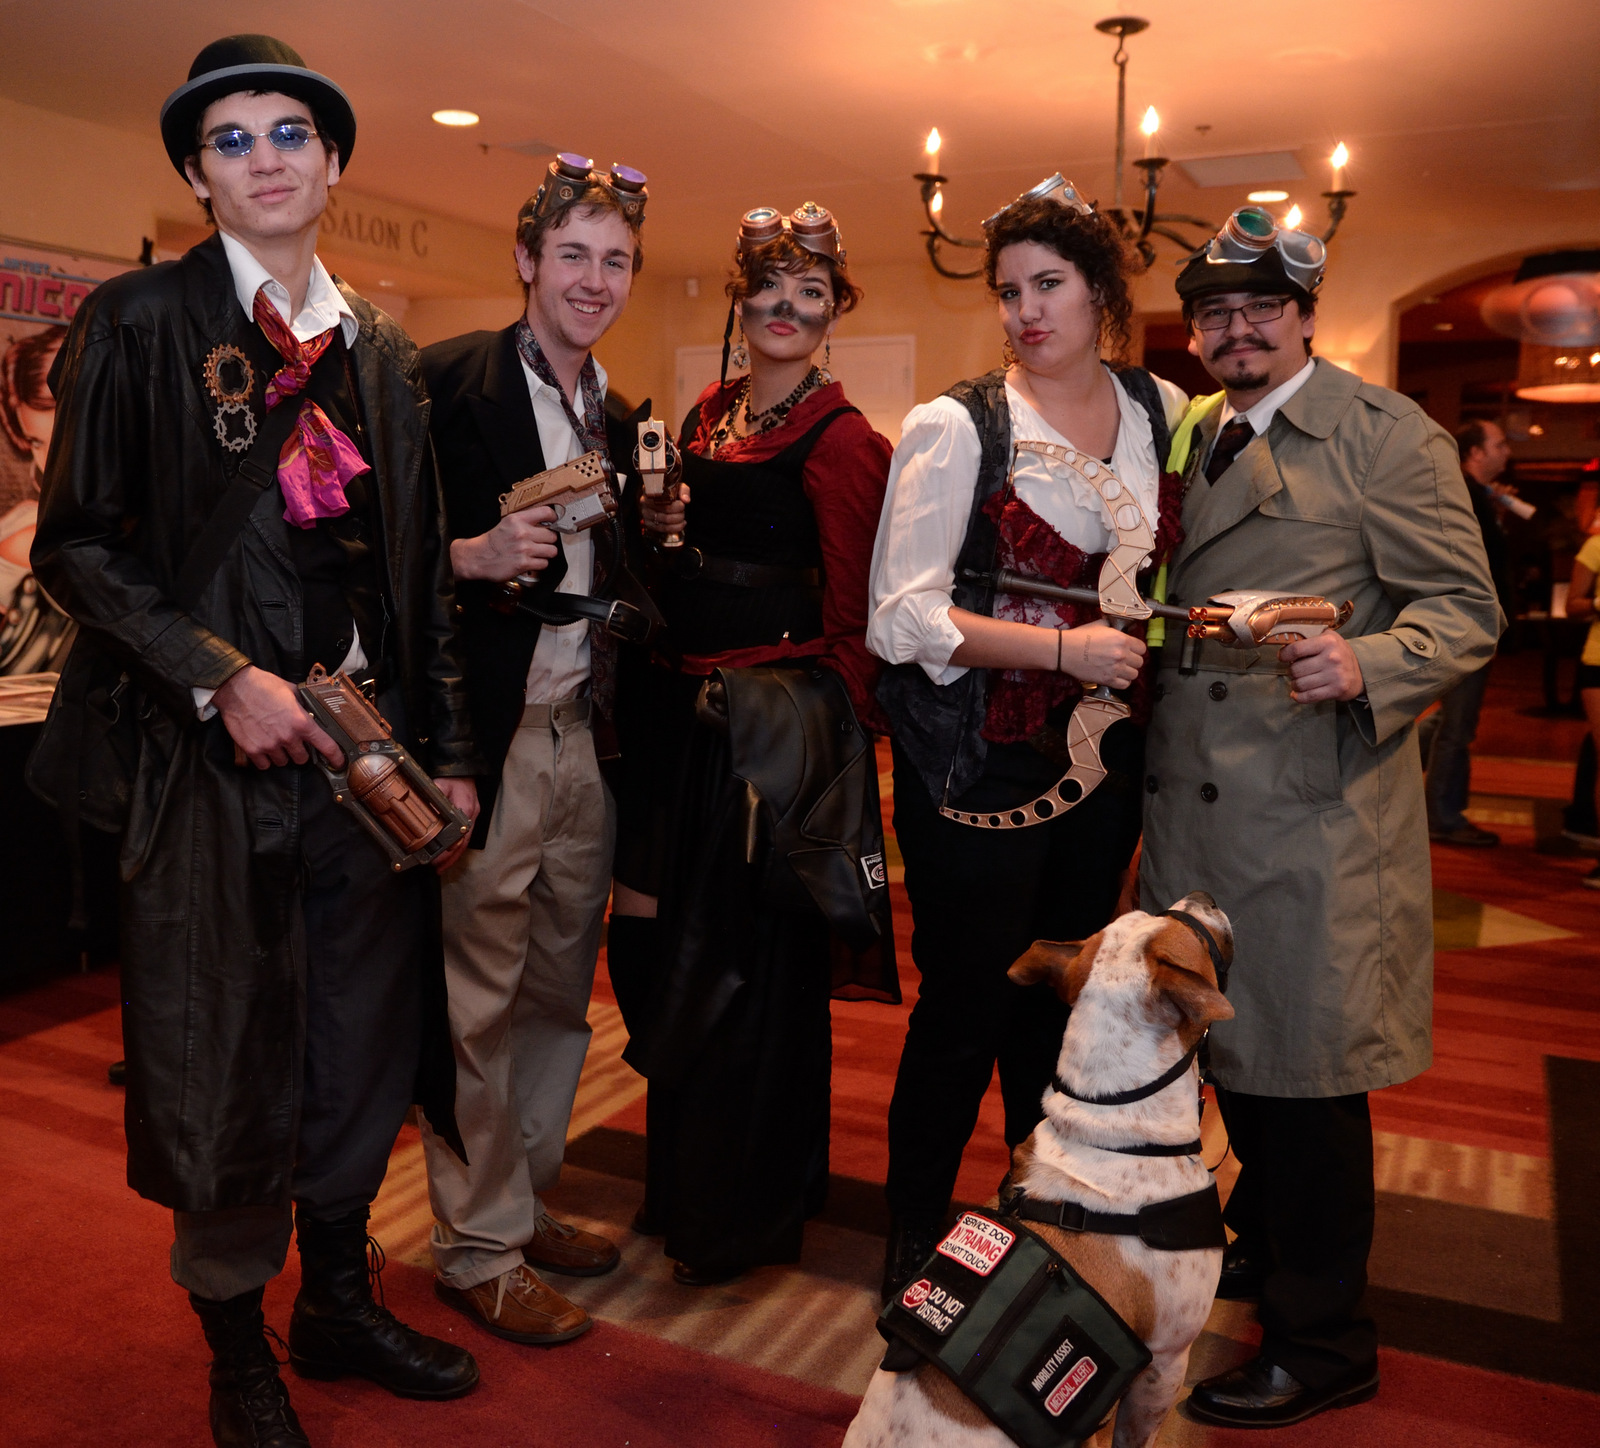
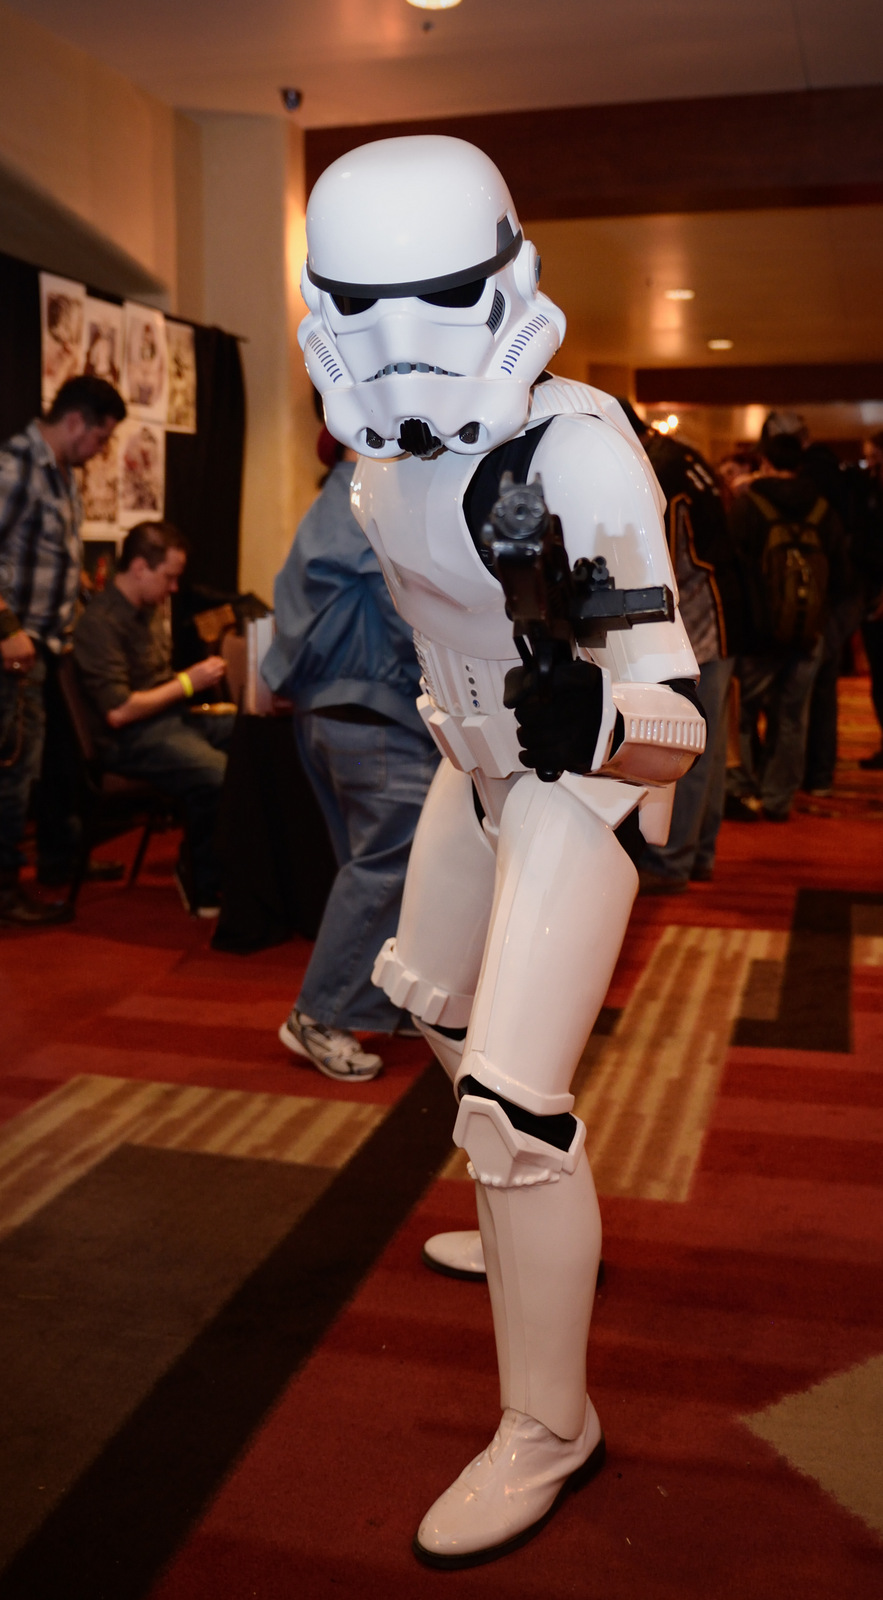
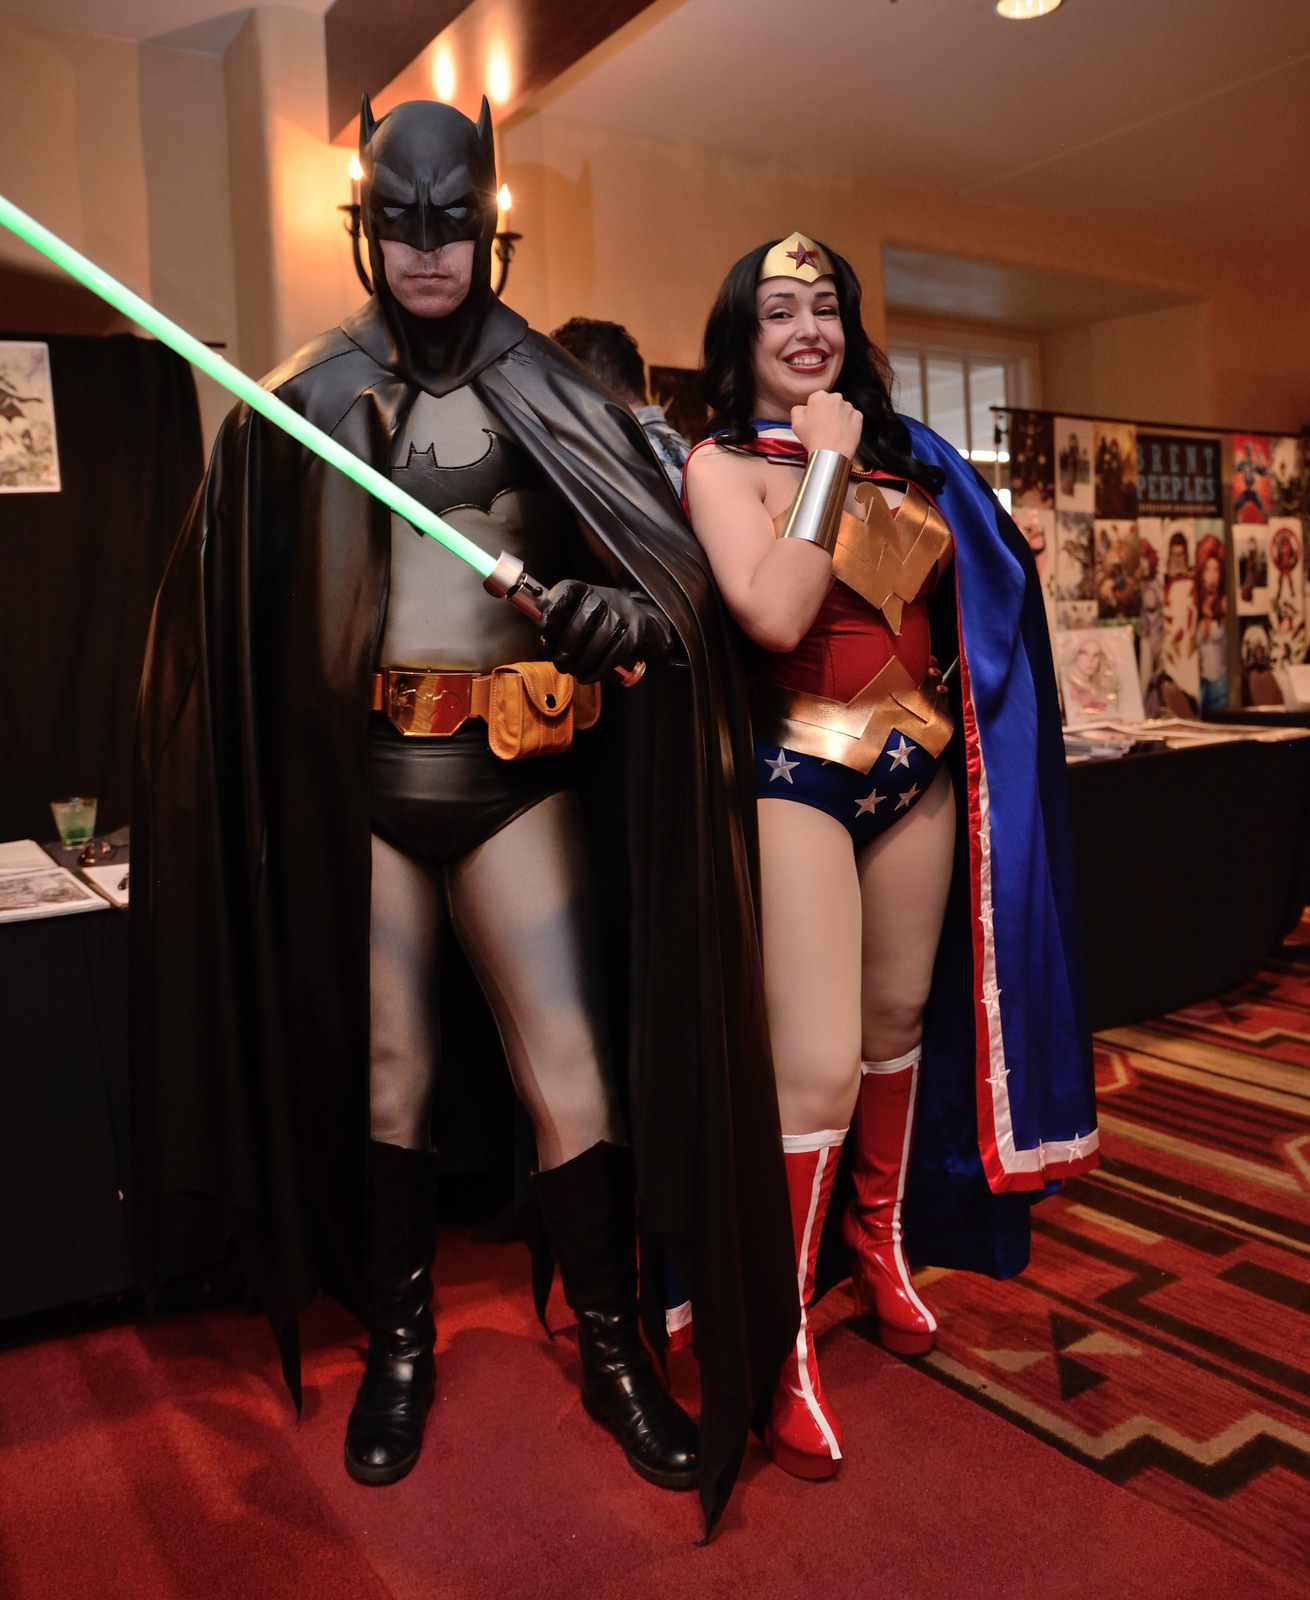
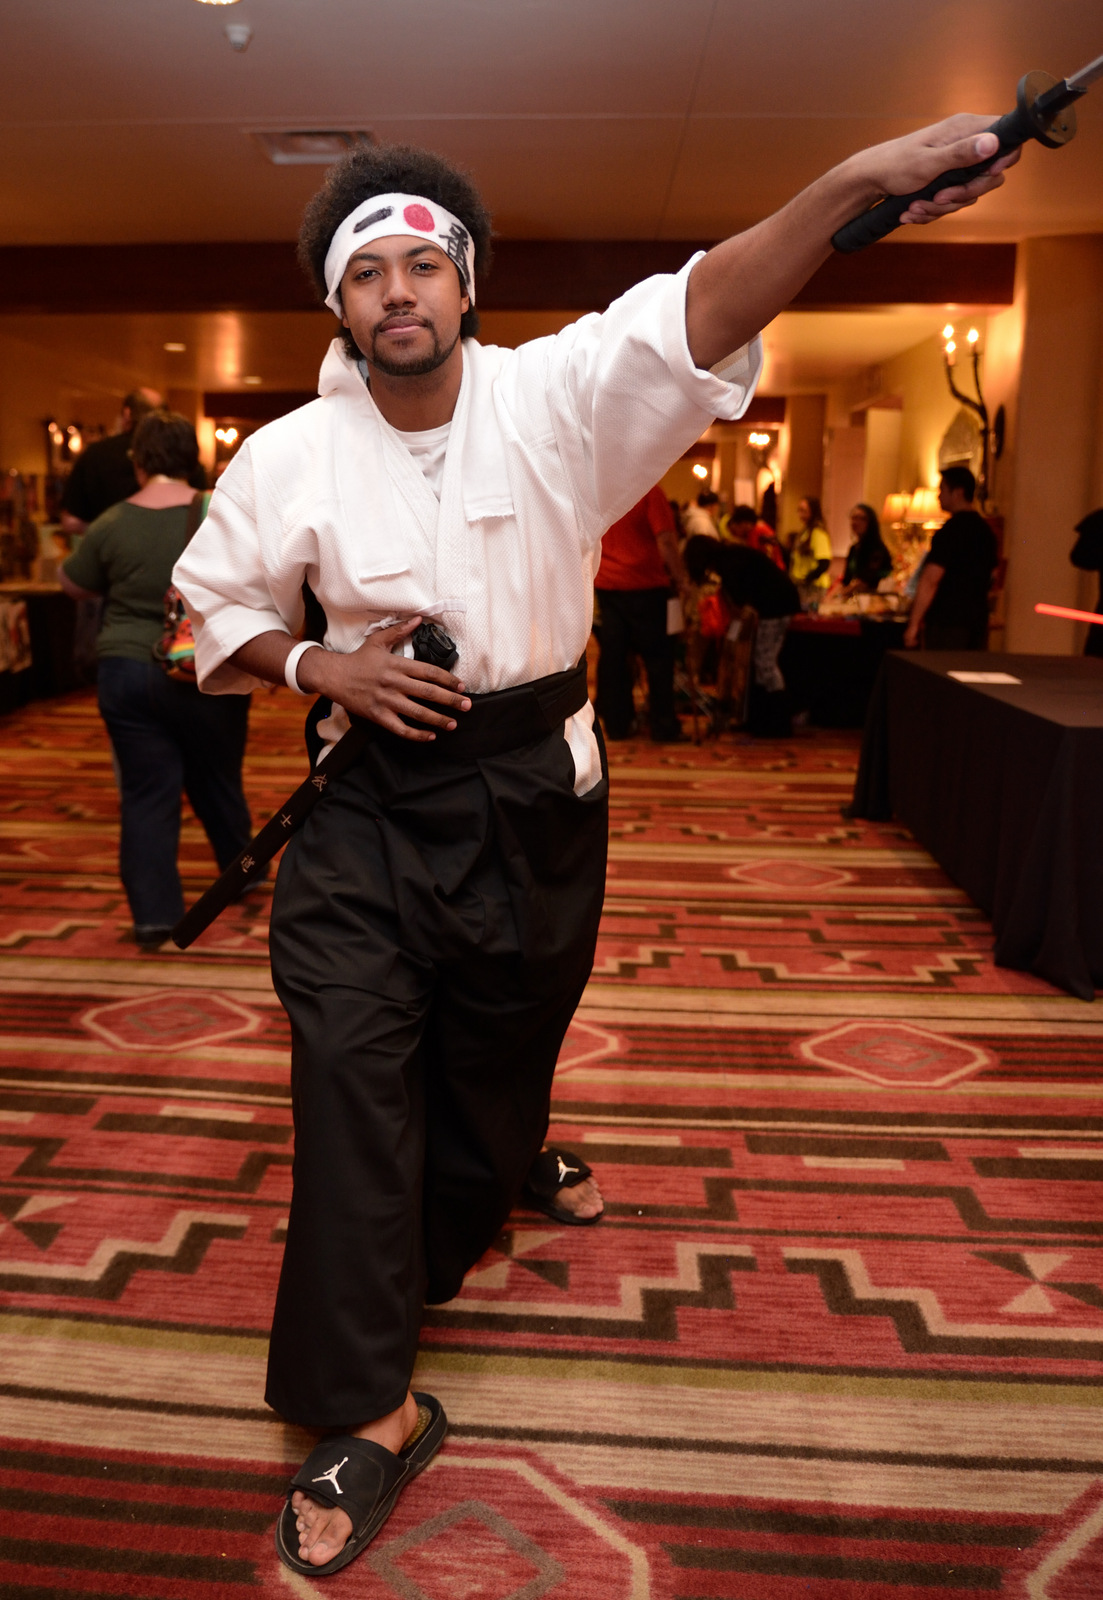
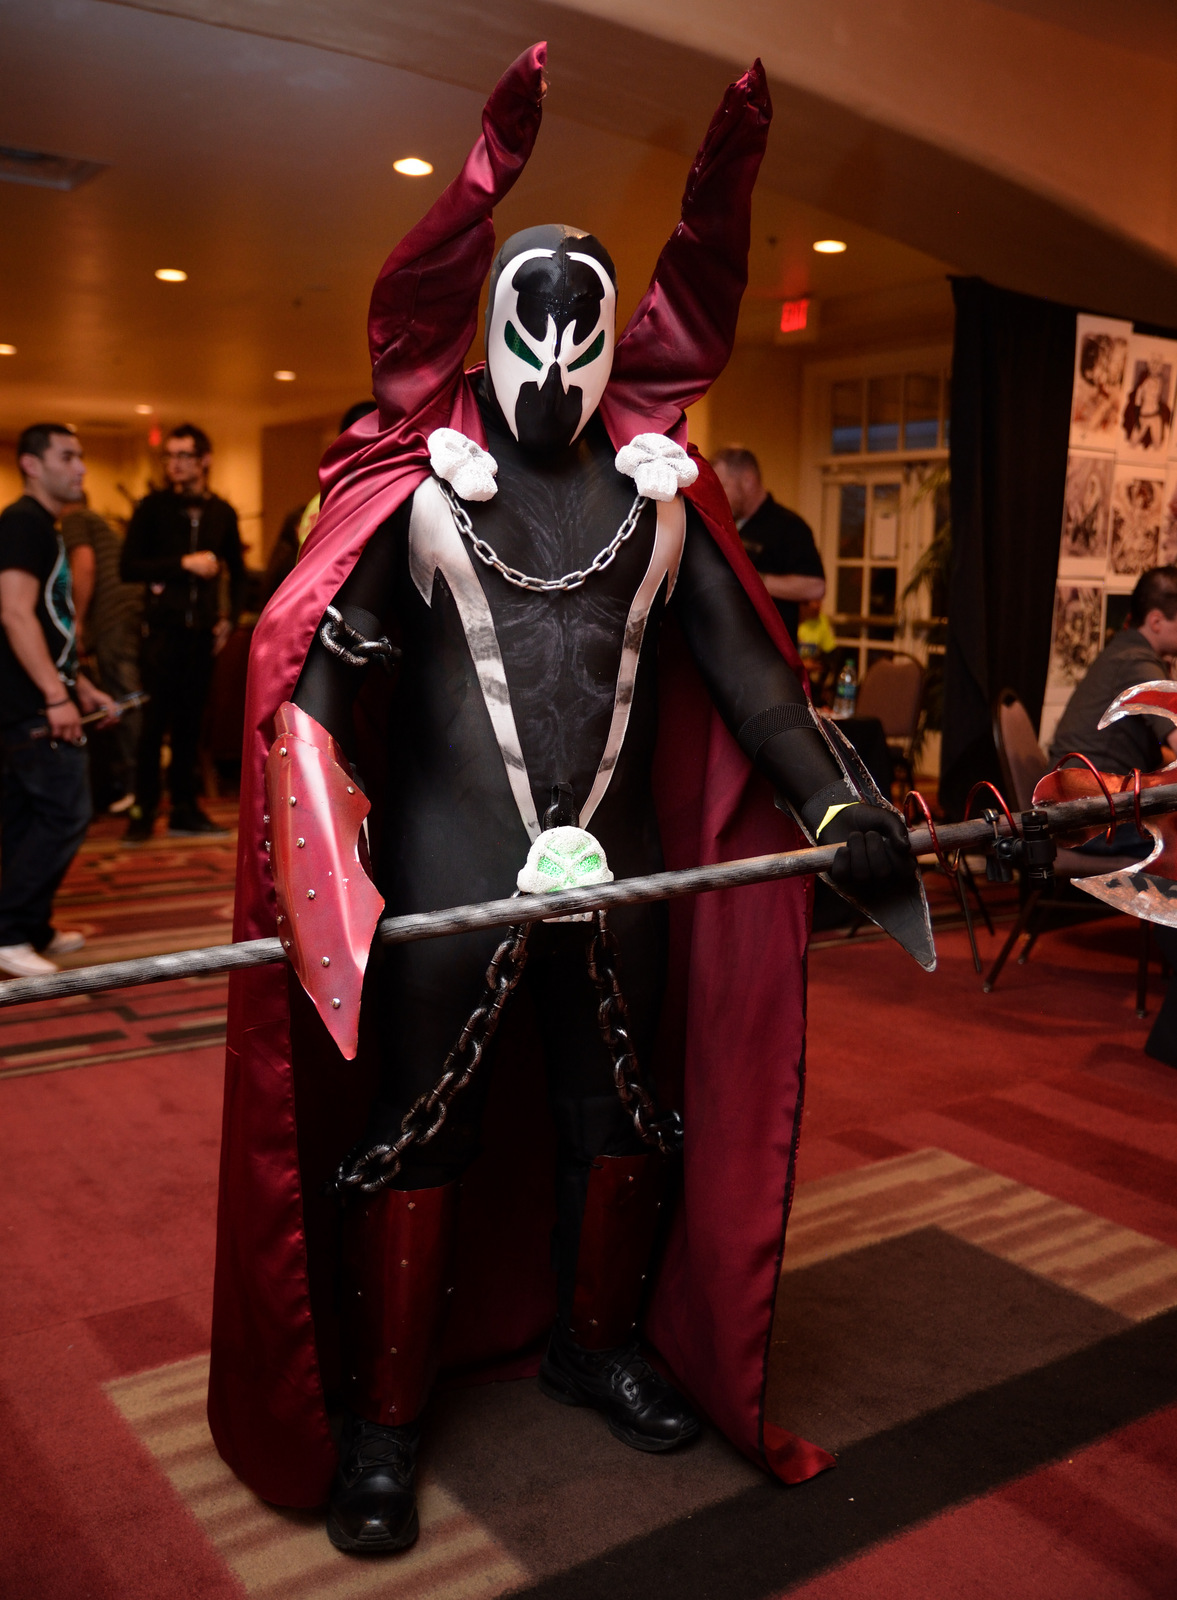
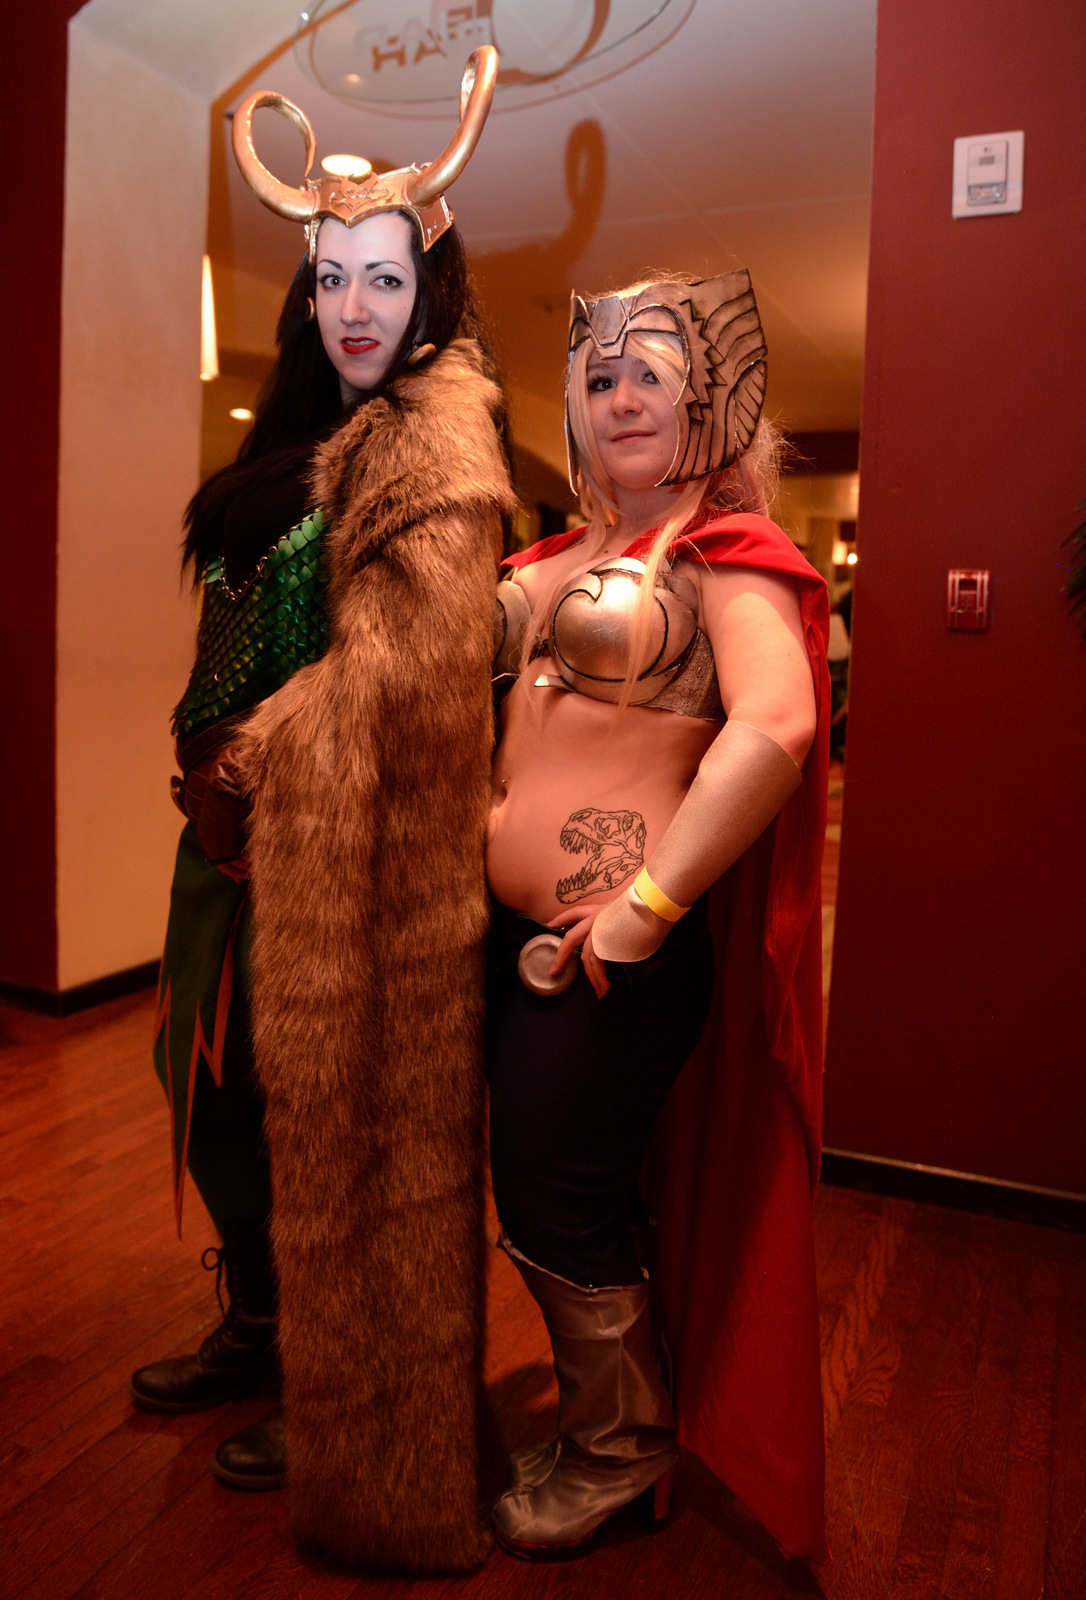
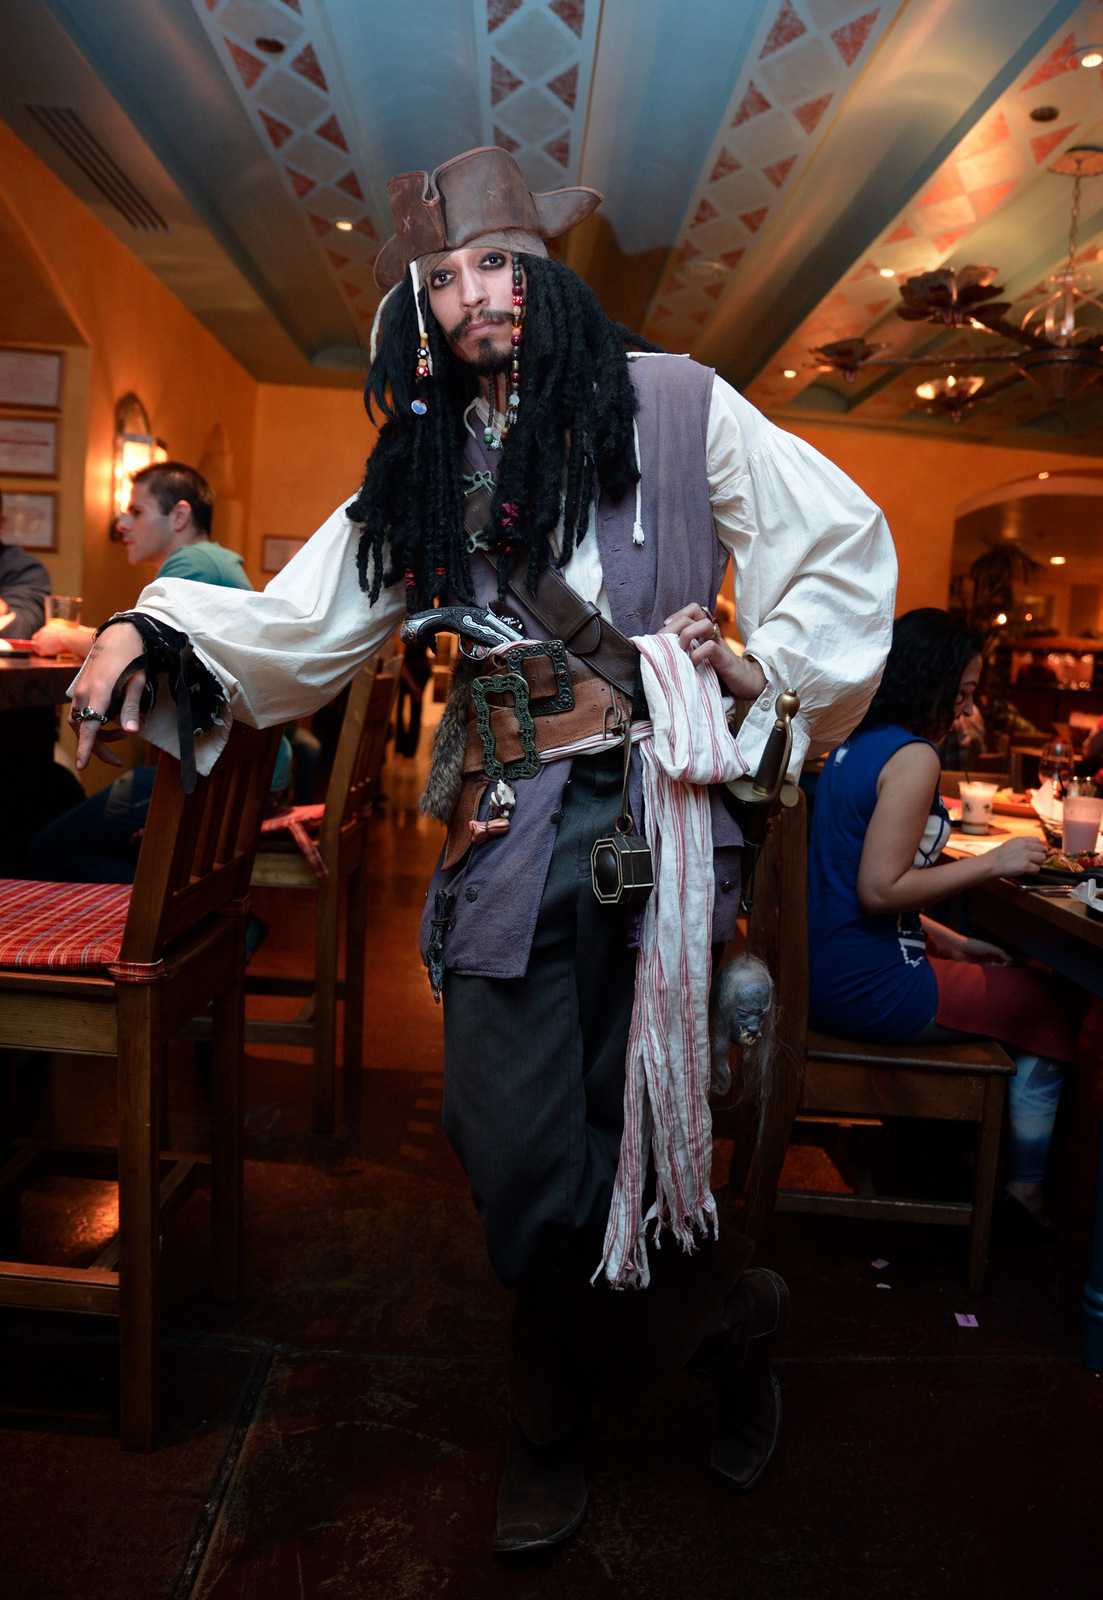
Its been a while since I’ve been out to photo anything, so I thought Comic Con would yield some fun stuff. This was my first visit to a Comic Con and it was hosted this year at Hotel Albuquerque (Jan 10th – 12th, 2014). Comic Con began in 1970 when a collection of comic, movie, and science fiction fans came together to put on the first comic book convention in southern California. Annual conventions can now be found all over the USA and abroad. Along with comic book professionals, you might film and media stars, illustrators, actors, and artists. Like most comic-book conventions, the Albuquerque Comic-Con features a large floorspace for exhibitors. I was surprised by how big the event was and now understand why is spans three days. There is so much to do and see. Most (if not all) of the hotel was being used by the convention and their fans. And the best part of the convention is THE FANS and mostly why I went in the first place: