Shooting the Milky Way

Hi
I receive lots of messages here and there about shooting the Milky Way (MW) and what my settings are and how I do it. Keep in mind that this is MY shooting style. Other photographers may shoot differently. So…. here ya go.

Location/Where to shoot/When to shoot?
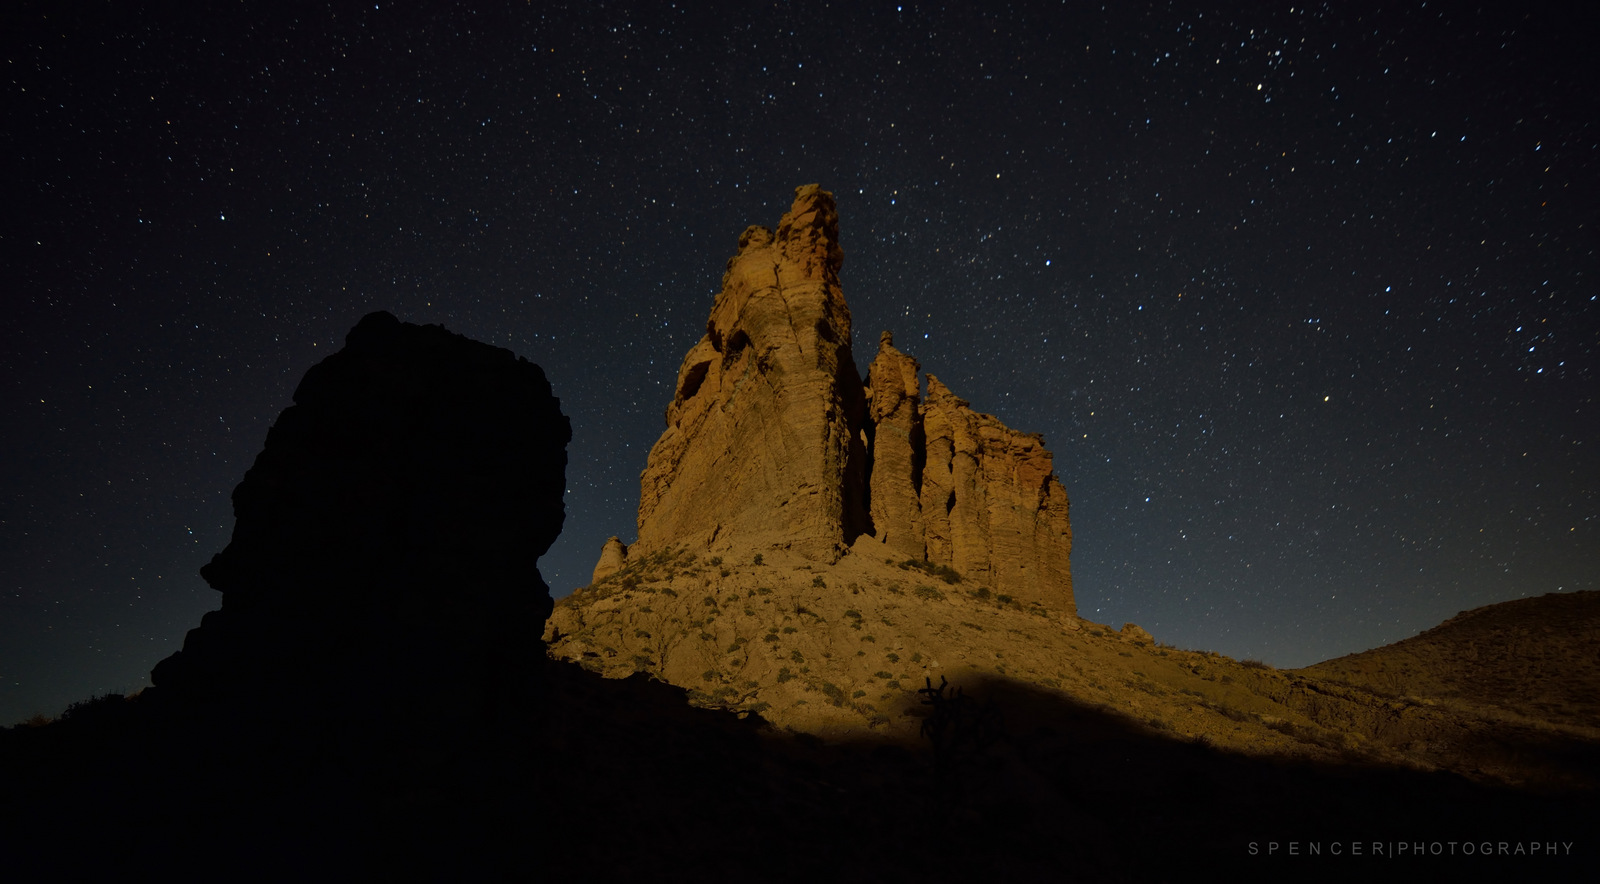
First, get out of the city and away from lights! This is essential. You just cant see or photo the Milky Way near so much light noise. Second, It really depends on the time of year because the MW “rises” and is visible at different spots in the Eastern, Southern and Western sky. Heading out somewhere South and East of any noisy city light is best. You can shoot North (looking south) of any city light, you just have to be hundreds of miles away. Depending on the size, city light noise can be visible in your shot even at 150 to 200 miles (and maybe more) away. I live in the southwest and its pretty easy to get south of the city I live in to grab my shots. Also, shoot when there is little or no Moon. The Moon is so bright and depending on where its at in the sky it can wash out your view of the MW. For more info on finding a dark place to shoot, browse to: http://www.jshine.net/astronomy/dark_sky/ or http://www.darksky.org/night-sky-conservation/36-ida/night-sky-conservation/91-darksky-finder-a-destinations
Another helpful resource/program is Stellarium. This free program will allow you to see where the MW and the Moon is and when both will “rise” by time and location. http://www.stellarium.org/
The best time to shoot the Milky Way is in the summer months (If you’re in North America). Why? The Earth is in a position to see most of the MW. And when it “rises” and you can see it arch from South to North in the Eastern sky (early Summer). I always quote rise because the MW doesn’t really rise, it comes into view as the Earth makes it daily/monthly/yearly rotation around the sun. But you knew this – Right? 😉

Essential Equipment
A camera (DSLR) capable of high ISO capabilities
The best choice will be a full frame DSLR like a Canon 1D/5DMKIII/MKII/6D, a Nikon D4/D3s/D700/D600/D800/D4, etc, and other brands of full frame cameras. Full frame sensor cameras are the best choice for capturing the MW because of their stellar high ISO performance. But the MW would be easily captured as well with a crop sensor (APS-C size) like that of a Nikon D3100/3200/D5100/D5200/D7000/D7100/D90/D300(S), etc, or a Canon T2/T3/T4/T5/40D/50D/60D/7D, etc. As far as other cameras such as point n shoots or mirrorless are concerned, if they have the option to shoot in manual and set the exposure, aperture, and ISO, they should be able to grab something useable. But to be honest, I’m not sure as I don’t own one or used one.
A fast wide angle lens
Because the sky will be so dark, a fast (f/2.8 or faster) aperture lens would be preferable. The wider the view, the better because you will want to grab the biggest part of the sky possible – including the landscape to give the photo perspective. I use a Samyang 14mm f/2.8 lens. A wide zoom lens is fine too and with most of those the fastest aperture is f/3.5. You will also want to set your auto focus to OFF and then manually set the lens to the infinity focus setting. I use electrical tape to secure my focus ring so it doesn’t move if I accidentally touch it during the night.
A tripod
A good sturdy tripod is essential as you don’t want the camera moving during a long exposure. You will end up with nothing useful if you try shooting handheld.
A wired or wireless remote – Optional
When I’m out at night, I sometimes shoot startrails and/or timelapses. Some photographers prefer to use a wired intervalometer/remote. This device allows you program and setup an automated continuous cycle of 30 second exposures. This is really handy if you don’t want to stand by your camera for hours hitting the shutter button over and over every 30 seconds. Some of the newer Nikons and Canons (and others) have built in intervalometers. Most DSLR’s have the option to use a IR (wireless) Remote and you might be able to pick one up at a local camera retailer for $20 dollars. However, if you don’t have any of the above, its really not that much work to setup a chair by your camera and just hit the shutter button every 30 seconds. 😉 To lighten my load when I’m out shooting the Milky Way, I dont carry a remote of any type. I just hit the shutter. If the tripod is sturdy, its fine.
Example wired timer for Nikon: Amazon
Battery/Memory Card
Get a large memory card. Don’t forget to charge your batteries and maybe bring an extra because you might be shooting for hours. You can always pick up extras for most cameras at a local camera retailer.


How to shoot and settings
These are my settings and what I use. I cant speak to how your particular brand of camera settings are completed with regard to the below.
1. Get your cam on the tripod and lock it to your view (Eastern, Southern sky, etc).
2. Set your camera to manual (M) mode.
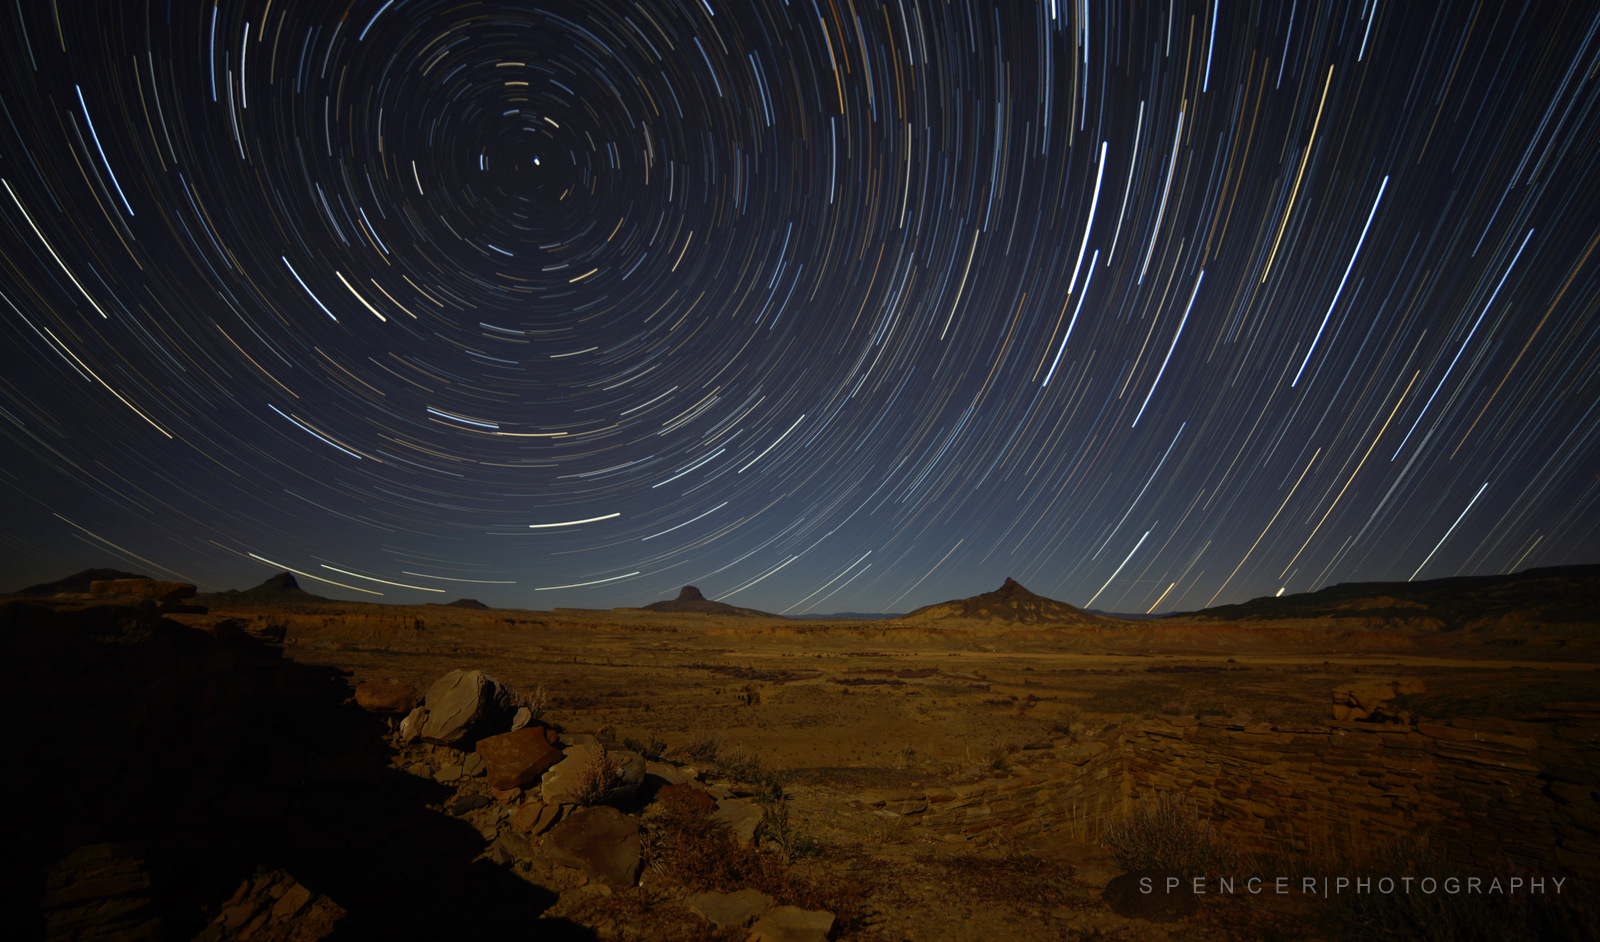
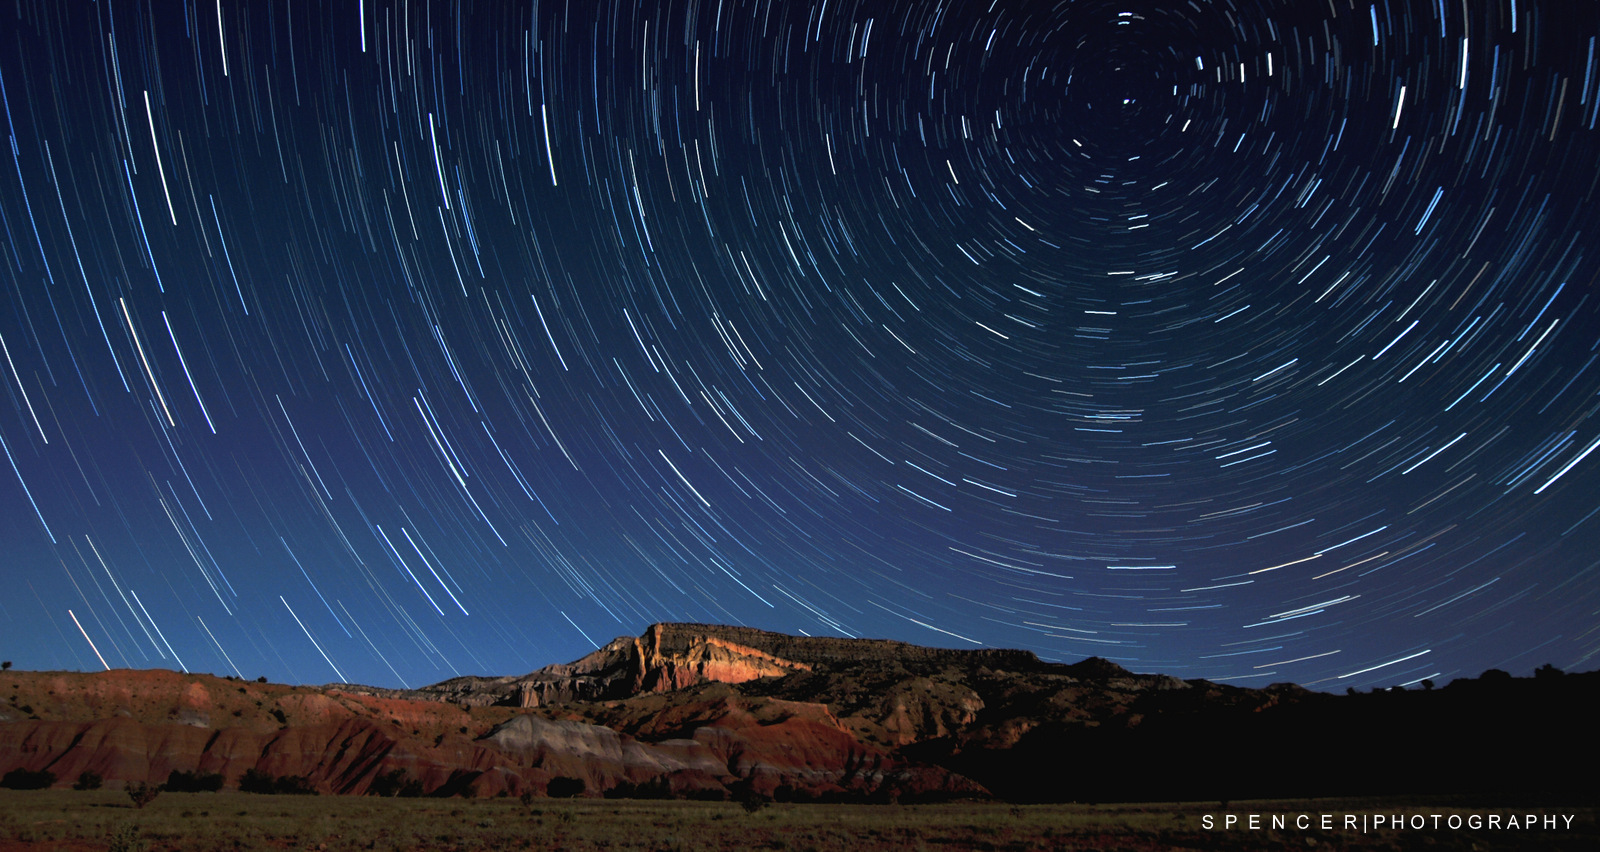
3. Set a 30 second exposure time (Shutter Speed). Why 30 seconds? If you shoot any longer you will start to end up with star trails. You will need to experiment here a bit. Occasionally I’ll shoot at slower speeds such as 15 seconds depending on the night sky, surrounding light, etc.
4. Set your lens to its fastest aperture – Mine is f/2.8. If you are using a lens with aperture of something slower than f/2.8 (I.E. f/3.5, F/4) you might have to shoot a bit longer. If this is the case most cameras have a Bulb mode. The shutter will stay open as long as you have your finger on the shutter button or you can use a wired remote. See “A wired or wireless remote” above.
5. If using a zoom lens, set it to its widest point. 18mm, etc. For APS-C size or crop sensor cameras my favorite lens is the Tokina 11-16 f/2.8.
6. Turn off auto focus and set the lens/camera to manual focus and then focus to the infinity mark.
7. Set your ISO to what you want to shoot at. On my Nikon D600, I usually shoot at ISO5000 (Yes 5000).
8. I TURN OFF long exposure noise reduction (NR) in my camera. Why? If you have this turned on, after a 30 second exposure, the camera will take an additional 30 seconds to apply the NR after EACH shot. If I’m out shooting the stars/MW I leave this off so I can quickly switch from shooting the MW to shooting startrails. If I leave NR on, I’ll end up with gaps in my startrail stack when I post process. You can apply NR in post process.
9. If you have the ability (photoshop or similar), shoot in and edit in RAW and not JPG. There is so much image quality you can pull out of a RAW file then a JPG when editing.

About ISO
Every camera is different and you will need to experiment. Because the sky will is so dark, my suggestions for full frame cameras are ISO5000 at 30 seconds and with an aperture of F/2.8. For crop sensors (APS-C size) a setting of ISO3200 or ISO4000 should yield some useful photos. Again, I suggest you experiment, take a few photos and look at the result on your cameras LCD screen. Too Dark? Increase the ISO. Too light or over exposed? Lower the ISO. In addition to the ISO setting, consider shooting longer or slower. I usually start off with a 30 second and adjust ISO and shutter speed to get what I want. If your fastest aperture is F/3.5 or F/4, etc., you will have to compensate with a higher ISO setting or maybe a longer shutter speed (See Bulb above). See your cameras manual for more info.

About Noise Reduction
Shooting at high ISO always results in noisy photos. Earlier I mentioned I shoot with no noise reduction because I like to reduce noise in post process using photoshop or photoshop plugins. If you dont have that ability to edit RAW files, are shooting in JPG and are just shooting the MW, turn the in camera noise reduction on.
Again. This is how I shoot. Other photographers have their way of shooting too. But this is the nice thing about photography, its an art form and you (and I) can shoot any way we wish.
Finally, if you don’t have a camera or don’t want to go through all of the above, just grab some chairs, your loved ones, and go sit and stare at the sky in a quiet remote place. There is so much to enjoy just looking straight up, deep thinking and enjoying the serenity. 🙂

Ballooning in February

Albuquerque is the home and birthplace of hot air ballooning and October is the month for the biggest Hot Air Balloon event in the world. However, when February rolls around, a smaller event called the Friends and Lovers Balloon Rally is held and this year about 100 balloons participated. This rally is put together by the Albuquerque Aerostat Ascension Association (AAAA). The event has Valentine’s Day theme and is open to the public but is really produced to raise money for charity and to recognize the hard work that the balloon crew members/volunteers do for the sport. Many thanks to Mike (The Pilot) for the ride. More reading:

http://www.hotairballooning.org/

http://www.balloonfiesta.com/

http://www.visitalbuquerque.org/

Albuquerque Comic Con

Its been a while since I’ve been out to photo anything, so I thought Comic Con would yield some fun stuff. This was my first visit to a Comic Con and it was hosted this year at Hotel Albuquerque (Jan 10th – 12th, 2014). Comic Con began in 1970 when a collection of comic, movie, and science fiction fans came together to put on the first comic book convention in southern California. Annual conventions can now be found all over the USA and abroad. Along with comic book professionals, you might film and media stars, illustrators, actors, and artists. Like most comic-book conventions, the Albuquerque Comic-Con features a large floorspace for exhibitors. I was surprised by how big the event was and now understand why is spans three days. There is so much to do and see. Most (if not all) of the hotel was being used by the convention and their fans. And the best part of the convention is THE FANS and mostly why I went in the first place:

Fowl and the BDA

Some friends and I set out at 4am to trek down to the Bosque Del Apache, a national bird refuge located just south of Socorro in central New Mexico, to photo many of the fowl that stop by there throughout the year. Depending on what time of year you stop by, you might see light geese, cranes, ducks, Canada geese, hawks, eagles, roadrunners, herons, sparrows, grebes, coots, and many other variety of birds. Along with all the fowl, reptiles, frogs and other mammals, such as deer, and coyotes will appear from time to time. After the sunrise, many photos, and a drive around the refuge, it was on to Socorro, NM to grab Huevos Rancheros at The El Camino restaurant. More information about the refuge can be found here: http://www.fws.gov/refuge/Bosque_del_Apache/

Shooting the Leonid Meteors

Hi
I’ve received a few messages about shooting the Leonid Meteor shower and what my settings are and how I will do it. So I decided to put together this post. No moon light is essential for grabbing snaps of the stars/Milky Way/meteors but this year we have an almost full moon to contend with. 😦

What is the Leonid Meteor Shower anyway?
Yearly, about mid November ( This year, Nov 16 to the 18th is peak viewing time) we get a visit from the Comet Tempel-Tuttle. The Earth crosses into the debris path of the comet and this dust and debris slams into the Earth’s upper atmosphere and lights up the nighttime sky with the Leonid meteors. The Leonids will reach its peak on Nov 16th, 17th and 18th. However, its very active days before and after the 17th. This year we have a 75 to 95% moon depending on what day you view the sky and is not a good year to capture meteors. While shooting meteors with no moon is optimal, its still possible to grab some shots of the brighter ones. On Nov 15th the moon sets about 4am (ish) and will set later on the 16th, 17th and 18th. So during the peak (17th) the moon will be higher in the sky. By 2 AM on Nov 15th, the Moon should be in the western sky. So after 2am your chances will increase when looking East and North toward the constellation Leo where the meteors radiate from. Leo rises at about midnight in the mountain timezone.

Location/Where to shoot?
Get out of the city and away from lights! Head out somewhere East and a bit North of any noisy city light. You don’t want any light noise in your frame as you will be shooting to the East and the North. For more info on finding a dark place to shoot, browse to: http://www.jshine.net/astronomy/dark_sky/
The meteors originate from the radiant of the Constellation Leo and travel through the Eastern sky – Sometimes North and sometimes South. But you shouldn’t point your camera directly Northeast however. Orient your camera in portrait mode, face directly high North and position the North East sky on the right edge of your frame (view finder). Why? The meteors come from the radiant but don’t appear until they hit the earths atmosphere in the Northern sky and directly above.
Note that you will see meteors everywhere: To the North, directly above, to the south, directly east, etc. But the bulk of the meteors SHOULD appear in the high North and North East sky. But don’t take my word for it. Get out, look around and decide for yourself. I’ll be using two cameras to grab up a little more sky and increase my chances of grabbing some useable photos.

Essential Equipment
If you want to photograph the Meteor shower you will need the following:
A camera (DSLR) capable of high ISO capabilities – The best choice will be a full frame DSLR like a Canon 1D/5DMKIII/MKII/6D, a Nikon D4/D3s/D700/D600/D800/D4, etc, and other brands of full frame cameras. Full frame sensor cameras are the best choice for capturing the shower because of their stellar high ISO performance. But the show would be easily captured as well with a crop sensor (APS-C size) like that of a Nikon D3100/3200/D5100/D5200/D7000/D7100/D90/D300(S), etc, or a Canon T2/T3/T4/T5/40D/50D/60D/7D, etc. As far as other cameras such as point n shoots or mirrorless are concerned, if they have the option to shoot in manual and set the exposure, aperture, and ISO, they should be able to grab something useable. But to be honest, I’m not sure as I don’t own one.
A fast wide angle lens – Because of the dark sky, a fast (f/2.8 or faster) aperture lens would be preferable. The wider the view, the better because you will want to have the radiant (where the meteors come from) in the right part of the lens (view finder) as well as the high northern part of the sky. I’ll be using a 14mm lens. A wide zoom lens is fine too and with most of those the fastest aperture is f/3.5. You will also want to set your auto focus to OFF and then manually set the lens to the infinity focus setting. I use electrical tape to secure my focus ring so it doesn’t move if I accidentally touch it during the night.
A tripod – A good sturdy tripod is essential as you don’t want the camera moving during a long exposure. You will end up with nothing useful if you try shooting handheld.
A wired or wireless remote – Some photographers prefer to use a wired intervalometer/remote. This device allows you program and setup an automated continuous cycle of 30 second exposures. This is really handy if you don’t want to stand by your camera for hours hitting the shutter button over and over every 30 seconds. Some of the newer Nikons and Canons (and others) have built in intervalometers. Most DSLR’s have the option to use a IR (wireless) Remote and you might be able to pick one up at a local camera retailer for $20 dollars. However, if you don’t have any of the above, its really not that much work to setup a chair by your camera and just hit the shutter button every 30 seconds. 😉 To lighten my load when I’m out shooting the Milky Way, I dont carry a remote of any type. I just hit the shutter. If the tripod is sturdy, its fine.
Large Capacity Memory Card – You might end up shooting for a couple of hours or more. So you will want a large SD Card or CF card to store hundreds of photos. I shoot in RAW mode, so I use 64 gigabytes of memory.
Battery – Don’t forget to charge your batteries and maybe bring an extra because you might be shooting for hours. You can always pick up extras for most cameras at a local camera retailer.

How to shoot and settings
These are my settings and what I’ll be using. I cant speak to how your particular brand of camera settings are completed with regard to the below.
1. Get your cam on the tripod and lock it to your view (Northern sky, etc). Once you set your view, leave your camera and tripod in place. A lot of pro photographers stack their captures (10-15 at a time) and rotate each photo in Photoshop to match the stars as they move. If you see a photo with 12, 15 or more meteors, this is a stack and not a single shot. You just wont see 12 or more meteors in 30 seconds. David Kingham has an EXCELLENT video on how to stack photos: http://www.youtube.com/watch?v=u7JVwSX1iAg
2. Set your camera to manual (M) mode.
3. Because we have a bit of a moon this year, set a 20 second exposure time (Shutter speed). If you shoot any longer than 30 seconds you will start to end up with star trails and this will cloud and hide any meteor.
4. Set your lens to its fastest aperture – Mine is f/2.8.
5. If using a zoom lens, set it to its widest point. 18mm, etc.
6. Set the lens to manual focus and then focus to the infinity mark.
7. Set your ISO to what you want to shoot at. Depending on the Moon and the time of night, I’ll be shooting at anywhere between ISO 400 and 1000 (at 10 to 30 seconds). I’ll take a few test shots at 20 seconds/ISO200 and look at the exposure to see if its light enough. If a bit dark, I’ll elect to extend my exposure to 30 seconds. If still a bit dark at that point, I’ll up my ISO to 400, 640, etc until the exposure looks good. If still dark, I’ll go up to ISO2000, etc.
8. TURN OFF long exposure noise reduction (NR) in your camera. Why? If you have this turned on after a 30 second exposure, the camera will take an additional 30 seconds to apply the NR after EACH shot and you might miss a meteor. You can apply NR in post process.

About ISO
Every camera is different and you will need to experiment. Again, I suggest you experiment, take a few photos and look at the result on your cameras LCD screen. Too Dark? Increase the ISO. Too light or over exposed? Lower the ISO or lower the shutter time to 20 seconds, 15 seconds, etc. If your fastest aperture is F/3.5 or F/4, etc., you will have to compensate with a higher ISO setting or keep the shutter open longer. For the really bright comets ISO 200 or 400 will work just fine. For the barely visible comets ISO2000 or higher will be needed. Because there is moonlight this year, I’ll be using the lower ISO’s – 400, etc. Take Away: Start with 30 seconds at ISO400 and go from there.

Finally. If you don’t have a camera or want to go through all of the above – just grab some chairs, your loved ones and go just sit and stare at the sky. Hopefully the weather will cooperate and we’ll have a clear sky to look at. Have fun. 😀

Guadalupe and the Cabezon

Some friends and I set out for some adventure…….

The moon was at about 33% illumination and the sky was clear so it was the perfect time to get out away from the city and do a night hike and grab some photos of the beautiful New Mexico sky and landscape. We left town about 5pm and made the 1.5 hour drive to the Cabezon area as the sun set.

Just off of highway 550 and after 15 plus miles of dirt road, our first stop was the ghost town of Ojo Del Padre NM or as some locals calls it, Guadalupe. Ojo De Padre means “Spring of the Father” and sits near the banks of the Rio Puerco river just north of Albuquerque and about 25 miles west of San Ysidro, NM. Ojo means eye in Spanish but I’ve read when used here it means spring. There are several small ranching towns/settlements in and around the Cabezon area dating back 50 to 100 (or more) years when the area was use for cattle and sheep grazing. Guadalupe is now deserted and sits in ruins but once consisted of a number of adobe homes, a two story hotel/store/bar, a church and a post office.

After a few snaps of Guadalupe we moved on to some Native American ruins further south that sit atop a mesa. The ruins are made of several 800 year old plus walls, small rooms and two Kivas. We made the quick 10 or 15 minute hike to the top to enjoy the moon lit view of the Rio Puerco Valley, the quiet, the history, and the fresh air.

Thanks, Alan, Mike and Bill for the awesome company. You guys rock.


Stacking Photos/Star Trails

Hi all! I received a message last week asking how I create my star trails. So instead of writing that person back and sharing my process with just her, I decided to share with everyone at once. As always, this is MY process, MY way of taking photos and MY way of stacking. There are a number of ways to do this and other photographers have their way too. Please keep in mind this is really kind of a basic tutorial and my target are those who have never attempted this. As always, please excuse my grammar. 🙂

Lets get down to business. I’m a huge fan of any photo made at night. This is hands down my favorite type of photography. Included is the Milky Way, star trails, a single snap of the scape with stars – Any photo made at night. I especially enjoy star trails because of the perspective it gives to the landscape from the Earths rotation. Some folks think the only way to make star trails are with a single 30 minute exposure. Shooting a single 30 minute plus exposure is totally fine but the photo will be super noisy. I prefer to take 70-90 exposures at 30 seconds each and stack them. Stacking photos results in a cleaner final image. Some photographers like to shoot hundreds of photos and stack those. I normally shoot for about 30 to 45 minutes. At 30 seconds a piece, you will get two images every minute.

The Moon and light
Unlike photographing the Milky Way (That Blog Post coming soon), I prefer to have a 3/4 (ish) Moon to illuminate the landscape. It balances the photo with light and exposure. On some lighter colored landscapes a full Moon may be a little bright and over power the stars. Bright lights from a city will work too if the lights are behind the camera and illuminating the landscape gently. Of course there have been times I’ve stacked photos with no illumination of the scape. But I will always prefer some light when I can get it.

Location
I usually choose my location with something interesting in the foreground like mountains, an old building or a dead tree to give the entire photo perspective. I never photo just the stars alone. In addition, I always choose a Northern view with the North star in the frame to take advantage of the earths rotation and the view it creates when stacked. Finally, I always make sure there will be no extra lights like headlamps, automobile headlights, etc in my shot because a single exposure with extra light can ruin the entire stack. Always make sure you are shooting in a location with no light interruptions.

Equipment
You can make star trails with most any camera that has the ability to make 30 second exposures at ISO200. When I photo the Milky Way I only use a Full Frame DSLR because of its high ISO performance. But with stacking photos, 30 seconds at ISO200 with a fast lens (f/2.8) and any DSLR is perfect. So I’ll use either my crop sensor or my Full Frame to make photos and then stack.
Camera – Any Full Frame DSLR like a Canon 1D/5DMKIII/MKII/6D, a Nikon D4/D3s/D700/D600/D800/D4, etc, and other brands of full frame cameras are perfect. Any crop sensor (APS-C size) like that of a Nikon D3100/3200/D5100/D5200/D7000/D7100/D90/D80/D300(S), etc, or a Canon T2/T3/T4/T5/40D/50D/60D/7D, etc. As far as other cameras such as point n shoots or mirrorless are concerned, if they have the option to shoot in manual and set the exposure, aperture, and ISO, they should be fine. The take away here is find a camera that can shoot in manual (M mode) at ISO200 for 30 seconds.
Lens – If using a DSLR, the best is a fast wide lens. My favorites are the Tokina 11-16mm f/2.8 on my crop sensor (APS-C) and my Samyang 14mm F/2.8 on my Full Frame. I always shoot wide open at f/2.8 and at the widest angle of view. Now most people get their cameras with kit lenses (18-55mm) and most of those lenses have a maximum aperture of f/3.5 at 18mm. I’ve done stacks with F/4 lenses and raised my ISO to 320. So a kit lens like a 18-55mm should be fine.
Tripod – A must have. This is VERY important. You will need a very sturdy tripod to mount your camera on as you will be shooting for 30 or more minutes to make about 70 to 90 photos to stack. If your tripod moves even a little bit when shooting, your final product will result without the perfect curvature of the trail reflecting the Earths rotation.
Intervalometer – Some photographers prefer to use a wired intervalometer/remote. This device allows you program and setup an automated continuous cycle of 30 second exposures. This is really handy if you don’t want to stand by your camera for 30 or 45 minutes hitting the shutter button over and over every 30 seconds. Some of the newer Nikon and Canon models (and others) have built in intervalometers. However, if you don’t have any of the above, its really not that much work to setup a chair by your camera and just hit the shutter button every 30 seconds if you have a sturdy tripod. 😉 I use one like this. Or just search for Amazon or your favorite camera retailer for “Intervalometer”.

Don’t forget to have a fully charged battery and a memory card with enough room to store a few hundred files if you’re shooting for a couple of hours.

Process/Setup/Shooting
1. Find your spot and secure the camera to the tripod. Once you have your view, don’t move the camera when shooting.
2. Set your camera to M or Manual mode.
3. Set your aperture to its fastest f/2.8, f/3.5, etc.
4. If using a zoom lens, set it to the widest view. 18mm, etc.
5. Turn off Autofocus and set your lens to the infinity mark. Look at the lens focus ring and find the focus mark (line) and line that up with the infinity symbol (the sideways 8).
6. Set your exposure to 30 seconds if you are manually hitting the shutter button. You will hear the shutter open and then close after 30 seconds. Just hit the shutter button again and repeat 70-90 times. Or you can use and intervalometer to automate the process.
7. Set your NR (Long Exposure Noise Reduction) to OFF. This is VERY important. NR takes an additional 30 seconds after EVERY photo to reduce noise. If turned on, you will end up with gaps in the stack.
8. RAW vs. JPG – I shoot in RAW and process my RAW photos in Nikon Capture NX or Photoshop. But you will be fine to shoot and JPG and still get some amazing results.
9. Set your camera to ISO200 and turn off Auto ISO. Take a test photo and make sure the exposure looks good. Too dark? Adjust your ISO up to 320 and then take another photo. If the photo looks a bit dark, don’t worry. You can add light and contrast in your post process.

Stacking
I stack my photos in Photoshop. But there are lots of other free pieces of software out there to do it. You can Google the process or find it on Youtube. I might be putting together another blog post about how I stack later on down the road. But for a free, quick and easy way, visit http://www.startrails.de and download their stacker. Adjust contrast and brightness using another free photo editor such as Picasa from Google after you have completed the stack.

Packing into the Badlands

Myself and a few other photographers (Knate, Cody, Mitch and Mike L) backpacked about 3 miles into the Bisti to photograph the landscape, the night sky, petrified trees, and Dinosaur bones! Yes, Dinosaur bones.
The Bisti or De-Na-Zin badlands is a wilderness area located in San Juan County New Mexico. Its located about 30 miles south of Farmington, NM off State Highway 371. Visit Wikipedia and the BLM site to read more.

Wikipedia or BLM